JeepParts
My Garage
My Account
Cart
OEM Dodge Dart Crankshaft Position Sensor
Engine Crankshaft Position Sensor- Select Vehicle by Model
- Select Vehicle by VIN
Select Vehicle by Model
orMake
Model
Year
Select Vehicle by VIN
For the most accurate results, select vehicle by your VIN (Vehicle Identification Number).
3 Crankshaft Position Sensors found
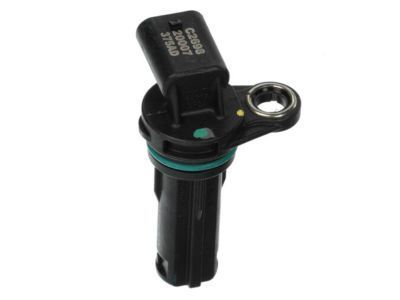
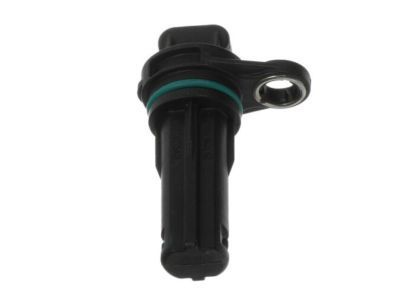
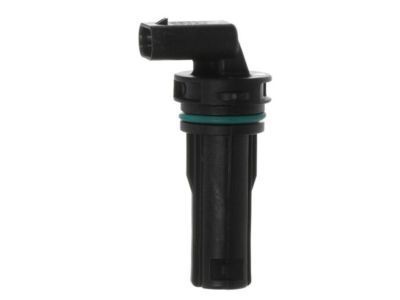
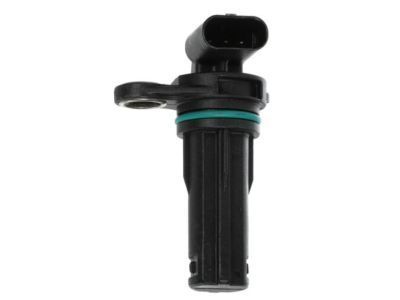
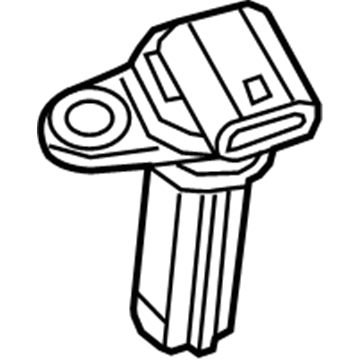

Dodge Dart Crankshaft Position Sensor Part Number: 68079375AD
$78.05 MSRP: $117.00You Save: $38.95 (34%)Ships in 1-3 Business Days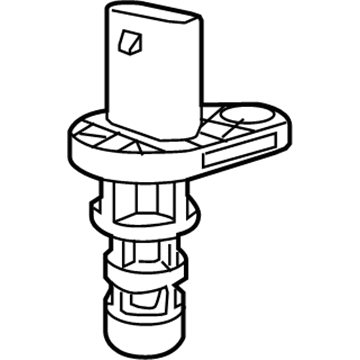
Dodge Dart Crankshaft Position Sensor Part Number: 68070490AC
$24.63 MSRP: $36.34You Save: $11.71 (33%)Ships in 1-2 Business Days
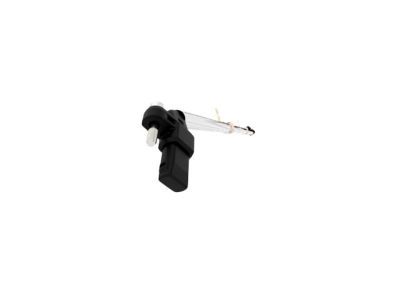
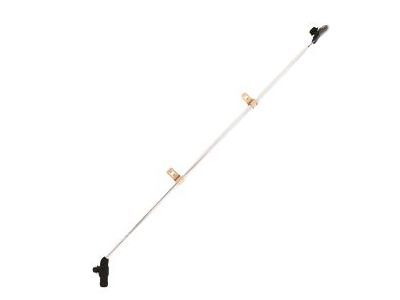
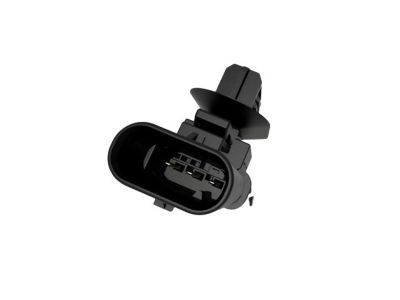
Dodge Dart Crankshaft Position Sensor Part Number: 68153903AC
Dodge Dart Crankshaft Position Sensor
Choose OEM Crankshaft Position Sensor that meet Dodge factory standards. Dodge designs and tests every component for precision and durability. Each Crankshaft Position Sensor follows strict manufacturing steps to lock in quality and fit. If your Dodge Dart matters to you, OEM parts make the smart choice. You'll get the exact look, feel, and performance you expect. Shop genuine Dart parts at the highly competitive prices online. Enjoy a manufacturer's warranty, a hassle-free return policy, and rapid delivery. No more guesswork with off brands. Get genuine parts with exact fit and true factory performance. Shop with confidence today at JeepPartsDeal.com.
The Dodge Dart Crankshaft Position Sensor provides the engine computer with precise crank angle information that keeps ignition and fuel delivery in perfect timing. This Crankshaft Position Sensor sits in your flywheel and sends very quick electrical pulses letting the module fire your spark plugs at the right time. This stops misfires, stalling, and hard starting. A rugged housing protects the Crankshaft Position Sensor against heat and vibration, so it delivers clean signals mile after mile. The failure of the Crankshaft Position Sensor will cause the car to crank but not start, which shows how essential it is. Now take a look at the car itself. The Dodge Dart offers a mix of vintage heritage with modern comfort. Moreover, it also provides two memorable eras. This ranges from the sixties classic Dart compacts to the 2013 comeback. Moreover, the 2013 comeback is built on a nimble global chassis. Car owners have the enjoyable choice of 6-speed manuals or automatics, digital gauges along with trims like GT or Aero that enable every Dodge owner to match style to budget. The balanced suspension system makes daily riding easy, and cabin materials and touchscreen make for enjoyable trips. The recent Dart earns some praise for its stable highway manners. Real factory parts keep a Dodge working for years, adding to the brand's appeal for both collectors and first-time buyers. To install it, disconnect the battery, unbolt and remove the old unit, lightly oil and seat the new sensor, tighten the screws, reconnect the wiring, restore power, and check for proper operation.
Related Dodge Dart Parts
 Dodge Dart Turbocharger
 Dodge Dart Fuel Filter
 Dodge Dart Fuel Sending Unit
 Dodge Dart Intake Manifold
 Dodge Dart Air Duct
 Dodge Dart Air Filter Box
 Dodge Dart Air Temperature Sensor
 Dodge Dart Fuel Filler Hose
 Dodge Dart Fuel Pump Seal
 Dodge Dart Fuel Pump Tank Seal
 Dodge Dart Fuel Rail
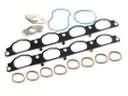 Dodge Dart Intake Manifold Gasket