JeepParts
My Garage
My Account
Cart
Air Conditioner
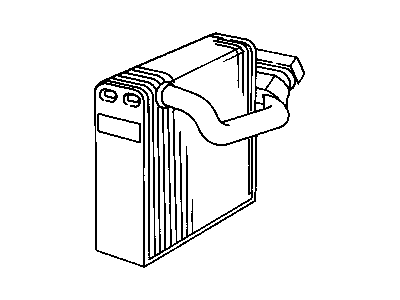
2000 Chrysler Cirrus A/C Hose, Evaporator
Currently shopping for
2000 Chrysler Cirrus
Change VehicleCategories Close X
Currently selected
A/C & Heating
Other Categories
Air & Fuel Delivery
Belts & Cooling
Body & Hardware
Brakes
Charging & Starting
Electrical
Emission Control & Exhaust
Engine
Headlights & Lighting
Interior & Exterior Trim
Maintenance & Lubrication
Steering
Suspension
Transmission
How to use OE catalog
2 diagrams found for the vehicle you selected.Select your vehicle options to narrow down results.
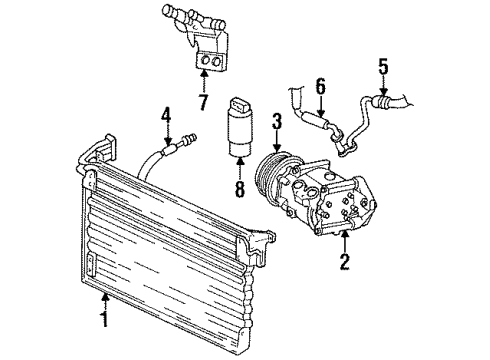
- 1.Air Conditioner & Heater - Condenser, Compressor & Lines
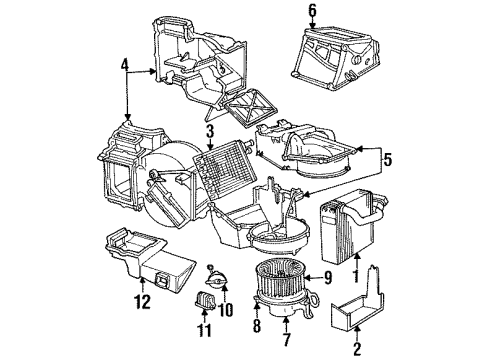
- 2.Air Conditioner & Heater - Evaporator & Heater Components
Sort by:
Ref No.
Ref No.
Part No. & Part Description
Price & Qty.
Part No. &
Part Description
Part Description
- 1
- 1
- 2
- 3
- 3MSRP: $216.00 Your Price: $150.531
- 4
- 4
- 5
 MSRP: $94.10 Your Price: $82.041
- 5
- 6
- 6
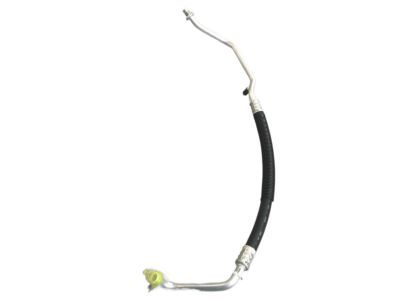
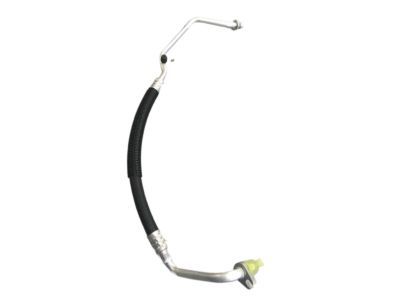
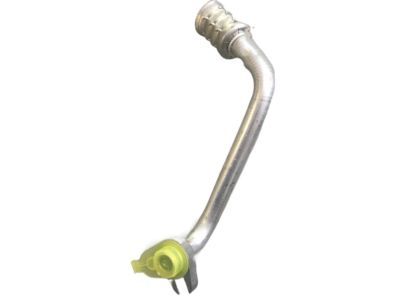
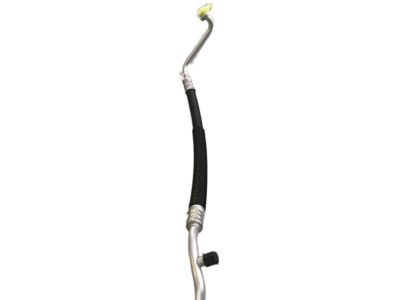 MSRP: $86.63 Your Price: $65.741
- 7
 MSRP: $336.00 Your Price: $236.701
- 7
 MSRP: $90.65 Your Price: $68.791
- 8
- 8
- 10
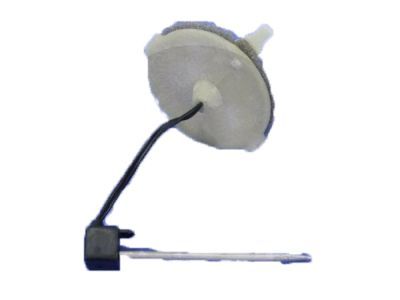
- 11
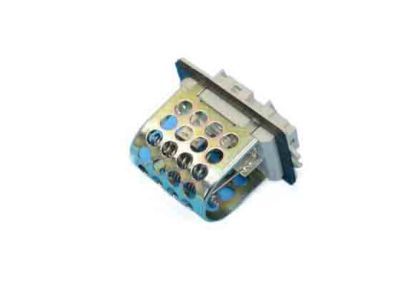
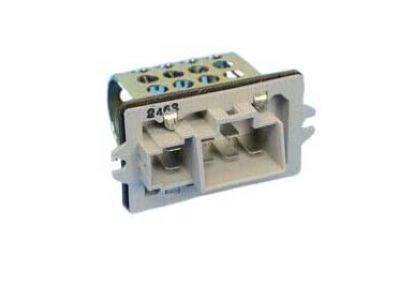
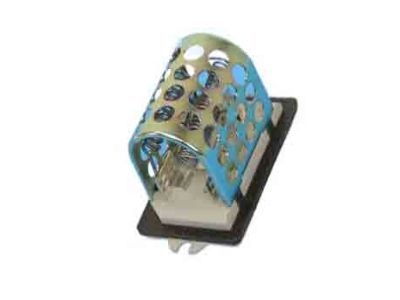
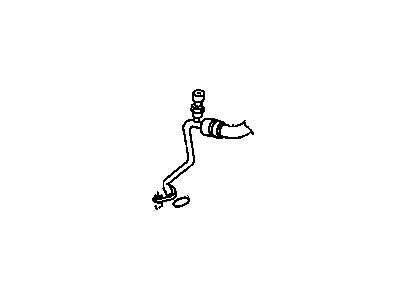 MSRP: $165.00 Your Price: $112.051
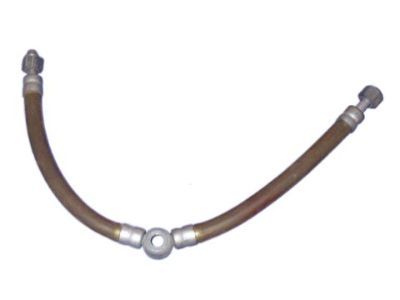 MSRP: $94.10 Your Price: $82.031
- MSRP: $120.00 Your Price: $81.411
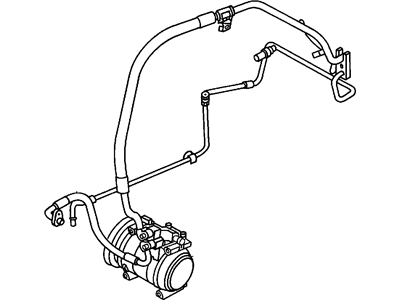
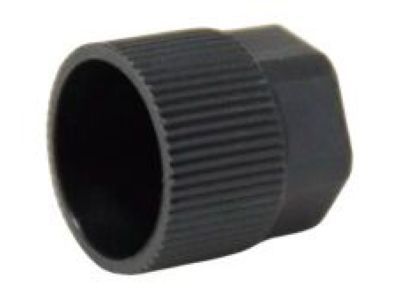
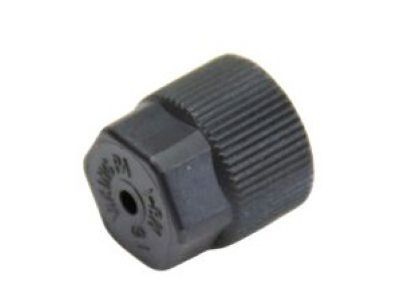 5264642
CAP A/C Check Valve- Fitting Vehicle Options: ECB - 4 Cyl 2.0L SOHC SMPI, EDZ - 4 Cyl 2.4L DOHC SMPI, EEB - 6 Cyl 2.5L SOHC SMPI
- Replaced By: 68620804AA
Your Price: $7.63
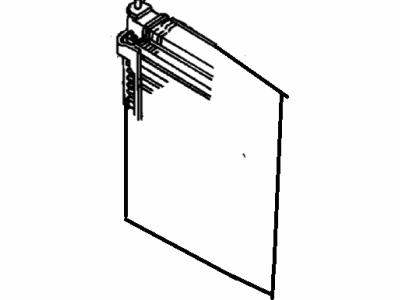 2AMC4616AA
CONDENSER Air Conditioning NOTE:25 pc min Qty Mix and Match Pallet Program only, Use mopar.com to order, Magneti-Marelli Parts tab- Part Notes: Magneti-Marelli Offered By MOPAR, See Note.
- Fitting Vehicle Options: DD5 - 5-Speed Manual Transmission, DGL - 4-Speed Automatic Transmission 41TE, ECB - 4 Cyl 2.0L SOHC SMPI, EDZ - 4 Cyl 2.4L DOHC SMPI
MSRP: $46.14 Your Price: $36.40
OEM 2000 Chrysler Cirrus Parts for Air Conditioner
Authentic OEM Chrysler components offer both excellent performance and a long service life. These genuine 2000 Chrysler Cirrus parts are made of high quality materials to ensure they are as durable and strong as possible. The suitable option for vehicle maintenance, they are easy to install as per the instructions of the factory. To get new OE Air Conditioner parts, select JeepPartsDeal.com. We offer authentic OEM 2000 Chrysler Cirrus A/C Hose, Evaporator with manufacturer warranties, fair prices, a simple return policy and fast shipping.
A/C Hose, Evaporator Installation and Repair Tips for 2000 Chrysler Cirrus
- Q:How to Replace an Evaporator Core on 2000 Chrysler Cirrus?A:To replace the evaporator core, disconnect the battery, remove refrigerant, and remove the A/C housing. Remove the recirculation door cover and temperature probe and separate the evaporator housing. Remove seals and lift evaporator, transfer sensor and reverse the steps for installation.
- Q:How to Replace an A/C Hose in an HVAC System for Discharge Hose on 2000 Chrysler Cirrus?A:To replace the A/C discharge hose, recover refrigerant first with a recovery machine. Now disconnect the A/C pressure transducer and use Special Tool kit 7193 to remove the quick connect at the condenser. Cap off unused lines, lose the line at the compressor and remove the discharge line. Undo the installation (tightning bolts to 22 Nm).