JeepParts
My Garage
My Account
Cart
Seat Belt - Body
2003 Dodge Ram 3500 Seat Belt
Currently shopping for
2003 Dodge Ram 3500
Change VehicleCategories Close X
Currently selected
Body & Hardware
- Back Panel
- Bumper & Components - Front
- Bumper & Components - Rear
- Cab Cowl
- Cluster & Switches
- Dash Panel Components
- Door & Components
- Fender & Components
- Floor
- Frame & Components
- Front & Side Panels
- Front Console
- Front Door
- Front Door - Lock & Hardware
- Front Seat Components
- Glass - Door
- Glass - Windshield
- Glass & Hardware - Back Glass
- Glove Box
- Grille & Components
- Hood & Components
- Information Labels
- Instrument Panel
- Lock & Hardware
- Outside Mirrors
- Overhead Console
- Rear Door
- Rear Door - Lock & Hardware
- Rear Seat Components
- Roof & Components
- Running Board
- Seat Belt
- Sound System
- Stripe Tape
- Tail Gate
- Tracks & Components
- Uniside
- Wiper & Washer Components
Other Categories
A/C & Heating
Air & Fuel Delivery
Belts & Cooling
Brakes
Charging & Starting
Driveline & Axles
Electrical
Emission Control & Exhaust
Engine
Headlights & Lighting
Interior & Exterior Trim
Maintenance & Lubrication
Steering
Suspension
Transmission
Categories Close X
How to use OE catalog
2 diagrams found for the vehicle you selected.Select your vehicle options to narrow down results.
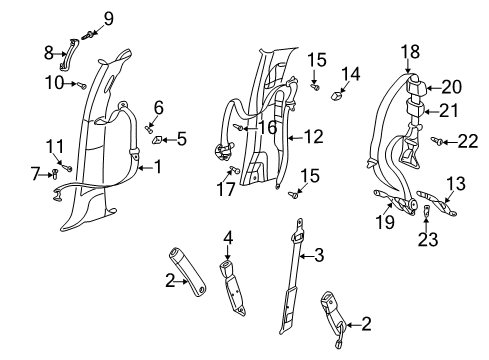
- 1.Restraint Systems - Front Seat Belts (Quad Cab)
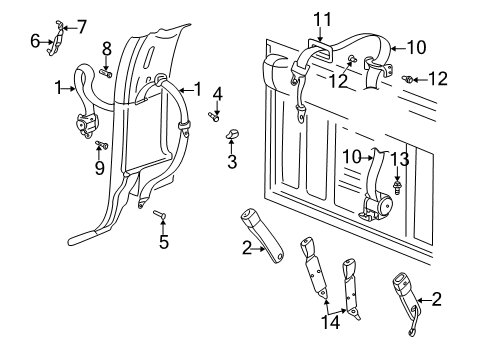
- 2.Restraint Systems - Front Seat Belts (Regular Cab)
Sort by:
Ref No.
Ref No.
Part No. & Part Description
Price & Qty.
Part No. &
Part Description
Part Description
- 1
- 1
 5HC011QLAE
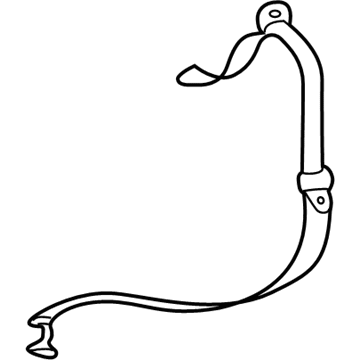
Seat Belt - Front OuterOuter Belt Assembly- Part Notes: Regular Cab, Blue
- Location: Driver Side
- 15JK121QLAA
Seat Belt - Front OuterOuter Belt Assembly- Part Notes: Regular Cab, Blue
- Location: Passenger Side
- 15JK141QLAA
Seatbelt - Front OuterOuter Belt Assembly- Part Notes: Quad Cab, Blue
- Location: Passenger Side
- 16KG171DVAA
Belt Assembly - Front OuterOuter Belt Assembly- Part Notes: Quad Cab, Gray
- Location: Driver Side
- 16KG171L8AA
Belt Assembly - Front OuterOuter Belt Assembly- Part Notes: Quad Cab, Taupe
- Location: Driver Side
- 16KG181DVAA
Belt Assembly - Front OuterOuter Belt Assembly- Part Notes: Regular Cab, Gray
- Location: Driver Side
MSRP: $459.00 Your Price: $310.44 - 16KG181L8AA
Belt Assembly - Front OuterOuter Belt Assembly- Part Notes: Regular Cab, Taupe
- Location: Driver Side
MSRP: $327.00 Your Price: $222.07 - 16KG191DVAA
Belt Assembly - Front OuterOuter Belt Assembly- Part Notes: Regular Cab, Gray
- Location: Passenger Side
- 16KG191L8AA
Belt Assembly - Front OuterOuter Belt Assembly- Part Notes: Regular Cab, Taupe
- Location: Passenger Side
- 16KG201DVAA
Belt Assembly - Front OuterOuter Belt Assembly- Part Notes: Quad Cab, Gray
- Location: Passenger Side
- 16KG201L8AA
Belt Assembly - Front OuterOuter Belt Assembly- Part Notes: Quad Cab, Taupe
- Location: Passenger Side
- 2
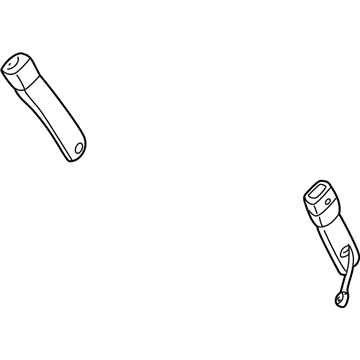
 5GW371QLAC
Seat Belt - Front InnerCenter Belt Assembly- Part Notes: Quad Cab, Blue;Regular Cab, Blue
- Location: Driver Side
- 25GW361DVAE
Seat Belt - Front InnerCenter Belt Assembly- Part Notes: Quad Cab, Gray;Regular Cab, Gray
- Location: Passenger Side
- 25GW361L8AE
Seat Belt - Front InnerCenter Belt Assembly- Part Notes: Quad Cab, Taupe;Regular Cab, Taupe
- Location: Passenger Side
MSRP: $94.20 Your Price: $64.01 - 25GW361QLAC
Seat Belt - Front InnerCenter Belt Assembly- Part Notes: Quad Cab, Blue;Regular Cab, Blue
- Location: Passenger Side
- 2
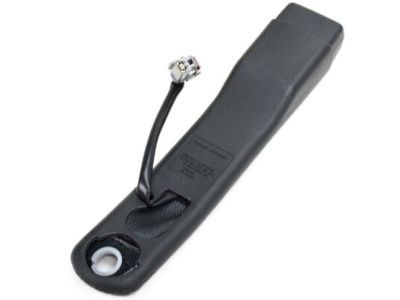
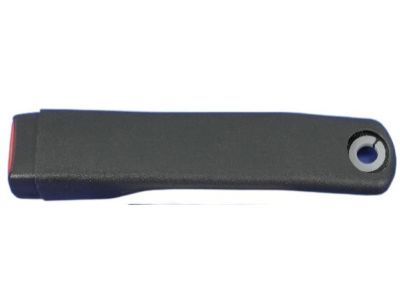
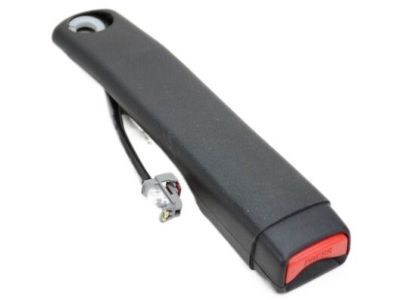
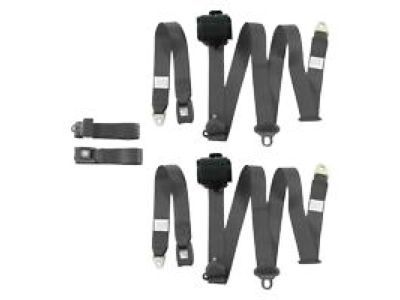 5GW371DVAE
Seat Belt - Front InnerCenter Belt Assembly- Part Notes: Quad Cab, Gray;Regular Cab, Gray
- Location: Driver Side
- 25GW371L8AE
Seat Belt - Front InnerCenter Belt Assembly- Part Notes: Quad Cab, Taupe;Regular Cab, Taupe
- Location: Driver Side
- 3
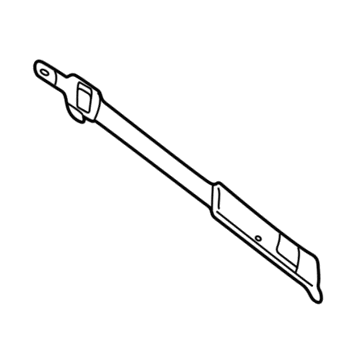
- 3
- 3MSRP: $14.45 Your Price: $11.401
- 3
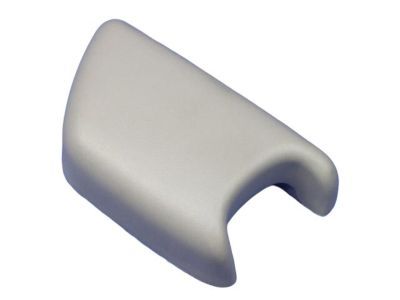 5HF07TL2AC
Cover - Adjustable Turning LoopCenter Belt Assembly Cover- Part Notes: Regular Cab
- Location: Driver Side;Passenger Side
- 4
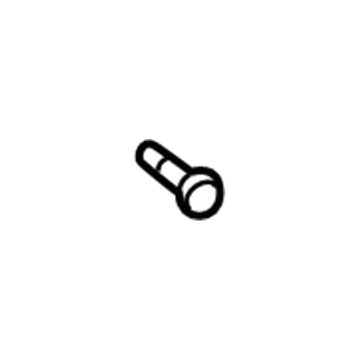 6036463AA
Bolt - Seat BeltCenter Belt Assembly Bolt- Part Notes: Regular Cab
- Location: Driver Side;Passenger Side
- 4
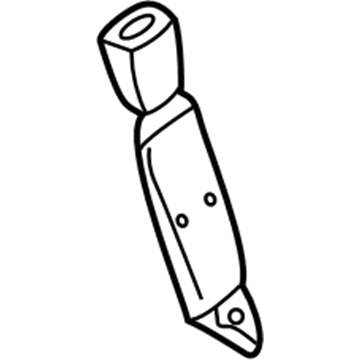 MSRP: $85.70 Your Price: $45.621
 - 4MSRP: $88.05 Your Price: $48.791
- 4
- 5
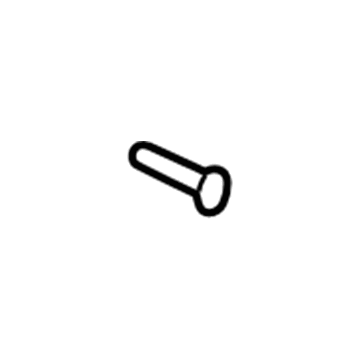
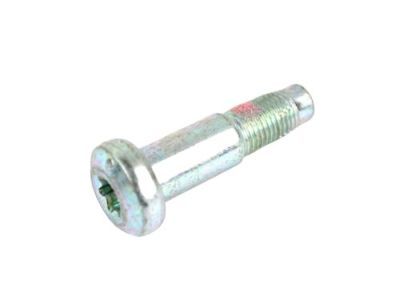 6034395
Bolt - Pan HeadCenter Belt Assembly Screw- Part Notes: Regular Cab
- Location: Driver Side;Passenger Side
- 5
 5HF07TL2AC
Cover - Adjustable Turning LoopCenter Buckle Cover- Part Notes: Quad Cab
- Location: Driver Side;Passenger Side
- 6
 55350982AC
Belt Assembly - Seat Belt Turning LoopCenter Belt Assembly Adjuster- Part Notes: Regular Cab
- Location: Driver Side;Passenger Side
MSRP: $60.70 Your Price: $42.221 - 6
 6036463AA
Bolt - Seat BeltCenter Buckle Upper Bolt- Part Notes: Quad Cab
- Location: Driver Side;Passenger Side
- 7
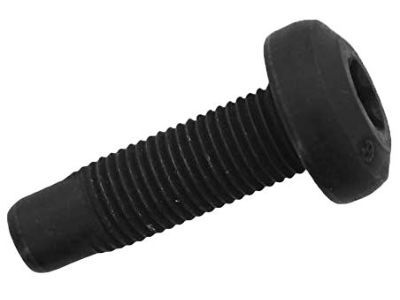
 6036187AA
Screw - Pan HeadCenter Belt Assembly Screw- Part Notes: Regular Cab, Upper
- Location: Driver Side;Passenger Side
- 7
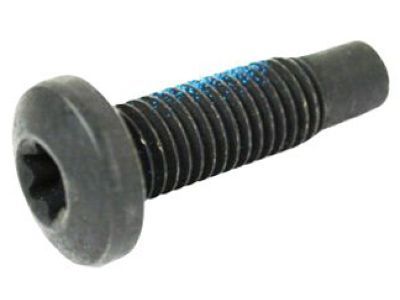 6506600AA
Bolt - Pan HeadCenter Buckle Lower Bolt- Part Notes: Quad Cab
- Location: Driver Side;Passenger Side
MSRP: $9.55 Your Price: $6.61
- 8
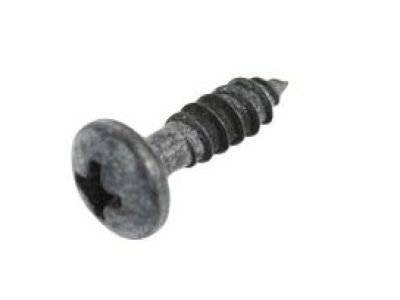 6035556
Screw - Pan Head TappingCenter Belt Assembly Screw- Part Notes: Regular Cab, Center
- Location: Driver Side;Passenger Side
- 8
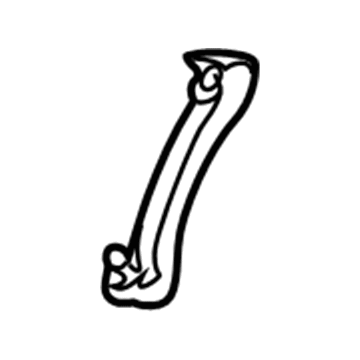 55350984AD
Belt Assembly - Seat Belt Turning LoopCenter Buckle Adjuster- Part Notes: Quad Cab
- Location: Passenger Side
- 855350985AD
Belt Assembly - Seat Belt Turning LoopCenter Buckle Adjuster- Part Notes: Quad Cab
- Location: Driver Side
MSRP: $64.40 Your Price: $44.781
- 9
 6036187AA
Screw - Pan HeadCenter Belt Assembly Screw- Part Notes: Quad Cab, Upper;Regular Cab, Lower
- Location: Driver Side;Passenger Side
- 10
 6035556
Screw - Pan Head TappingCenter Buckle Screw- Part Notes: Quad Cab, Center
- Location: Driver Side;Passenger Side
- 10
- 10
- 10
- 11
 6036187AA
Screw - Pan HeadCenter Buckle Screw- Part Notes: Quad Cab, Lower
- Location: Driver Side;Passenger Side
- 11

- 11
- 11
- 12
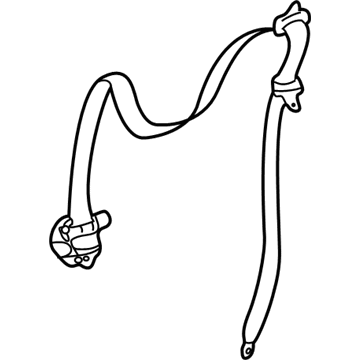 5GU981DVAG
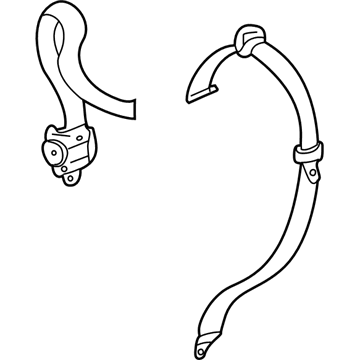
Seat Belt - Rear OuterRear Belt Assembly- Part Notes: Quad Cab, Outer, Gray
- Location: Driver Side;Passenger Side
- 125GU981L8AG
Seat Belt - Rear OuterRear Belt Assembly- Part Notes: Quad Cab, Outer, Taupe
- Location: Driver Side;Passenger Side
MSRP: $201.00 Your Price: $197.251 - 125GU981QLAG
Seat Belt - Rear OuterRear Belt Assembly- Part Notes: Quad Cab, Outer, Blue
- Location: Driver Side;Passenger Side
- 12
 6507057AA
Screw - Hexagon HeadRear Belt Assembly Upper Bolt- Part Notes: Regular Cab
- Location: Driver Side;Passenger Side
MSRP: $11.40 Your Price: $7.891
- 13
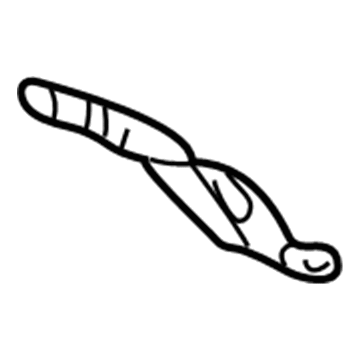 5GV891DVAC
Seat Belt - Rear InnerRear Belt Assembly- Part Notes: Quad Cab, Inner, Gray
- Location: Driver Side;Passenger Side
MSRP: $116.00 Your Price: $85.071 - 135GV891L8AC
Seat Belt - Rear InnerRear Belt Assembly- Part Notes: Quad Cab, Inner, Taupe
- Location: Driver Side;Passenger Side
- 135GV891QLAC
Seat Belt - Rear InnerRear Belt Assembly- Part Notes: Quad Cab, Inner, Blue
- Location: Driver Side;Passenger Side
- 13
 6506600AA
Bolt - Pan HeadRear Belt Assembly Lower Bolt- Part Notes: Regular Cab
- Location: Driver Side;Passenger Side
MSRP: $9.55 Your Price: $6.61
- 14
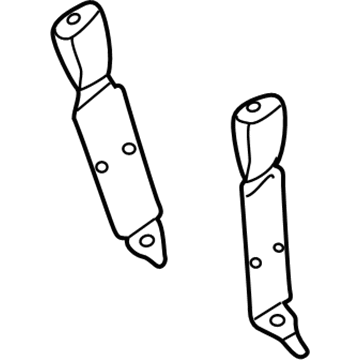 5GW281DVAC
Seat Belt - Buckle HalfRear Belt Assembly Buckle- Part Notes: Regular Cab, Gray
- Location: Driver Side
MSRP: $85.70 Your Price: $45.621 - 145GW281L8AC
Seat Belt - Buckle HalfRear Belt Assembly Buckle- Part Notes: Regular Cab, Taupe
- Location: Driver Side
MSRP: $88.05 Your Price: $48.791 - 145GW281QLAB
Seat Belt - Buckle HalfRear Belt Assembly Buckle- Part Notes: Regular Cab, Blue
- Location: Driver Side
- 145HG321X9AC
Seat Belt - Front CenterRear Belt Assembly Buckle- Part Notes: Regular Cab, Blue;Regular Cab, Gray;Regular Cab, Taupe
- Location: Passenger Side
- 14

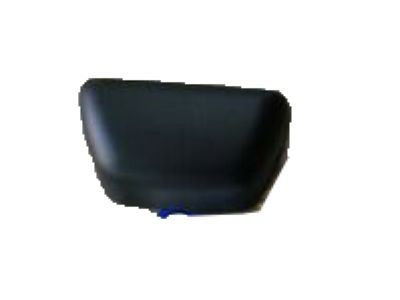 5HU37TL2AC
Cover - Seat Belt Turning LoopRear Belt Assembly Cover- Part Notes: Quad Cab
- Location: Driver Side;Passenger Side
- 15
- 16
- 17
- 18
- 18MSRP: $27.77 Your Price: $21.911
- 18
- 19
- 19
- 19
- 20
- 20
- 20
- 21
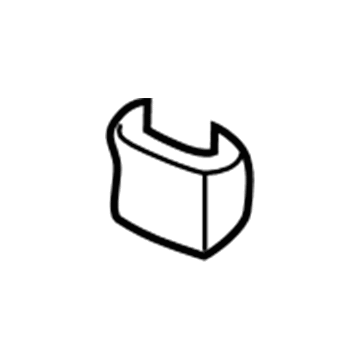
- 22
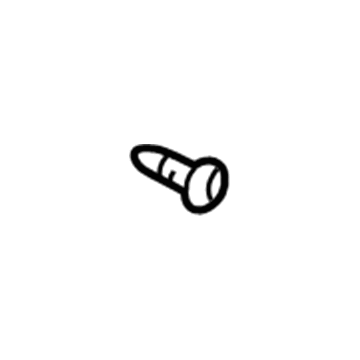 MSRP: $11.40 Your Price: $7.891
- 23
 MSRP: $9.55 Your Price: $6.61
OEM 2003 Dodge Ram 3500 Parts for Seat Belt - Body
Authentic OEM Dodge components offer both excellent performance and a long service life. These genuine 2003 Dodge Ram 3500 parts are made of high quality materials to ensure they are as durable and strong as possible. The suitable option for vehicle maintenance, they are easy to install as per the instructions of the factory. To get new OE Seat Belt - Body parts, select JeepPartsDeal.com. We offer authentic OEM 2003 Dodge Ram 3500 Seat Belt with manufacturer warranties, fair prices, a simple return policy and fast shipping.
Seat Belt Installation and Repair Tips for 2003 Dodge Ram 3500
- Q:How to Maintain Your Rear Outboard Seat Belt and Retractor on 2003 Dodge Ram 3500?A:To service the rear outboard seat belt and retractor, remove the rear seat, lower seat belt anchor and trim covers. Remove the web guide and retractor brackets then remove the seat belt. For installation, reverse the process, making sure all the parts are secure and not damaged and replace any damaged parts accordingly.