JeepParts
My Garage
My Account
Cart
Glass - Door
2006 Dodge Sprinter 3500 Window Regulator, Window Motor, Weather Strip
Currently shopping for
2006 Dodge Sprinter 3500
Change VehicleVehicle Options
Base; 5 Cyl 2.7 L DIESELVehicle Options
Base; 5 Cyl 2.7 L DIESELCategories Close X
Currently selected
Body & Hardware
- Bumper & Components - Front
- Bumper & Components - Rear
- Cargo Door
- Cluster & Switches
- Cowl
- Crossmembers & Components
- Dash Panel Components
- Door & Components
- Ducts
- Fender & Components
- Frame & Components
- Front Console
- Front Door
- Front Door - Lock & Hardware
- Front Seat Components
- Glass - Door
- Glass - Side Door
- Glass - Side Panel
- Glass - Windshield
- Glove Box
- Grille & Components
- Hinge Pillar
- Hood & Components
- Information Labels
- Inner Components - Fender
- Inner Structure & Rails - Side Panel
- Instrument Panel
- Instrument Panel Components
- Lock & Hardware
- Mirrors
- Outside Mirrors
- Radiator Support
- Rear Door
- Rear Seat Components
- Reveal Moldings
- Roof & Components
- Seat Belt
- Side Panel & Components
- Sliding Door
- Sound System
- Spare Tire Carrier
- Step Assembly
- Structural Components & Rails
- Sunroof
- Tracks & Components
- Wiper & Washer Components
Other Categories
A/C & Heating
Air & Fuel Delivery
Belts & Cooling
Brakes
Charging & Starting
Driveline & Axles
Electrical
Emission Control & Exhaust
Engine
Headlights & Lighting
Interior & Exterior Trim
Maintenance & Lubrication
Steering
Suspension
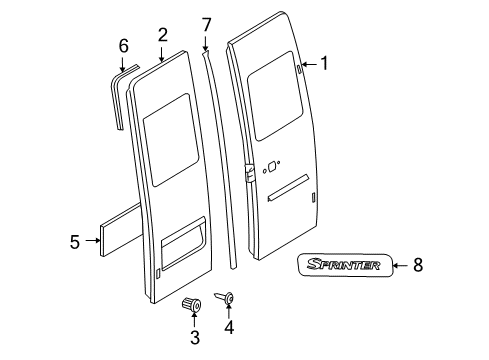
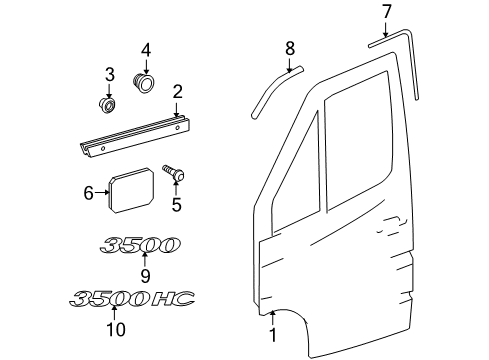
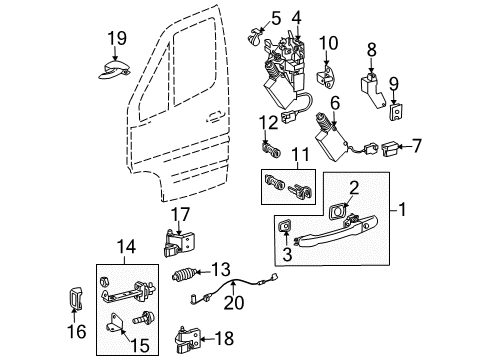
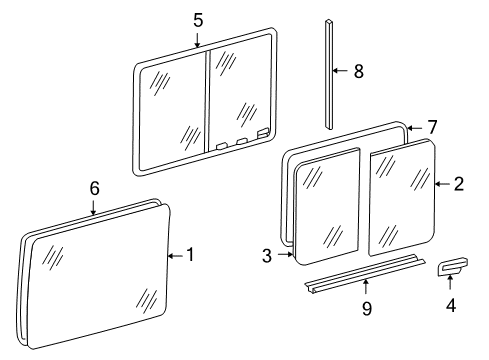
How to use OE catalog
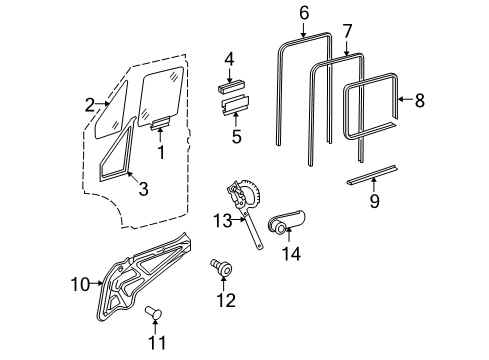
Diagram (1 of 1): Front Door - Glass & Hardware
Sort by:
Ref No.
Ref No.
Part No. & Part Description
Price & Qty.
Part No. &
Part Description
Part Description
- 1

- 1
- 2
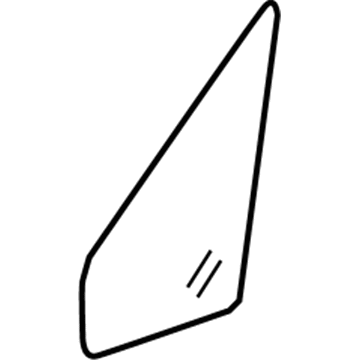
- 2
- 3

- 3
- 4
- 5
 MSRP: $30.11 Your Price: $23.751
- 6
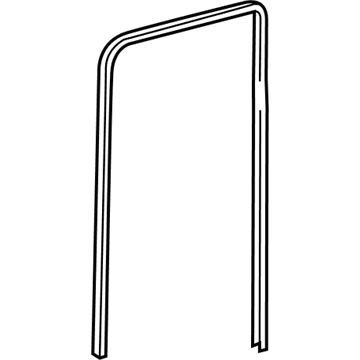
- 6
- 7
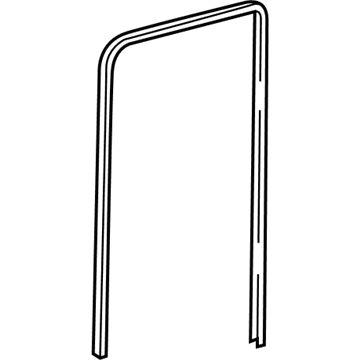
- 8

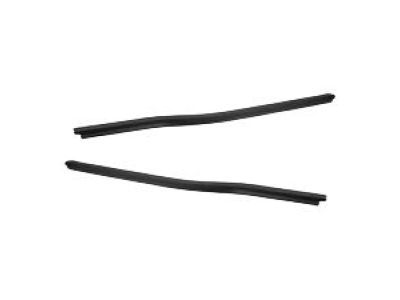
- 9
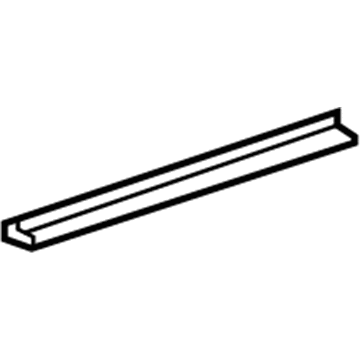
- 10
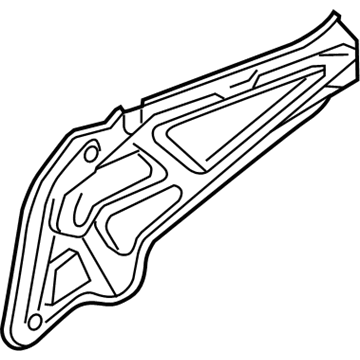
- 10
- 11

- 12

- 13

- 13MSRP: $113.16 Your Price: $89.261
- 14

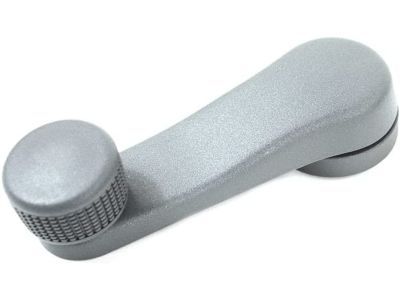 MSRP: $14.85 Your Price: $12.821
OEM 2006 Dodge Sprinter 3500 Parts for Glass - Door
Authentic OEM Dodge components offer both excellent performance and a long service life. These genuine 2006 Dodge Sprinter 3500 parts are made of high quality materials to ensure they are as durable and strong as possible. The suitable option for vehicle maintenance, they are easy to install as per the instructions of the factory. To get new OE Glass - Door parts, select JeepPartsDeal.com. We offer authentic OEM 2006 Dodge Sprinter 3500 Window Regulator, Window Motor, Weather Strip with manufacturer warranties, fair prices, a simple return policy and fast shipping.
Weather Strip, Window Regulator Installation and Repair Tips for 2006 Dodge Sprinter 3500
- Q:How to Maintain and Fix the Rear Door Weather Strip on 2006 Dodge Sprinter 3500?A:To repair the rear door weather strip, open the door and remove the seal from the flange. Employing a new seal with the bulb facing out, press the bulb around the perimeter. For the front door take the tear strip from the splice to the back of the opening.
- Q:How to Remove and Replace a Front Door Window Regulator on 2006 Dodge Sprinter 3500?A:To change the window regulator on your front door, remove the door liner and place a tool to block the window. Take out the crank carrier plate, check the crank mechanism and replace it if necessary. Reinstall all components in reverse order, paying attention to the attachment of all parts.