JeepParts
My Garage
My Account
Cart
Belts & Pulleys - Maintenance
2008 Chrysler Pacifica Belt Tensioner, Drive Belt, A/C Idler Pulley, V-Belt
Currently shopping for
2008 Chrysler Pacifica
Change VehicleCategories Close X
Currently selected
Maintenance & Lubrication
Other Categories
A/C & Heating
Air & Fuel Delivery
Belts & Cooling
Body & Hardware
Brakes
Charging & Starting
Driveline & Axles
Electrical
Emission Control & Exhaust
Engine
Headlights & Lighting
Interior & Exterior Trim
Steering
Suspension
Transmission
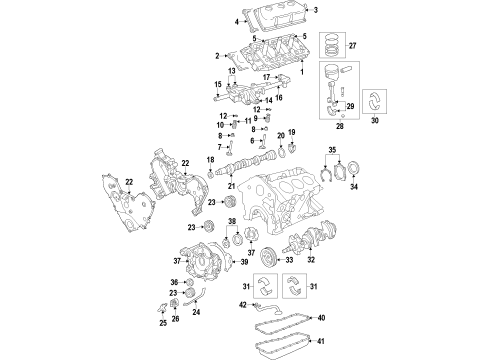
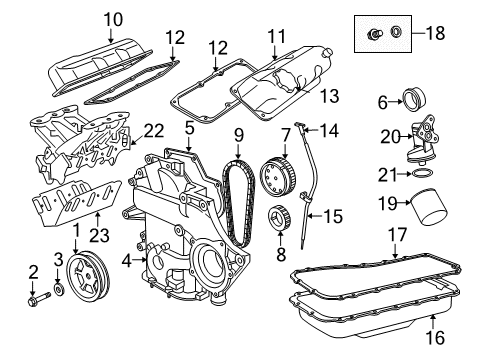
How to use OE catalog
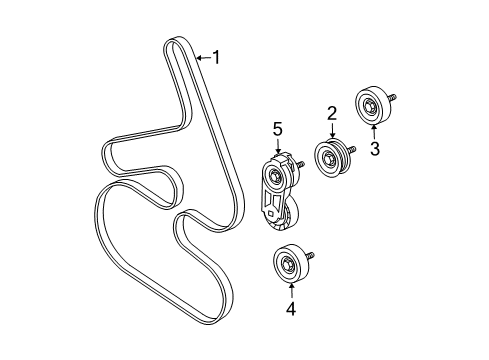
Diagram (1 of 1): Cooling - Belts & Pulleys
Sort by:
Ref No.
Ref No.
Part No. & Part Description
Price & Qty.
Part No. &
Part Description
Part Description
- 1
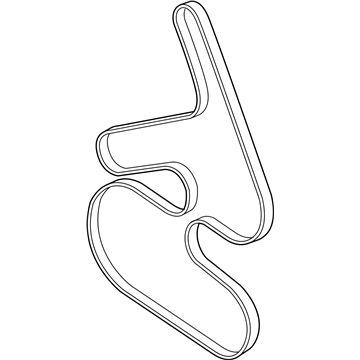
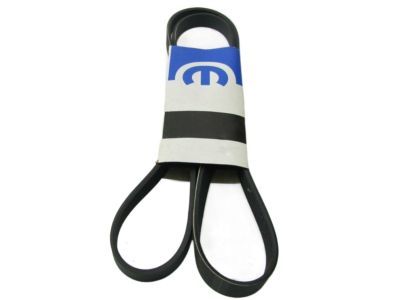
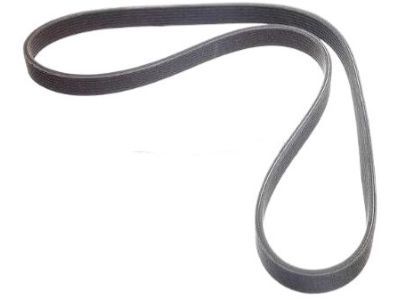
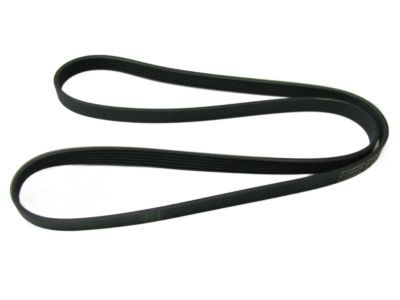 MSRP: $62.35 Your Price: $41.911
 - 1MSRP: $56.30 Your Price: $37.861
- 5
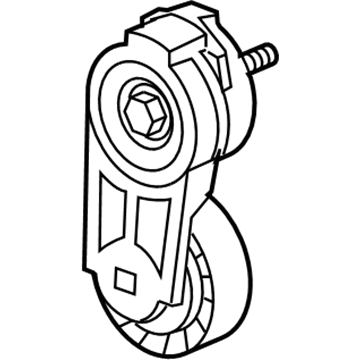
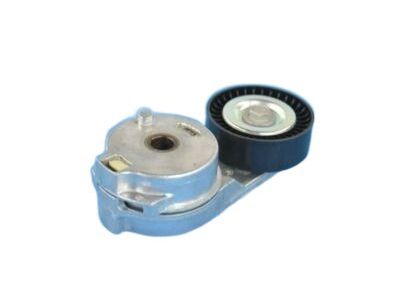
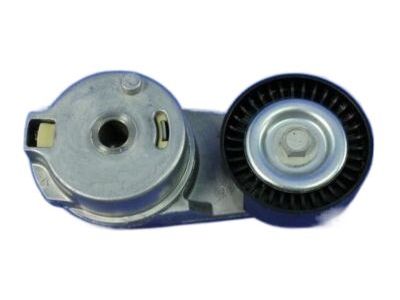
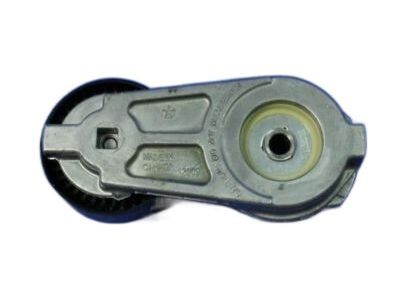
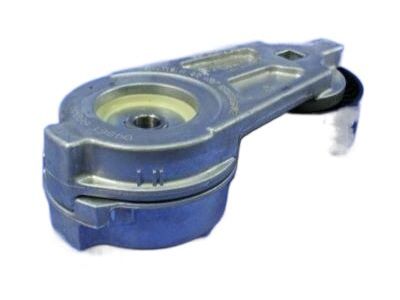 MSRP: $192.00 Your Price: $128.021
 - 5MSRP: $118.67 Your Price: $78.941
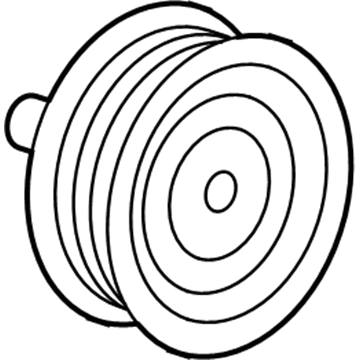
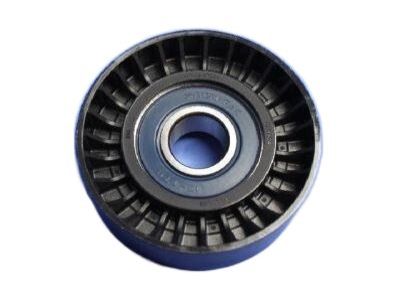
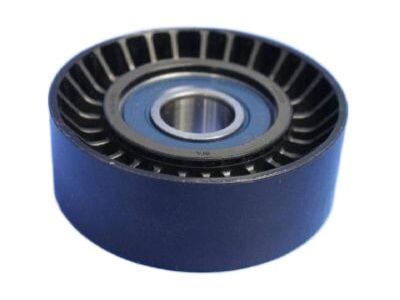 MSRP: $73.20 Your Price: $50.921
OEM 2008 Chrysler Pacifica Parts for Belts & Pulleys - Maintenance
Authentic OEM Chrysler components offer both excellent performance and a long service life. These genuine 2008 Chrysler Pacifica parts are made of high quality materials to ensure they are as durable and strong as possible. The suitable option for vehicle maintenance, they are easy to install as per the instructions of the factory. To get new OE Belts & Pulleys - Maintenance parts, select JeepPartsDeal.com. We offer authentic OEM 2008 Chrysler Pacifica Belt Tensioner, Drive Belt, A/C Idler Pulley, V-Belt with manufacturer warranties, fair prices, a simple return policy and fast shipping.
Belt Tensioner, Drive Belt Installation and Repair Tips for 2008 Chrysler Pacifica
- Q:How to Service and Repair a Belt Tensioner on a 3.8L Engine on 2008 Chrysler Pacifica?A:To repair the accessory drive belt tensioner on 3.8L engine, lift the car on hoist. Then, remove the drive belt shield and the drive belt. Finally, remove the tensioner mounting bolt and tensioner itself.
- Q:How to Remove and Replace the Drive Belt on a 3.8L Engine on 2008 Chrysler Pacifica?A:To replace the accessory drive belt for a 3.8L engine, raise up the vehicle and remove the drive belt shield. Do not allow the tensioner to snap back. Use a wrench to turn the tensioner counter clockwise to release tension and remove the belt and put the tensioner back in its relaxed position.