JeepParts
My Garage
My Account
Cart
2010 Chrysler Town & Country Instruments & Gauges
Currently shopping for
2010 Chrysler Town & Country
Change VehicleCategories Close X
Currently selected
Electrical
- ABS Components
- Air Bag Components
- Alarm System
- Antenna & Radio
- Communication System Components
- Cruise Control System
- Electrical Components
- Entertainment System Components
- Front Seat Belts
- Fuse & Relay
- Heated Seats
- Horn
- Ignition System
- Instruments & Gauges
- Keyless Entry Components
- Navigation System
- Parking Aid
- Power Seats
- Rear Seat Belts
- Senders
- Supplemental Restraint System
- Switches
- Tire Pressure Monitoring
- Wipers
Other Categories
A/C & Heating
Air & Fuel Delivery
Belts & Cooling
Body & Hardware
Brakes
Charging & Starting
Driveline & Axles
Emission Control & Exhaust
Engine
Headlights & Lighting
Interior & Exterior Trim
Maintenance & Lubrication
Steering
Suspension
Transmission
How to use OE catalog
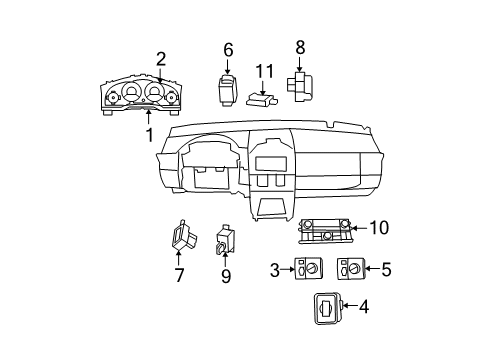
Diagram (1 of 1): Instrument Panel - Cluster & Switches
Sort by:
Ref No.
Ref No.
Part No. & Part Description
Price & Qty.
Part No. &
Part Description
Part Description
- 1
- 1
- 2

- 2
- 2MSRP: $167.00 Your Price: $86.511
- 2MSRP: $116.00 Your Price: $100.991
- 3
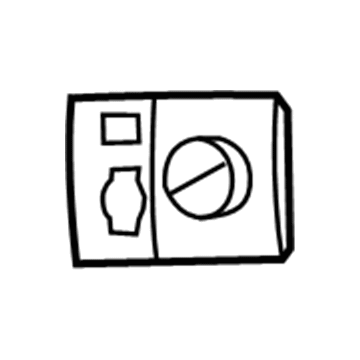 1AC50DX9AB
Switch - Lighting ControlHeadlamp Switch- Part Notes: 2008-10, Without Fog Lamps, Without Leveling
- 4
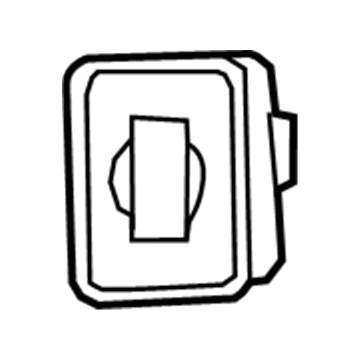 4602836AE
Switch - Headlamp LevelingHeadlamp Switch- Part Notes: 2008-10, Without Fog Lamps, With Leveling
MSRP: $31.60 Your Price: $21.871
- 5
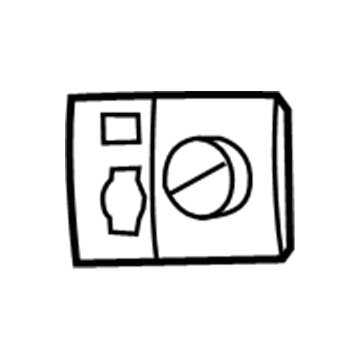 1AC48DX9AB
Switch - Lighting ControlHeadlamp Switch- Part Notes: 2008-10, With Fog Lamps, Without Auto Lamps
- 51AC49DX9AB
Switch - Lighting ControlHeadlamp Switch- Part Notes: 2008-10, With Fog Lamps, With Auto Lamps
- 6
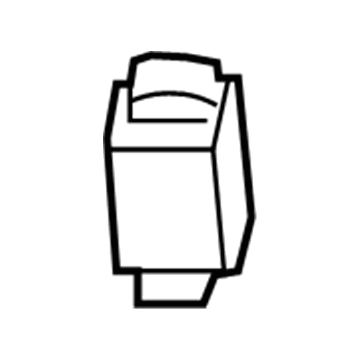 MSRP: $12.75 Your Price: $7.781
- 7
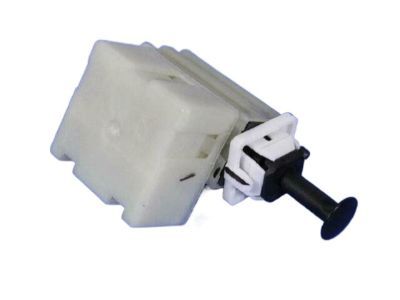
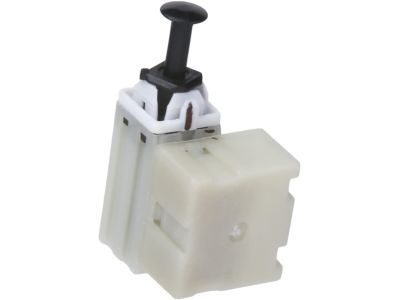
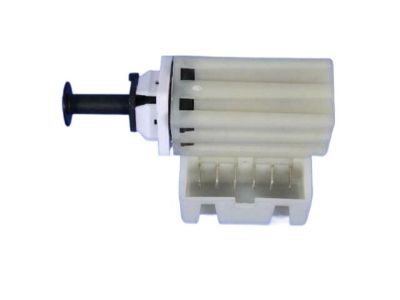
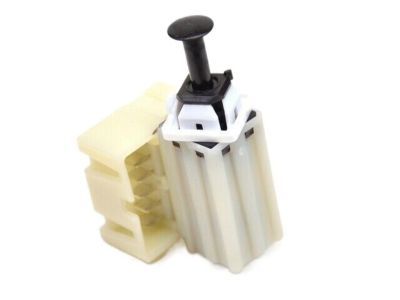
- 8
 MSRP: $82.80 Your Price: $56.431
- 9
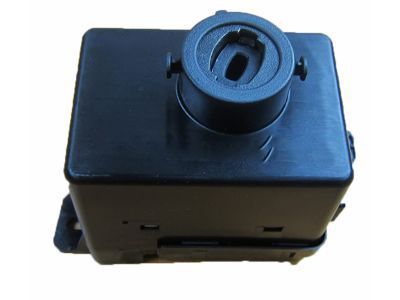
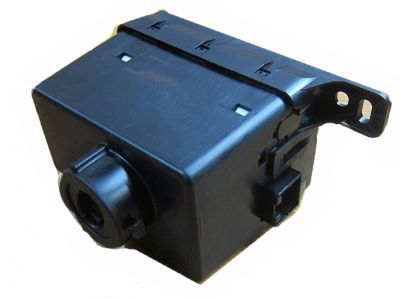
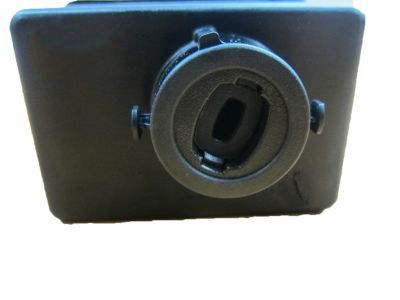
 68210155AB
Receiver - Wireless Ignition NodeReceiver- Part Notes: 2008-10, Wireless Ignition, Without Remote Start
MSRP: $717.00 Your Price: $508.581 - 9
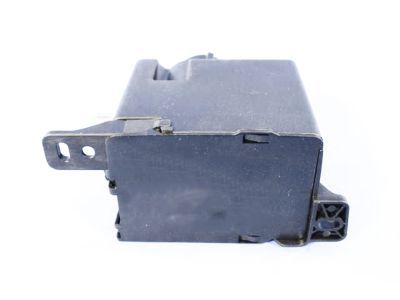
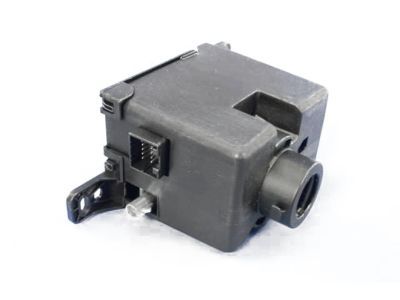
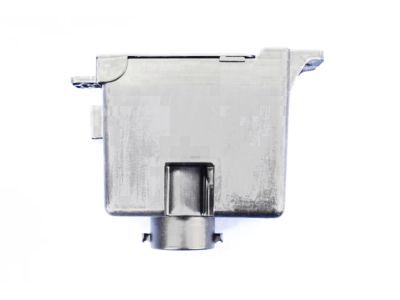 68210156AB
Receiver - Wireless Ignition NodeReceiver- Part Notes: 2008-10, Wireless Ignition, With Remote Start
MSRP: $678.33 Your Price: $481.381
- 10
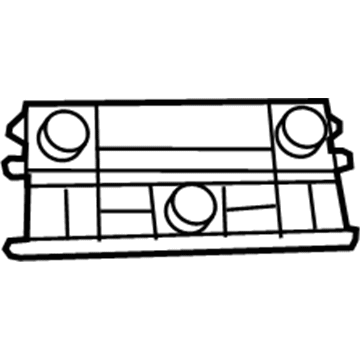
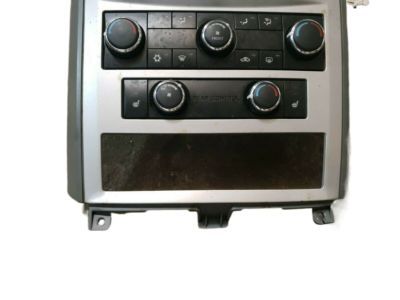
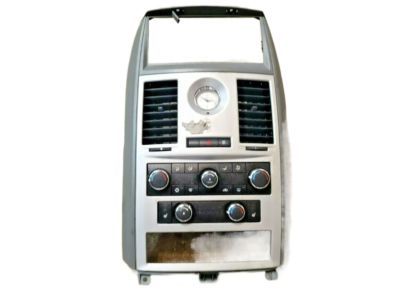
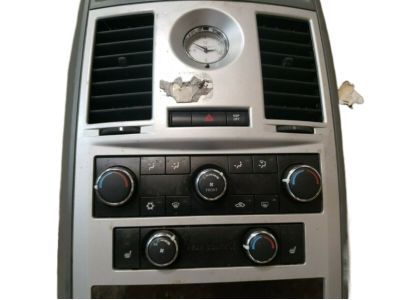
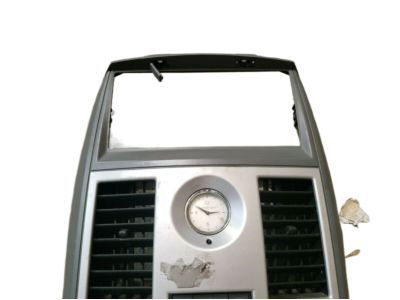
- 10
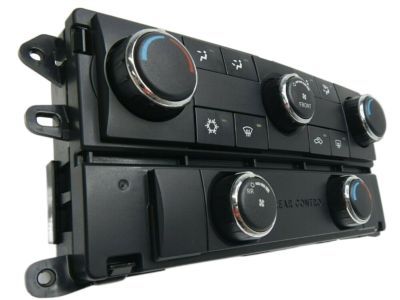
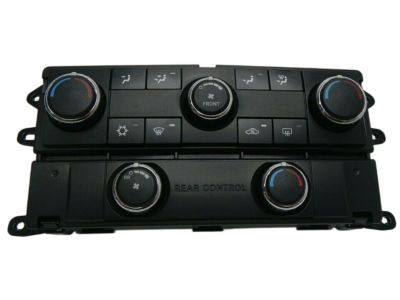
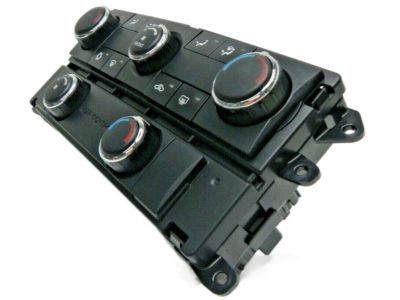
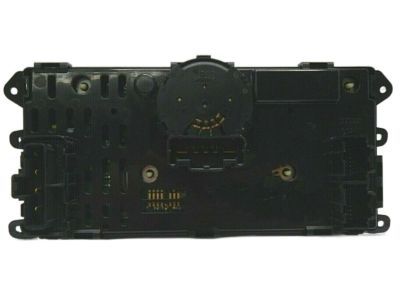 MSRP: $632.00 Your Price: $433.96
- 11
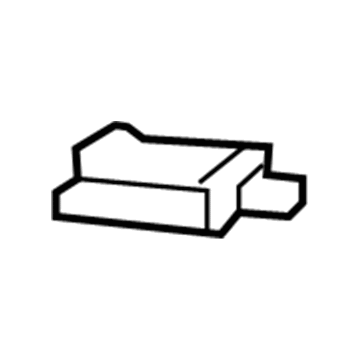
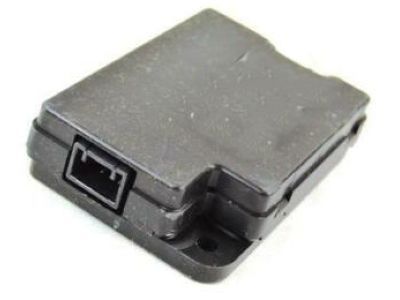
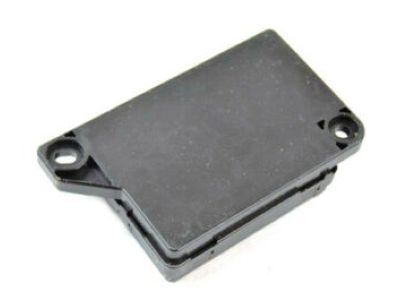 MSRP: $88.80 Your Price: $59.211
 5172798AG
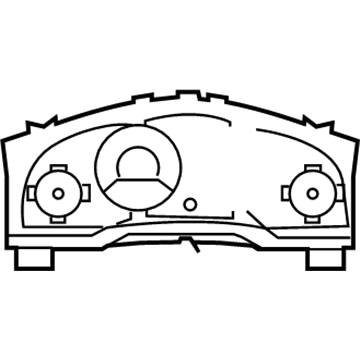
Cluster - Instrument PanelInstrument Cluster- Part Notes: All Models; 120MPH; With White Face; Without Tachometer
- 5172799AG
Cluster - Instrument PanelInstrument Cluster- Part Notes: All Models; 120MPH; With White Face; With Tachometer; Without Driver Info Center
- 5172805AG
Cluster - Instrument PanelInstrument Cluster- Part Notes: All Models; 120MPH; Without White Face; Without Driver Info Center; With Trip Computer
- 5172806AG
Cluster - Instrument PanelInstrument Cluster- Part Notes: All Models; 120MPH; Without White Face; With Driver Info Center;All Models; 140MPH; With Driver Info Center
OEM 2010 Chrysler Town & Country Parts for Instruments & Gauges
Authentic OEM Chrysler components offer both excellent performance and a long service life. These genuine 2010 Chrysler Town & Country parts are made of high quality materials to ensure they are as durable and strong as possible. The suitable option for vehicle maintenance, they are easy to install as per the instructions of the factory. To get new OE Instruments & Gauges parts, select JeepPartsDeal.com. We offer authentic OEM 2010 Chrysler Town & Country parts with manufacturer warranties, fair prices, a simple return policy and fast shipping.
Brake Light Switch Installation and Repair Tips for 2010 Chrysler Town & Country
- Q:How to Install a Brake Light Switch on 2010 Chrysler Town & Country?A:The brake light switch is installed by switching off the SRS by disconnecting the negative cable on the battery and waiting two minutes. Make sure that the switch plunger is open, reattach the harness, align and fix the switch and release the brake pedal so that it can self-adjust. Last, re-attach the negative cable of the battery.