JeepParts
My Garage
My Account
Cart
OEM Chrysler Crossfire Wiper Linkage
Wiper Blade- Select Vehicle by Model
- Select Vehicle by VIN
Select Vehicle by Model
orMake
Model
Year
Select Vehicle by VIN
For the most accurate results, select vehicle by your VIN (Vehicle Identification Number).
1 Wiper Linkage found
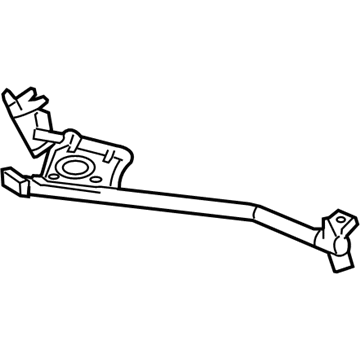
Chrysler Crossfire Wiper Transmission Part Number: 5097928AA
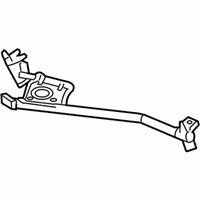
Chrysler Crossfire Wiper Linkage
Choose OEM Wiper Linkage that meet Chrysler factory standards. Chrysler designs and tests every component for precision and durability. Each Wiper Linkage follows strict manufacturing steps to lock in quality and fit. If your Chrysler Crossfire matters to you, OEM parts make the smart choice. You'll get the exact look, feel, and performance you expect. Shop genuine Crossfire parts at the highly competitive prices online. Enjoy a manufacturer's warranty, a hassle-free return policy, and rapid delivery. No more guesswork with off brands. Get genuine parts with exact fit and true factory performance. Shop with confidence today at JeepPartsDeal.com.
Chrysler Crossfire Wiper Linkage Parts and Q&A
- Q:How to service and repair the Wiper Linkage on Chrysler Crossfire?A:To carry out the repair and servicing of the wiper motor linkage, if possible, the wiper system should be cycled to put the wiper arms and linkage in the park position. Start by removing the negative battery cable. Next, disconnect the wiper arms and cowl grille. Subsequently, remove the covering of the control module box and unlock and disconnect the wiper motor harness connector from the Body Control Module (BCM). Take away the rubber grommet of the wiper motor harness from the control module box as well as remove rubber grommet from the cowl ledge. Turn the cowl grille drain to the left, lift it upwards, and take it out of the cowl. Take off the lower wiper module attachment bolt below the cowl ledge and the two upper wiper module attachment nuts. Do not let the wiper module contact the windshield. Next remove the wiper module from the vehicle. For installation, position the wiper module over the two upper attachment nut mounting studs, and secure it with the two upper attachment nuts. The cowl hole is for installing and securing the attachment bolt for the lower wiper module. Reinstall the cowl grille drain in the cowl by inserting and rotating it clockwise sufficient so that the grommet is fully seated. Ensure that the wiper motor harness and rubber grommets are not caught on any moving parts and properly seated and routed. Install the wiper motor harness and rubber grommet into the cowl ledge and rubber grommet into the control module box. Attach the connector of the wiper motor harness to the Body Control Module (BCM) and push the locking tab completely over the connector. To finish, install the control module box cover, the cowl grille, the wiper arms and reconnect the negative battery cable.
Related Chrysler Crossfire Parts
 Chrysler Crossfire Brake Light Switch
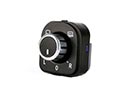 Chrysler Crossfire Mirror Switch
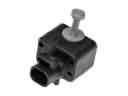 Chrysler Crossfire Air Bag Sensor
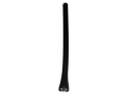 Chrysler Crossfire Antenna Mast
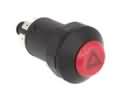 Chrysler Crossfire Hazard Warning Switch
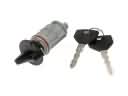 Chrysler Crossfire Ignition Lock Assembly
 Chrysler Crossfire Knock Sensor
 Chrysler Crossfire Oil Pressure Switch
 Chrysler Crossfire Relay
 Chrysler Crossfire TPMS Sensor
 Chrysler Crossfire Window Motor
 Chrysler Crossfire Windshield Washer Pump