JeepParts
My Garage
My Account
Cart
OEM Dodge Caravan Windshield Washer Fluid Reservoir
Windshield Washer Reservoir- Select Vehicle by Model
- Select Vehicle by VIN
Select Vehicle by Model
orMake
Model
Year
Select Vehicle by VIN
For the most accurate results, select vehicle by your VIN (Vehicle Identification Number).
4 Windshield Washer Fluid Reservoirs found
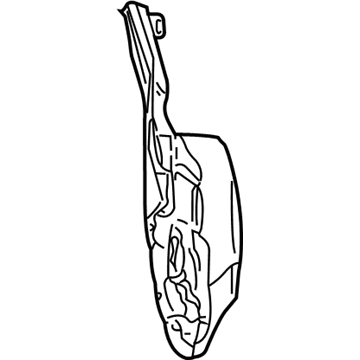
Dodge Caravan Washer Reservoir Part Number: 5127200AA
$155.59 MSRP: $197.24You Save: $41.65 (22%)Ships in 1-2 Business DaysDodge Caravan Washer Reservoir Part Number: 5019243AA
$142.28Ships in 1-2 Business Days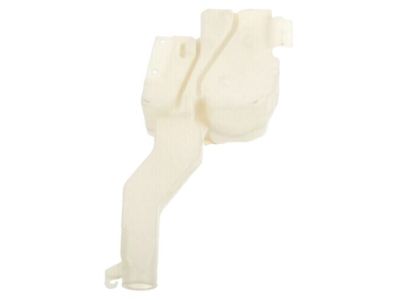
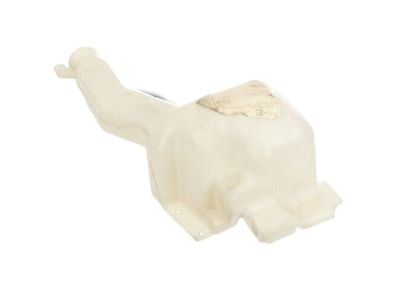
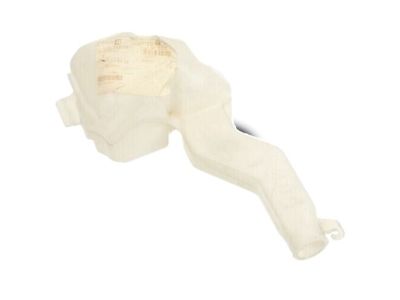
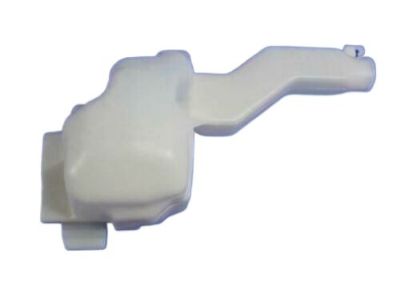
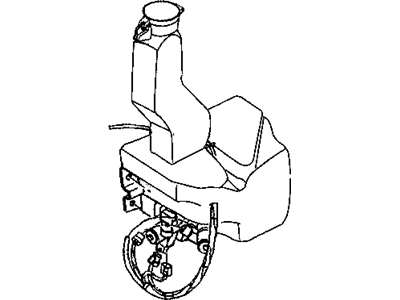
Dodge Caravan Reservoir Part Number: 4797693AB

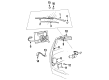
Dodge Caravan Washer Reservoir Part Number: 4467343
Dodge Caravan Windshield Washer Fluid Reservoir
Choose OEM Windshield Washer Fluid Reservoir that meet Dodge factory standards. Dodge designs and tests every component for precision and durability. Each Windshield Washer Fluid Reservoir follows strict manufacturing steps to lock in quality and fit. If your Dodge Caravan matters to you, OEM parts make the smart choice. You'll get the exact look, feel, and performance you expect. Shop genuine Caravan parts at the highly competitive prices online. Enjoy a manufacturer's warranty, a hassle-free return policy, and rapid delivery. No more guesswork with off brands. Get genuine parts with exact fit and true factory performance. Shop with confidence today at JeepPartsDeal.com.
Dodge Caravan Windshield Washer Fluid Reservoir Parts and Q&A
- Q:How to Maintain a Windshield Washer Fluid Reservoir on Dodge Caravan?A:Before servicing the windshield washer reservoir, take out the negative battery cable and remove the engine fresh air housing from its compartment. Cut the washer hose from the in-line connector ahead of the cowl grille, ensuring you do not separate the connector from the fresh air plenum hose and also take out the washer hose at the front fender side-shield hose clip. Tighten the wheel removal tool on the right filler tube, then form a jack point and safely lift the vehicle off the ground. After doing so, take the wheel and tire off from the right front. Open the left right front wheelhouse splash shield and move the washer hose from the front (outboard) washer pump by connecting a temporary hose in place and drawing the fluid out to empty it. Release the lock on the connector and pull on the black tab to pull it away from the pump and sensor. Unscrew the reservoir mounting screws and lift the reservoir slightly away from the body mount. Once lifted, lower and pull the filler neck and front washer hose out through the fender shield. Lower the reservoir through the side shield hole and attach it to the body mount after you've pushed the filler neck and the front washer hose through the hole. Put in the two reservoir mounting screws, applying 8.5 - 11.3 Nm (75 - 100 in. lbs.) of torque and connect the electrical body harness connectors to the washer pump motors and fluid level sensor. Wire the washer hose in place so it doesn't get pinched, then go ahead and put back the left right front wheelhouse splash shield, fit the right front wheel and tire, then finally lower the car from the hoist or jack stands. Put in the filler tube screw by hand and torque it to 8.5 - 11.3 Nm (75 - 100 in. -lbs.), link the hose to the fender side shield clip and reattach the hose at the inline connector ahead of the cowl grille. Afterward, install the fresh air housing back into the engine, plug in the negative battery cable and check the system function.
- Q:How to Install a Windshield Washer Fluid Reservoir on Dodge Caravan?A:Attach the washer reservoir to the rest of the car by pushing through the side fender opening and linking the filler section and front hose to the lower body mount. Mount the reservoir using two screws, turning them to a torque range of 8.5 - 11.3 Nm (75 - 100 in.lbs.). Attach the body harness wires from the motor and sensor to the connectors on the electrical body harness, making sure the red lock is closed. Ensure the plumbing of the washer won't create possible problems or reduce its functionality. After that, fit the left and right front Wheelhouse splash shields and then add the right front wheel and tire assembly; when the work is done, lower the vehicle from either the hoist or the jack stands. After installing the filler tube screw and tightening it at 8.5 - 11.3 Nm (75 - 100 in.lbs.), attach the washer hose to the hose clip near the front fender side shield and at the in-line connector just ahead of the cowl grille. Attach the fresh air housing for the engine in the engine compartment and plug in the battery negative cable before operating the system.
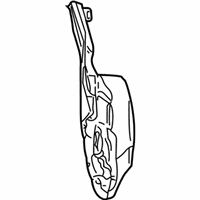
Related Dodge Caravan Parts
 Dodge Caravan Door Lock Actuator
 Dodge Caravan Windshield Washer Nozzle
 Dodge Caravan Wiper Motor
 Dodge Caravan Front Door Striker
 Dodge Caravan Master Cylinder Repair Kit
 Dodge Caravan Rear Passenger Door Handle Latch
 Dodge Caravan Seat Switch
 Dodge Caravan Window Run
 Dodge Caravan Windshield Wiper
 Dodge Caravan Wiper Arm
 Dodge Caravan Wiper Blade
 Dodge Caravan Wiper Pivot