JeepParts
My Garage
My Account
Cart
OEM Dodge Grand Caravan Liftgate Lock Actuator
Tailgate Latch- Select Vehicle by Model
- Select Vehicle by VIN
Select Vehicle by Model
orMake
Model
Year
Select Vehicle by VIN
For the most accurate results, select vehicle by your VIN (Vehicle Identification Number).
7 Liftgate Lock Actuators found
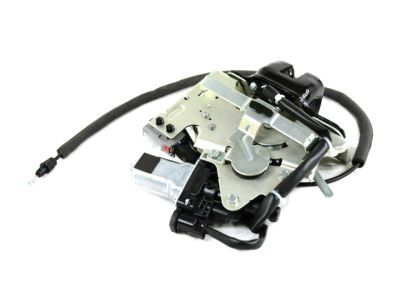
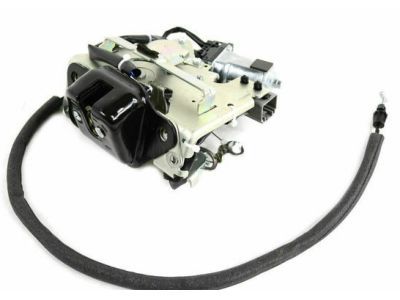

Dodge Grand Caravan Lock Actuator, Rear Part Number: 4589581AL
$380.12 MSRP: $575.00You Save: $194.88 (34%)Ships in 1-2 Business Days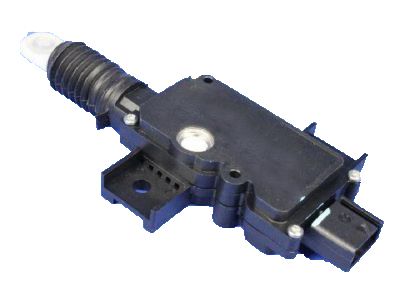
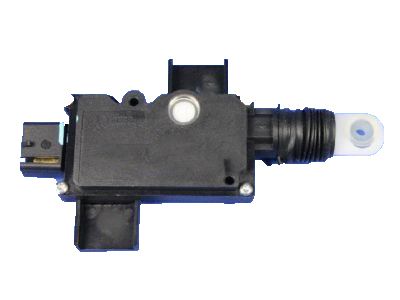
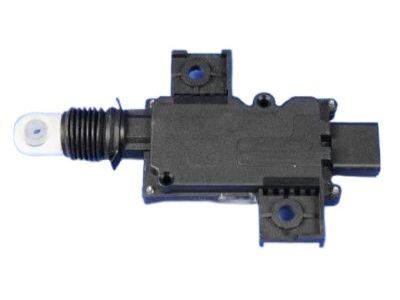
Dodge Grand Caravan Lock Actuator Part Number: 4675782
$36.08 MSRP: $45.74You Save: $9.66 (22%)Ships in 1-2 Business Days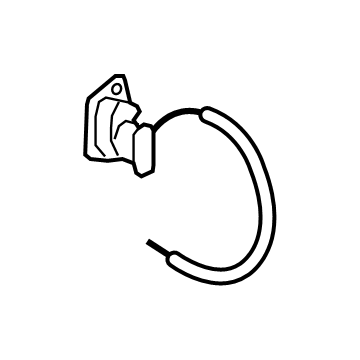
Dodge Grand Caravan Liftgate Latch Part Number: 4589243AH
$184.17 MSRP: $276.00You Save: $91.83 (34%)Ships in 1-2 Business Days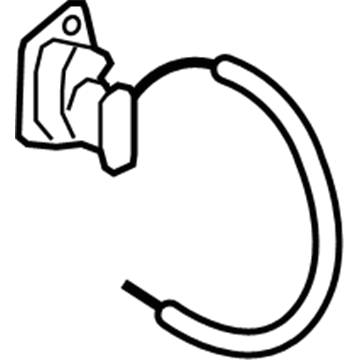
Dodge Grand Caravan Lock Actuator, Rear Part Number: 4589243AC
$78.97 MSRP: $117.00You Save: $38.03 (33%)
Dodge Grand Caravan Lock Actuator, Rear Part Number: 5019038AA
$198.89 MSRP: $212.00You Save: $13.11 (7%)Ships in 1-2 Business Days
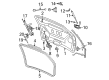
Dodge Grand Caravan Lock Actuator Part Number: 5017678AA
$49.02 MSRP: $75.00You Save: $25.98 (35%)Ships in 1-2 Business DaysDodge Grand Caravan Lock Actuator Part Number: 5017887AA
$244.80 MSRP: $322.00You Save: $77.20 (24%)Ships in 1-2 Business Days
Dodge Grand Caravan Liftgate Lock Actuator
Choose OEM Liftgate Lock Actuator that meet Dodge factory standards. Dodge designs and tests every component for precision and durability. Each Liftgate Lock Actuator follows strict manufacturing steps to lock in quality and fit. If your Dodge Grand Caravan matters to you, OEM parts make the smart choice. You'll get the exact look, feel, and performance you expect. Shop genuine Grand Caravan parts at the highly competitive prices online. Enjoy a manufacturer's warranty, a hassle-free return policy, and rapid delivery. No more guesswork with off brands. Get genuine parts with exact fit and true factory performance. Shop with confidence today at JeepPartsDeal.com.
Dodge Grand Caravan Liftgate Lock Actuator Parts and Q&A
- Q:How to replace the Liftgate Lock Actuator in the trunk/liftgate motor on Dodge Grand Caravan?A:To remove and replace the latch actuator in the trunk/liftgate motor, disconnect and isolate the negative battery cable. Remove the lower trim panel of the liftgate after opening. To remove the latch bolts, perform the following steps. Next, power latch connector remove and 3 latch retaining bolts remove. Separate the key cylinder's link rod from the key cylinder and position the latch assembly on the workbench. Identify the three wires extending from the latch assembly actuator section, detach the main connector retaining push pins from the housing of the latch actuator, and remove the three wires from the main latch electrical connector. To remove the latch actuator, flip over the latch assembly and remove the latch actuator retaining screw(s). To install, position the new latch actuator in the latch assembly and secure it with the three retaining screws, torquing them to 4 in. pounds Reconnect the 3 wires in the main latch electrical connector to the proper wire cavities. Damage to the latch actuator may result if the wires are misplaced. Fasten the main connector retaining push pins on the latch actuator housing. Hook the key cylinder link rod onto the key cylinder. Position the latch to install the three latch retaining bolts, torquing to specification at 10 Nm (90 in. lbs.). Join the electrical connector for the power latch, reinstall the lower liftgate trim panel and connect the negative battery cable.
- Q:How to service and repair the Power Trunk Liftgate Lock Actuator on Dodge Grand Caravan?A:To service and repair the Power Trunk / Liftgate Lock Actuator, first disconnect and isolate the battery negative cable. Open the liftgate and remove the lower liftgate trim panel. Disconnect the power latch electrical connector and remove the three latch retaining bolts. Unhook the key cylinder link rod from the key cylinder while holding the latch assembly. Place the latch assembly on a bench and locate the three wires leading from the actuator portion. Disengage the main connector retaining push pins from the latch actuator housing and back the three wires out of the main latch electrical connector. Flip the latch assembly over and remove the latch actuator retaining screw(s) to take out the latch actuator from the latch assembly.

Related Dodge Grand Caravan Parts
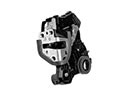 Dodge Grand Caravan Door Lock
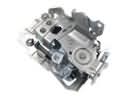 Dodge Grand Caravan Door Latch Assembly
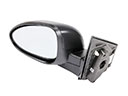 Dodge Grand Caravan Car Mirror
 Dodge Grand Caravan Door Check
 Dodge Grand Caravan Door Latch Cable
 Dodge Grand Caravan Door Lock Switch
 Dodge Grand Caravan Fuel Filler Housing
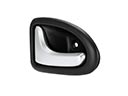 Dodge Grand Caravan Interior Door Handle
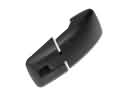 Dodge Grand Caravan Liftgate Hinge
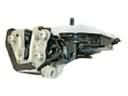 Dodge Grand Caravan Rear Passenger Door Handle Latch
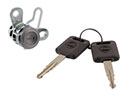 Dodge Grand Caravan Tailgate Lock
 Dodge Grand Caravan Window Run