JeepParts
My Garage
My Account
Cart
OEM Dodge Ram 2500 Van Wiper Linkage
Wiper Blade- Select Vehicle by Model
- Select Vehicle by VIN
Select Vehicle by Model
orMake
Model
Year
Select Vehicle by VIN
For the most accurate results, select vehicle by your VIN (Vehicle Identification Number).
2 Wiper Linkages found
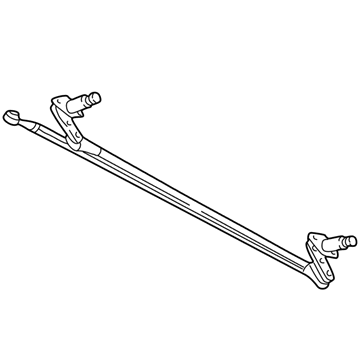

Dodge Ram 2500 Van Wiper Transmission Part Number: 68067598AA
$129.88 MSRP: $161.00You Save: $31.12 (20%)Ships in 1-2 Business Days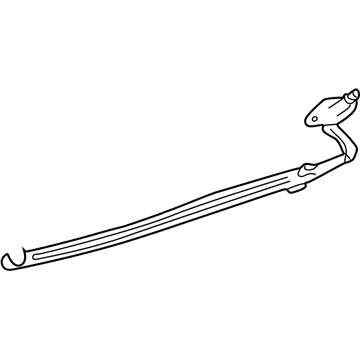
Dodge Ram 2500 Van Wiper Transmission, Front Part Number: 68067048AA
Dodge Ram 2500 Van Wiper Linkage
Choose OEM Wiper Linkage that meet Dodge factory standards. Dodge designs and tests every component for precision and durability. Each Wiper Linkage follows strict manufacturing steps to lock in quality and fit. If your Dodge Ram 2500 Van matters to you, OEM parts make the smart choice. You'll get the exact look, feel, and performance you expect. Shop genuine Ram 2500 Van parts at the highly competitive prices online. Enjoy a manufacturer's warranty, a hassle-free return policy, and rapid delivery. No more guesswork with off brands. Get genuine parts with exact fit and true factory performance. Shop with confidence today at JeepPartsDeal.com.
Dodge Ram 2500 Van Wiper Linkage Parts and Q&A
- Q:How to service and repair the Wiper Linkage on Dodge Ram 2500 Van?A:To service and repair the wiper motor linkage, begin by removing the wiper arms from the wiper pivots. Next, take off the cowl plenum cover/grille panel from the cowl plenum, ensuring not to apply pressure to or pry on the plastic drive link bushing; only apply pressure to the metal portions of the drive link around the bushing to avoid damage. Disengage the wiper linkage drive link bushing from the wiper motor crank arm ball stud by prying it off using two suitably sized screwdrivers, one on each side of the ball stud, and pry between the crank arm and the metal portion of the drive link. Remove the four screws securing the two pivot mounting flanges to the cowl top panel, then, working through the cowl top panel access holes, remove the linkage and pivots as a unit from the cowl plenum. For installation, position the wiper linkage and pivots as a unit into the cowl plenum through the access holes, then install and tighten the four screws securing the pivot mounting flanges to the cowl top panel to 11 Nm (95 in. lbs.). Again, avoid applying pressure to the plastic drive link bushing; use a short 19 millimeter or 3/4 inch socket over the capped side of the drive link bushing as an installation tool, and with channel-lock pliers, apply enough pressure to the wiper motor crank arm and the socket to snap the bushing onto the ball stud without directly applying pressure to the plastic bushing. Finally, reinstall the cowl plenum cover/grille panel onto the cowl top and the wiper arms onto the wiper pivots.
Related Dodge Ram 2500 Van Parts
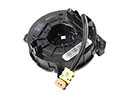 Dodge Ram 2500 Van Clock Spring
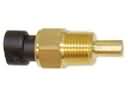 Dodge Ram 2500 Van Coolant Temperature Sensor
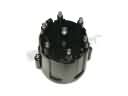 Dodge Ram 2500 Van Distributor Cap
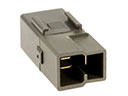 Dodge Ram 2500 Van Horn Relay
 Dodge Ram 2500 Van HVAC Relay
 Dodge Ram 2500 Van Igniter
 Dodge Ram 2500 Van Ignition Coil
 Dodge Ram 2500 Van Ignition Lock Assembly
 Dodge Ram 2500 Van Spark Plug Wire
 Dodge Ram 2500 Van Starter Relay
 Dodge Ram 2500 Van Windshield Washer Pump
 Dodge Ram 2500 Van Wiper Pulse Module