JeepParts
My Garage
My Account
Cart
OEM Dodge Ram 3500 Van Belt Tensioner
- Select Vehicle by Model
- Select Vehicle by VIN
Select Vehicle by Model
orMake
Model
Year
Select Vehicle by VIN
For the most accurate results, select vehicle by your VIN (Vehicle Identification Number).
1 Belt Tensioner found


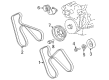
Dodge Ram 3500 Van Serpentine Tensioner Part Number: 53010158AC
Dodge Ram 3500 Van Belt Tensioner
Choose OEM Belt Tensioner that meet Dodge factory standards. Dodge designs and tests every component for precision and durability. Each Belt Tensioner follows strict manufacturing steps to lock in quality and fit. If your Dodge Ram 3500 Van matters to you, OEM parts make the smart choice. You'll get the exact look, feel, and performance you expect. Shop genuine Ram 3500 Van parts at the highly competitive prices online. Enjoy a manufacturer's warranty, a hassle-free return policy, and rapid delivery. No more guesswork with off brands. Get genuine parts with exact fit and true factory performance. Shop with confidence today at JeepPartsDeal.com.
Dodge Ram 3500 Van Belt Tensioner Parts and Q&A
- Q: How to service the drive belt tensioner on Dodge Ram 3500 Van?A:You must first remove the accessory drive belt to work on the tensioner. After unplugging the wiring and secondary cable from the ignition coil, remove the coil from the bracket with two bolts so that the mounting bracket remains in place on the cylinder head. Then, come apart the assembly by unfastening the nut holding the tensioner to the mounting bracket and then take off the pulley bolt. Begin with attaching the pulley, putting the pulley bolt through it and tightening the pulley to a torque of 61 Nm (45 ft. lbs). Put the tensioner assembly onto the bracket and place its indexing tab into the bracket's index slot; once aligned, tighten the nut securely to 67 Nm (50 ft. lbs.) torque. Attach all wiring back to the ignition coil, making sure the coil mounting bolts are torqued enough to not harm the coil case. Attach the coil by putting it into the bracket and using a torque wrench to tighten it to either 11 Nm (100 in. lbs.) or 5 Nm (50 in. lbs.) if the bracket is threaded for bolts. After the replacement, put the drive belt back and make sure to line up the belt indexing marks.

Related Dodge Ram 3500 Van Parts
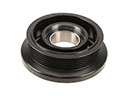 Dodge Ram 3500 Van A/C Idler Pulley
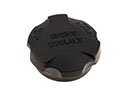 Dodge Ram 3500 Van Coolant Reservoir Cap
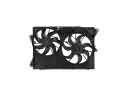 Dodge Ram 3500 Van Cooling Fan Assembly
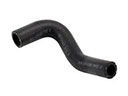 Dodge Ram 3500 Van Cooling Hose
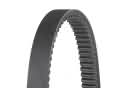 Dodge Ram 3500 Van Drive Belt
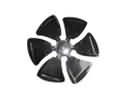 Dodge Ram 3500 Van Fan Blade
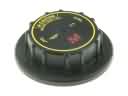 Dodge Ram 3500 Van Radiator Cap
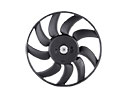 Dodge Ram 3500 Van Radiator fan
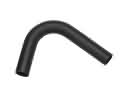 Dodge Ram 3500 Van Radiator Hose
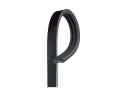 Dodge Ram 3500 Van Serpentine Belt
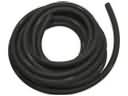 Dodge Ram 3500 Van Transmission Oil Cooler Hose
 Dodge Ram 3500 Van V-Belt