JeepParts
My Garage
My Account
Cart
Switches
2004 Dodge Grand Caravan Headlight Switch, Turn Signal Switch
Currently shopping for
2004 Dodge Grand Caravan
Change VehicleCategories Close X
Currently selected
Electrical
Other Categories
A/C & Heating
Air & Fuel Delivery
Belts & Cooling
Body & Hardware
Brakes
Charging & Starting
Driveline & Axles
Emission Control & Exhaust
Engine
Headlights & Lighting
Interior & Exterior Trim
Maintenance & Lubrication
Steering
Suspension
Transmission
How to use OE catalog
4 diagrams found for the vehicle you selected.Select your vehicle options to narrow down results.
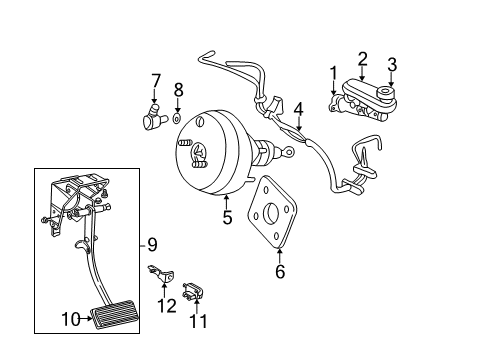
- 1.Cowl - Components On Dash Panel
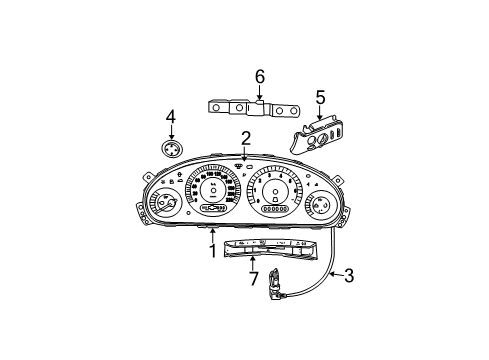
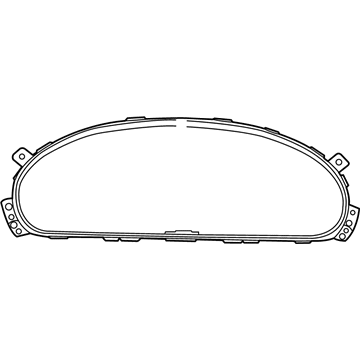
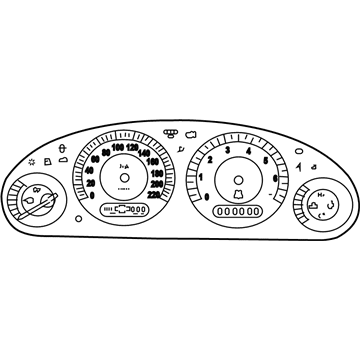
- 2.Instrument Panel - Cluster & Switches
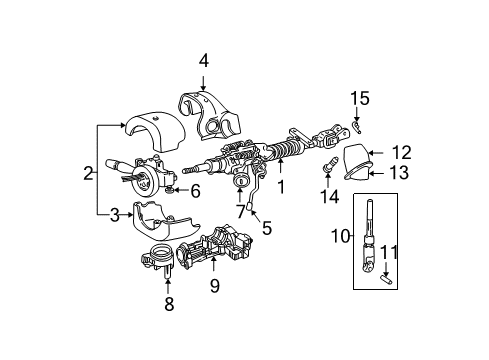
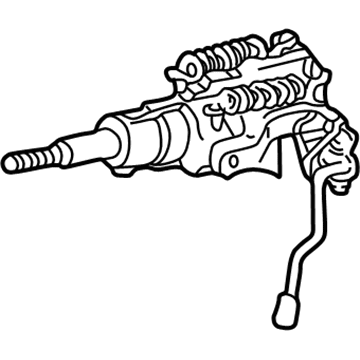
- 3.Steering Column - Housing & Components (Without Tilt)
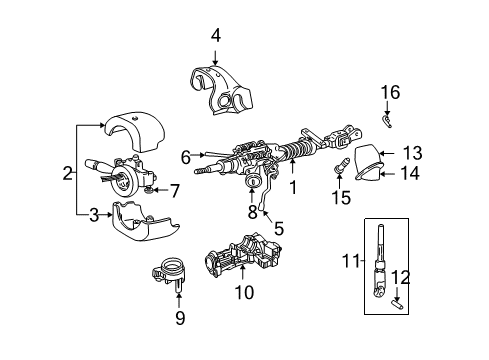
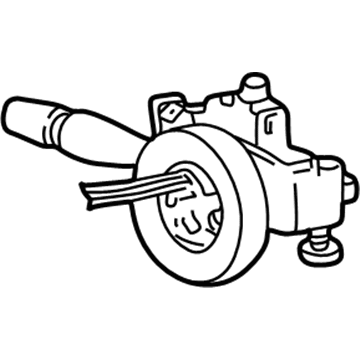
- 4.Steering Column - Shroud, Switches & Levers (With Tilt)
Sort by:
Ref No.
Ref No.
Part No. & Part Description
Price & Qty.
Part No. &
Part Description
Part Description
- 1
- 1
- 1
- 1
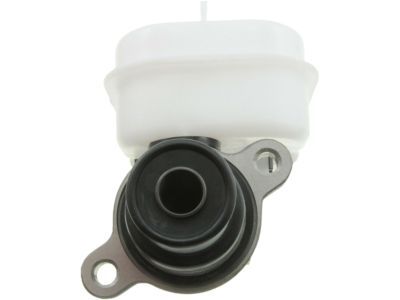
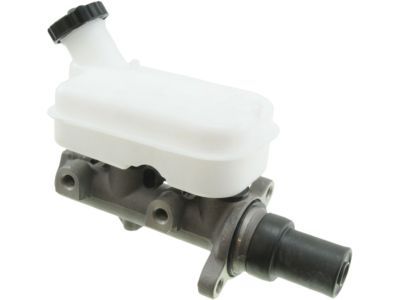
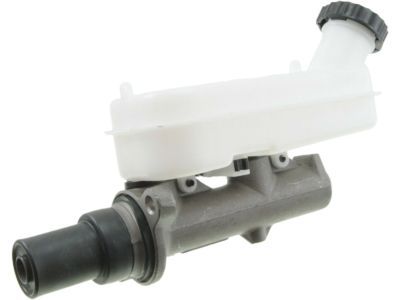
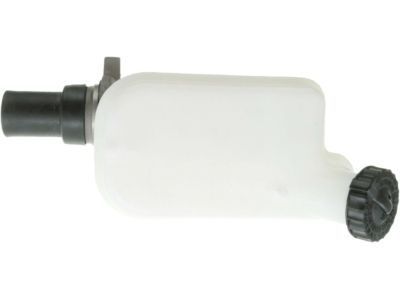
- 1MSRP: $552.00 Your Price: $501.861
- 14721550AB
Master Cylinder - BrakeMaster Cylinder- Part Notes: With 4 Wheel Disc, Without Traction Cntrl
MSRP: $355.00 Your Price: $224.221
- 2
- 2
- 2
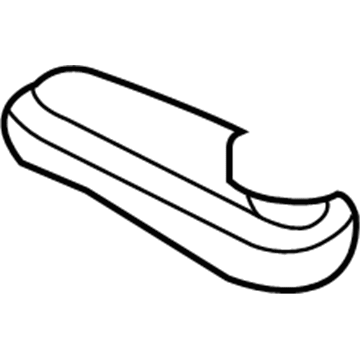
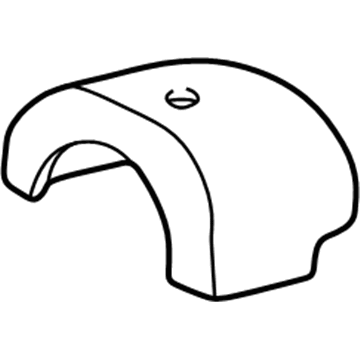 RG55XDVAB
Shroud - Steering ColumnSwitch Cover- Part Notes: With Tilt, Upper, Without Traction Cntrl, Gray;Without Tilt, Upper, Without Traction Cntrl, Gray
- 2
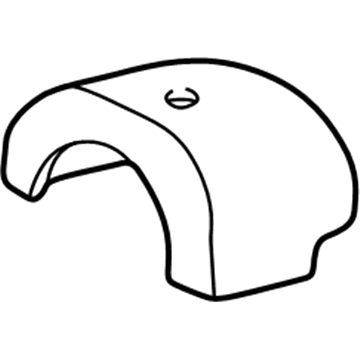 RG55ZJ8AB
Shroud - Steering ColumnSwitch Cover- Part Notes: With Tilt, Upper, Without Traction Cntrl, Khaki;Without Tilt, Upper, Without Traction Cntrl, Khaki
- 2RG55ZP7AB
Shroud - Steering ColumnSwitch Cover- Part Notes: With Tilt, Upper, Without Traction Cntrl, Green;Without Tilt, Upper, Without Traction Cntrl, Green
- 2SU71XDVAB
Shroud - Steering ColumnSwitch Cover- Part Notes: With Tilt, Upper, With Traction Cntrl, Gray;Without Tilt, Upper, With Traction Cntrl, Gray
- 2SU71ZJ8AB
Shroud - Steering ColumnSwitch Cover- Part Notes: With Tilt, Upper, With Traction Cntrl, Khaki;Without Tilt, Upper, With Traction Cntrl, Khaki
- 2SU71ZP7AB
Shroud - Steering ColumnSwitch Cover- Part Notes: With Tilt, Upper, With Traction Cntrl, Green;Without Tilt, Upper, With Traction Cntrl, Green
- 2XJ18XDVAA
Shroud - Steering ColumnSwitch Cover- Part Notes: Without Tilt, With Power Pedal & Traction Cntrl, Gray
- 2XJ18ZJ8AA
Shroud - Steering ColumnSwitch Cover- Part Notes: Without Tilt, With Power Pedal & Traction Cntrl, Khaki
- 2XJ18ZP7AA
Shroud - Steering ColumnSwitch Cover- Part Notes: Without Tilt, With Power Pedal & Traction Cntrl, Green
- 2XJ19XDVAA
Shroud - Steering ColumnSwitch Cover- Part Notes: Without Tilt, With Power Pedal & Without Traction Cntrl, Gray
- 2XJ19ZJ8AA
Shroud - Steering ColumnSwitch Cover- Part Notes: Without Tilt, With Power Pedal & Without Traction Cntrl, Khaki
- 2XJ19ZP7AA
Shroud - Steering ColumnSwitch Cover- Part Notes: Without Tilt, With Power Pedal & Without Traction Cntrl, Green
- 3
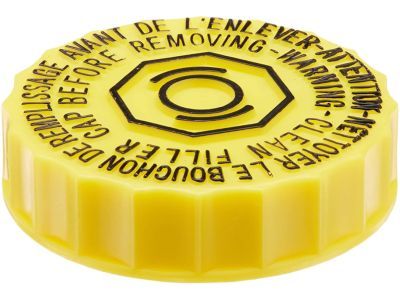
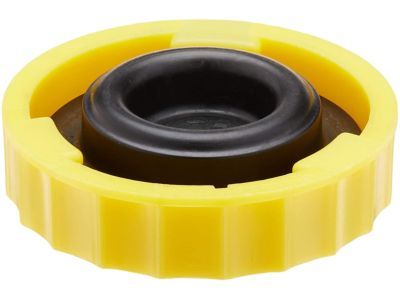 MSRP: $33.10 Your Price: $22.471
- 4
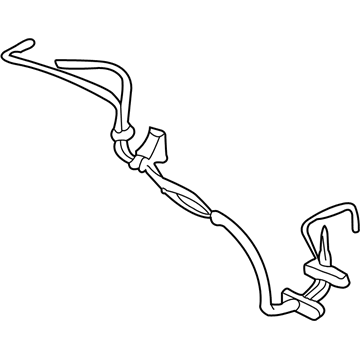
- 4
- 4
- 4
- 4
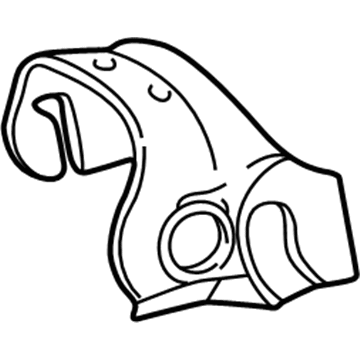 MSRP: $8.34 Your Price: $6.581
 - 4
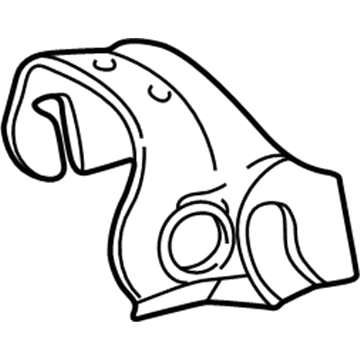 MSRP: $21.34 Your Price: $16.831
- 4

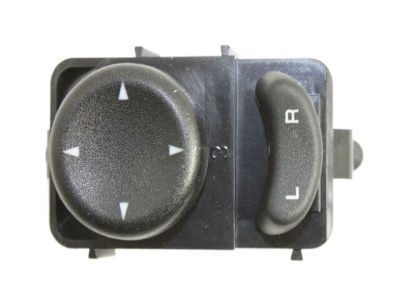
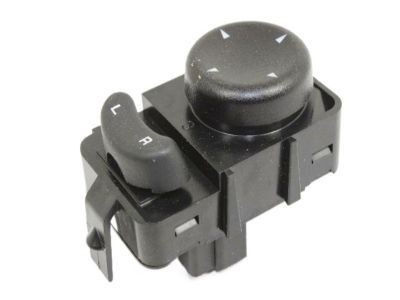
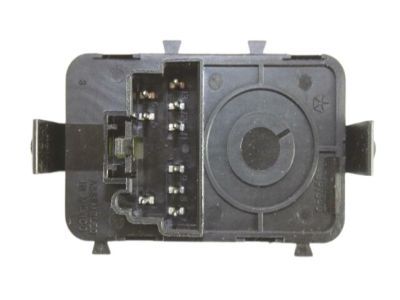 MSRP: $131.00 Your Price: $87.141
- 5
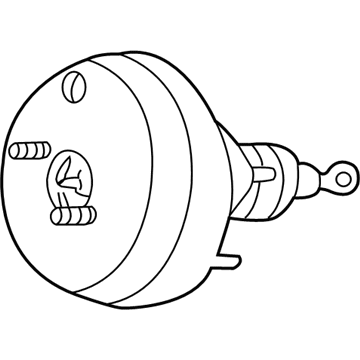
- 5
- 5
 MSRP: $214.00 Your Price: $97.921
 - 5
- 5
- 5
- 5
- 5
- 5
- 5
- 5
- 5
- 6
- 6
- 6
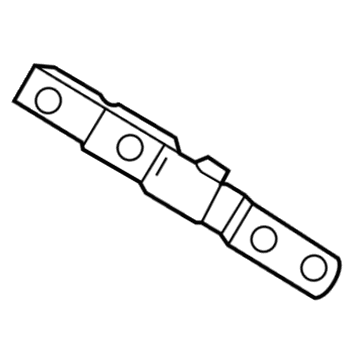
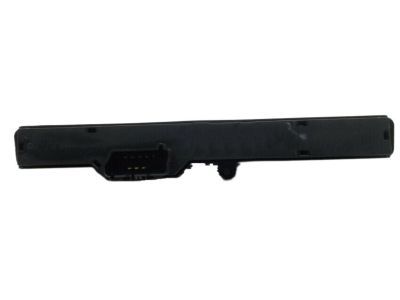
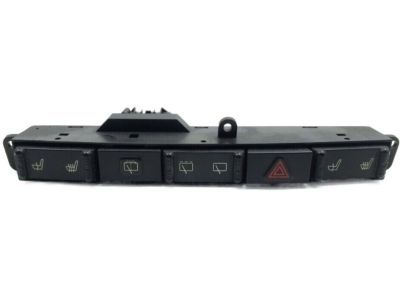
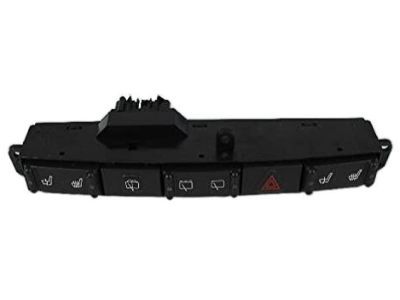
- 6
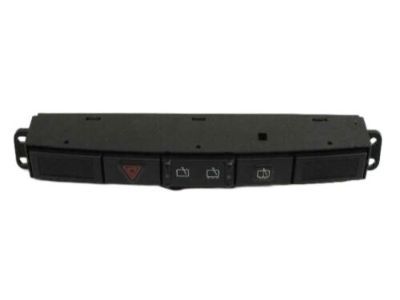
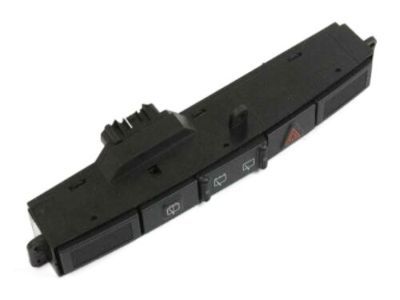
- 7

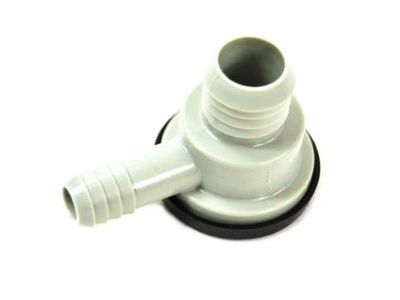
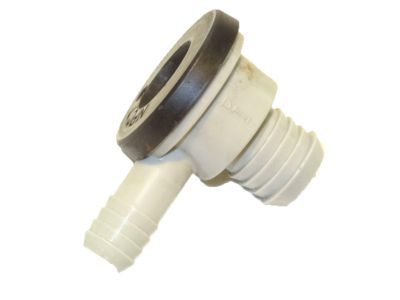
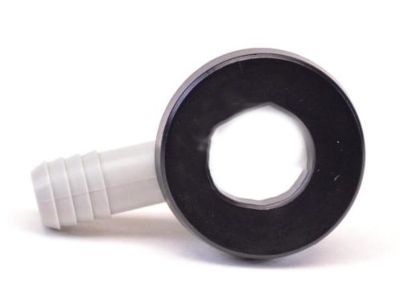
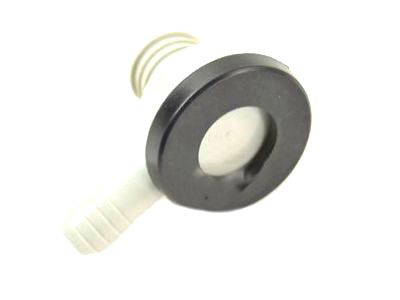 MSRP: $49.05 Your Price: $32.911
- 7
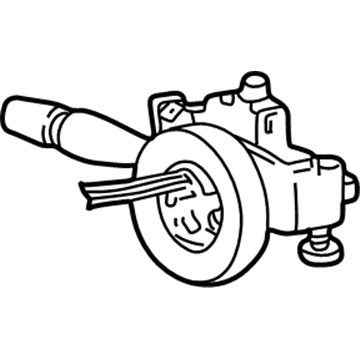
- 7

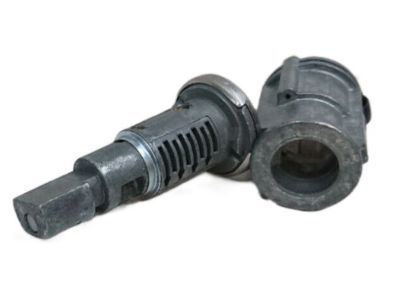
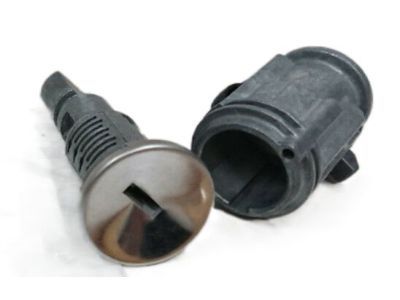 MSRP: $153.00 Your Price: $103.611
- 7
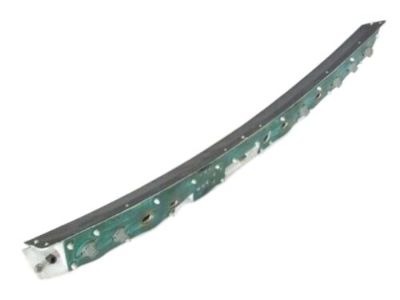
- 7
- 8

- 8
 MSRP: $153.00 Your Price: $103.611
- 8
 MSRP: $24.55 Your Price: $14.571
- 9
- 9
 MSRP: $24.55 Your Price: $14.571
- 10
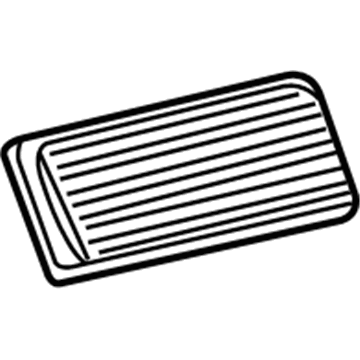
- 11
- 12
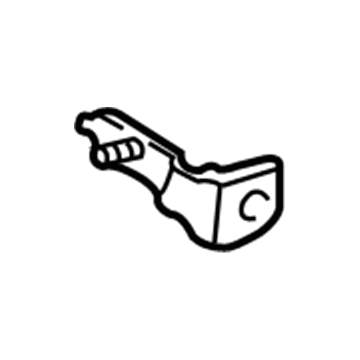
- ZL661L8AG
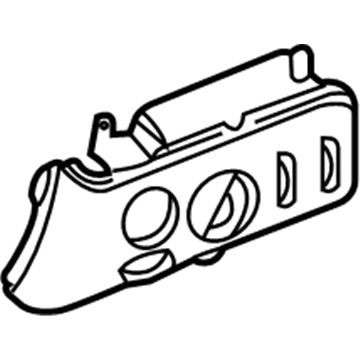
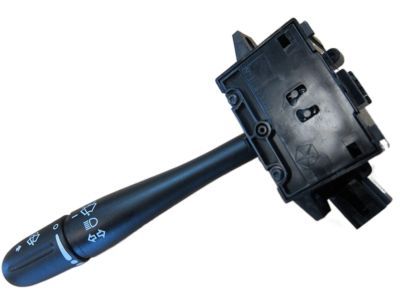
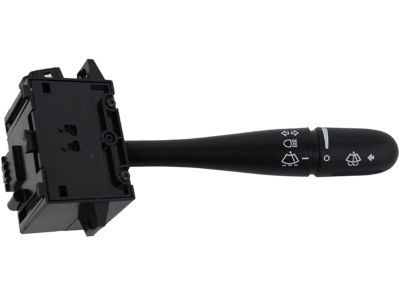
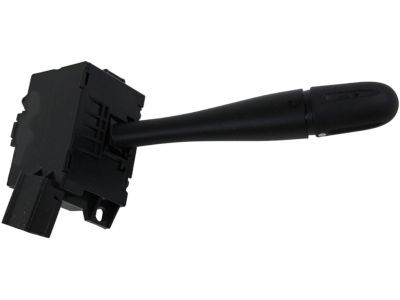
Switch - Lighting ControlFog Lamp Switch- Part Notes: All Models; With Fog Lamps; With Power Mirrors;All Models; With Power Mirrors
- 1DW671L8AA
Switch - Lighting ControlHeadlamp Switch- Part Notes: All Models; Without Fog Lamps; Without Power Mirrors
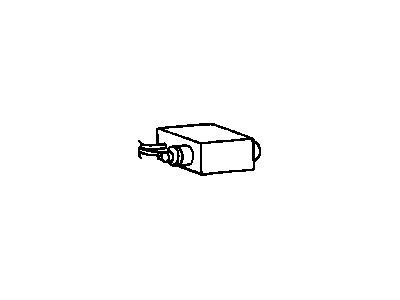
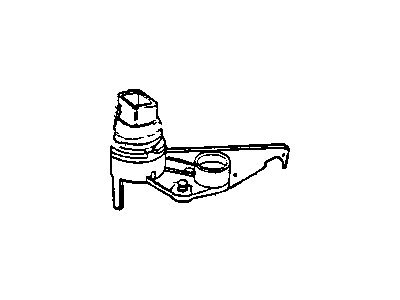
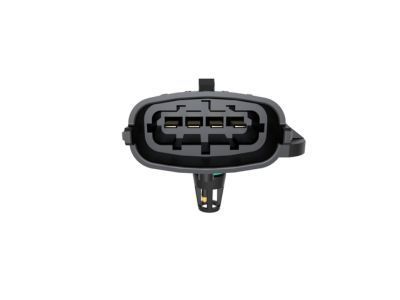
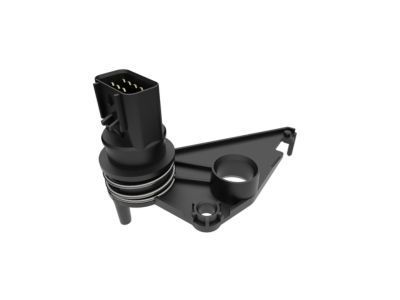
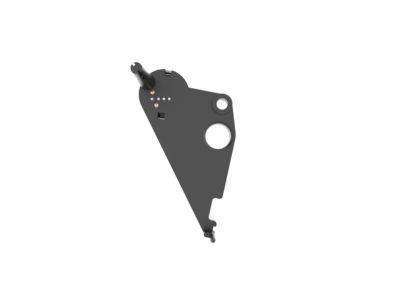
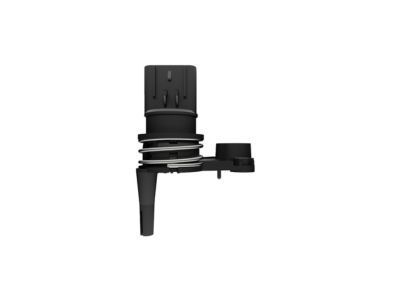 4659676AC
Sensor - Transmission RangeRange Sensor- Part Notes: All Models; 4 Speed
- Replaced By: 4659676AD
MSRP: $93.90 Your Price: $62.611
 MSRP: $131.00 Your Price: $87.14
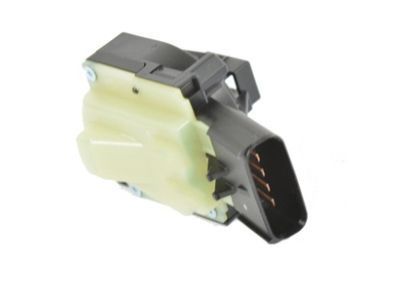
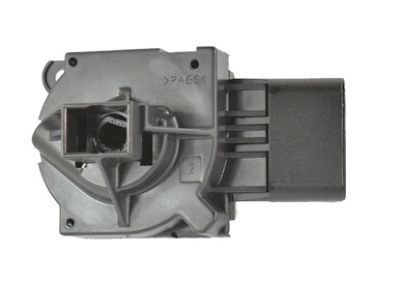 MSRP: $94.40 Your Price: $63.96
OEM 2004 Dodge Grand Caravan Parts for Switches
Authentic OEM Dodge components offer both excellent performance and a long service life. These genuine 2004 Dodge Grand Caravan parts are made of high quality materials to ensure they are as durable and strong as possible. The suitable option for vehicle maintenance, they are easy to install as per the instructions of the factory. To get new OE Switches parts, select JeepPartsDeal.com. We offer authentic OEM 2004 Dodge Grand Caravan Headlight Switch, Turn Signal Switch with manufacturer warranties, fair prices, a simple return policy and fast shipping.
Neutral Safety Switch Installation and Repair Tips for 2004 Dodge Grand Caravan
- Q:How to Service and Repair the Neutral Safety Switch for the 40TE Transmission on 2004 Dodge Grand Caravan?A:To service the Transmission Position Switch/Sensor for the 40TE, remove the valve body assembly, detach the transmission range sensor, and take out the TRS from the manual shaft. Reinstall the TRS onto the valve body, torque the retaining screw to 5 Nm, and reattach the valve body to the transaxle.