JeepParts
My Garage
My Account
Cart
Front Seat Components
2008 Dodge Sprinter 2500 Seat Covers, Armrest, Seat Heater
Currently shopping for
2008 Dodge Sprinter 2500
Change VehicleVehicle Options
BaseVehicle Options
BaseCategories Close X
Currently selected
Body & Hardware
- Bumper & Components - Front
- Bumper & Components - Rear
- Cargo Door
- Center Pillar
- Cluster & Switches
- Cowl
- Dash Panel Components
- Door & Components
- Ducts
- Fender & Components
- Floor
- Front Door
- Front Door - Lock & Hardware
- Front Seat Components
- Glass - Door
- Glass & Hardware - Rear Door
- Glove Box
- Grille & Components
- Hinge Pillar
- Hood & Components
- Information Labels
- Inner Components - Fender
- Inner Structure & Rails - Side Panel
- Instrument Panel
- Instrument Panel Components
- Lock & Hardware
- Luggage Carrier
- Mirrors
- Outside Mirrors
- Overhead Console
- Radiator Support
- Rear Body
- Rear Door
- Rear Seat Components
- Rocker Panel
- Roof & Components
- Roof Vent
- Seat Belt
- Side Panel & Components
- Sliding Door
- Sound System
- Spare Tire Carrier
- Step Assembly
- Structural Components & Rails
- Tracks & Components
- Wiper & Washer Components
Other Categories
A/C & Heating
Air & Fuel Delivery
Belts & Cooling
Brakes
Charging & Starting
Driveline & Axles
Electrical
Emission Control & Exhaust
Engine
Headlights & Lighting
Interior & Exterior Trim
Maintenance & Lubrication
Steering
Suspension
Categories Close X
How to use OE catalog
7 diagrams found for the vehicle you selected.Select your vehicle options to narrow down results.
- 1.Seats & Tracks - Front Seat Components (Cloth Seat (E7),Passenger Side Dual Seat)
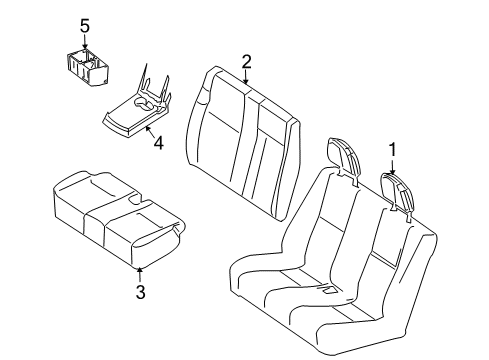
- 2.Seats & Tracks - Front Seat Components (Cloth Seat (E7))
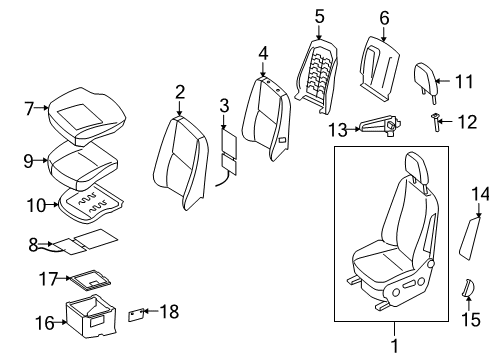
- 3.Seats & Tracks - Front Seat Components (Passenger Side Dual Seat,Vinyl & Cloth Seat (F7))
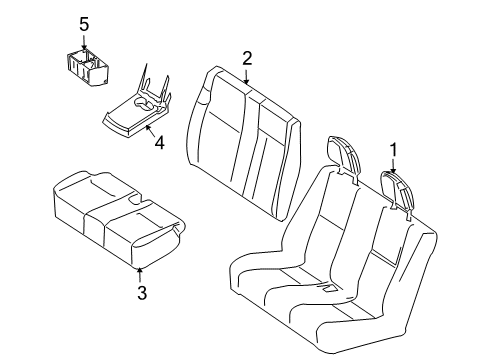
- 4.Seats & Tracks - Front Seat Components (Passenger Side Dual Seat,Vinyl Seat (A6))
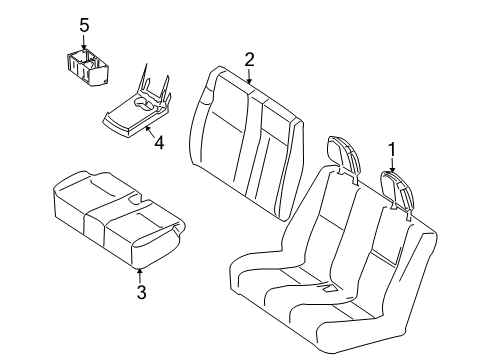
- 5.Seats & Tracks - Front Seat Components (Passenger Side Jump Seat)

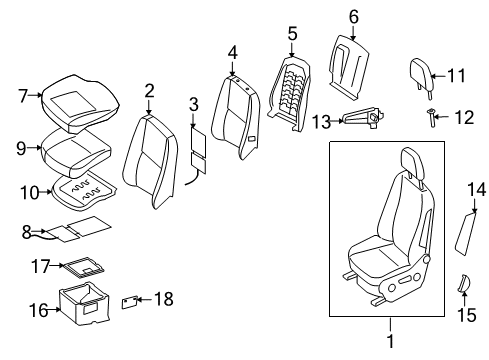
- 6.Seats & Tracks - Front Seat Components (Vinyl & Cloth Seat (F7))
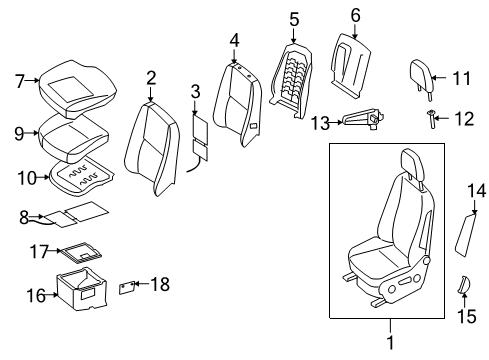
- 7.Seats & Tracks - Front Seat Components (Vinyl Seat (A6))
Sort by:
Ref No.
Ref No.
Part No. & Part Description
Price & Qty.
Part No. &
Part Description
Part Description
- 1
- 1
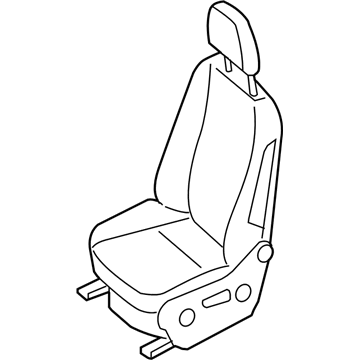 1HG541A6AA
Seat - FrontSeat Assembly- Part Notes: Vinyl Seat (A6), Without Side Air Bag, Without Comfort
- Location: Driver Side
- 1
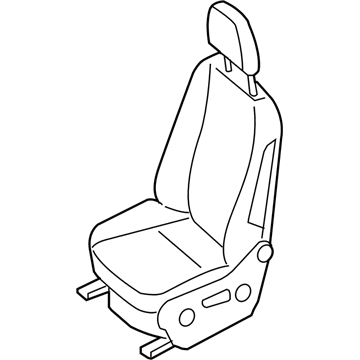 1HG541E7AA
Seat - FrontSeat Assembly- Part Notes: Cloth Seat (E7), Without Side Air Bag, Without Comfort
- Location: Driver Side
- 1
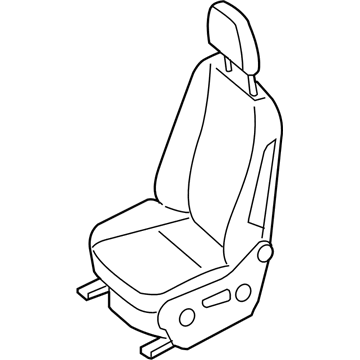 1HG541F7AA
Seat - FrontSeat Assembly- Part Notes: Vinyl & Cloth Seat (F7), Without Side Air Bag, Without Comfort
- Location: Driver Side
- 11HG551A6AA
Seat - FrontSeat Assembly- Part Notes: Vinyl Seat (A6), With Side Air Bag, With Comfort
- Location: Driver Side
- 11HG551E7AA
Seat - FrontSeat Assembly- Part Notes: Cloth Seat (E7), With Side Air Bag, With Comfort
- Location: Driver Side
MSRP: $2280.00 Your Price: $496.031 - 11HG551F7AA
Seat - FrontSeat Assembly- Part Notes: Vinyl & Cloth Seat (F7), With Side Air Bag, With Comfort
- Location: Driver Side
- 11HG561A6AA
Seat - FrontSeat Assembly- Part Notes: Vinyl Seat (A6), Without Side Air Bag, With Comfort
- Location: Driver Side
- 11HG561E7AA
Seat - FrontSeat Assembly- Part Notes: Cloth Seat (E7), Without Side Air Bag, With Comfort
- Location: Driver Side
- 11HG561F7AA
Seat - FrontSeat Assembly- Part Notes: Vinyl & Cloth Seat (F7), Without Side Air Bag, With Comfort
- Location: Driver Side
- 11HG601A6AA
Seat - FrontSeat Assembly- Part Notes: Vinyl Seat (A6), With Side Air Bag, Without Comfort
- Location: Driver Side
- 11HG601E7AA
Seat - FrontSeat Assembly- Part Notes: Cloth Seat (E7), With Side Air Bag, Without Comfort
- Location: Driver Side
MSRP: $2195.00 Your Price: $477.411 - 11HG601F7AA
Seat - FrontSeat Assembly- Part Notes: Vinyl & Cloth Seat (F7), With Side Air Bag, Without Comfort
- Location: Driver Side
- 11HG621A6AA
Seat - FrontSeat Assembly- Part Notes: Vinyl Seat (A6), Without Side Air Bag, With Comfort
- Location: Passenger Side
- 11HG621E7AA
Seat - FrontSeat Assembly- Part Notes: Cloth Seat (E7), Without Side Air Bag, With Comfort
- Location: Passenger Side
- 11HG621F7AA
Seat - FrontSeat Assembly- Part Notes: Vinyl & Cloth Seat (F7), Without Side Air Bag, With Comfort
- Location: Passenger Side
- 11HG631A6AA
Seat - FrontSeat Assembly- Part Notes: Vinyl Seat (A6), With Side Air Bag, With Comfort
- Location: Passenger Side
- 11HG631E7AA
Seat - FrontSeat Assembly- Part Notes: Cloth Seat (E7), With Side Air Bag, With Comfort
- Location: Passenger Side
- 11HG631F7AA
Seat - FrontSeat Assembly- Part Notes: Vinyl & Cloth Seat (F7), With Side Air Bag, With Comfort
- Location: Passenger Side
- 11HG641A6AA
Seat - FrontSeat Assembly- Part Notes: Vinyl Seat (A6), With Side Air Bag, Without Comfort
- Location: Passenger Side
- 11HG641E7AA
Seat - FrontSeat Assembly- Part Notes: Cloth Seat (E7), With Side Air Bag, Without Comfort
- Location: Passenger Side
- 11HG641F7AA
Seat - FrontSeat Assembly- Part Notes: Vinyl & Cloth Seat (F7), With Side Air Bag, Without Comfort
- Location: Passenger Side
- 11HG711A6AA
Seat - FrontSeat Assembly- Part Notes: Vinyl Seat (A6), Without Side Air Bag, Without Comfort
- Location: Passenger Side
- 11HG711E7AA
Seat - FrontSeat Assembly- Part Notes: Cloth Seat (E7), Without Side Air Bag, Without Comfort
- Location: Passenger Side
- 11HG711F7AA
Seat - FrontSeat Assembly- Part Notes: Vinyl & Cloth Seat (F7), Without Side Air Bag, Without Comfort
- Location: Passenger Side
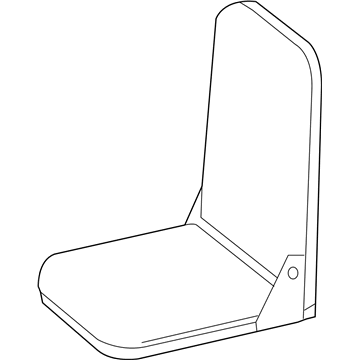
- 1
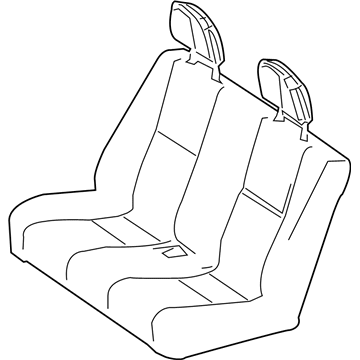 1MY191A6AA
Seat - FrontSeat Assembly- Part Notes: Passenger Side Dual Seat, Vinyl Seat (A6)
- Location: Passenger Side
MSRP: $1750.00 Your Price: $305.051 - 1
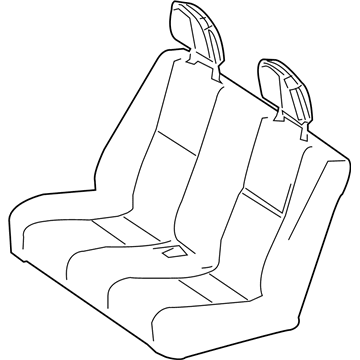 1MY191E7AA
Seat - FrontSeat Assembly- Part Notes: Passenger Side Dual Seat, Cloth Seat (E7)
- Location: Passenger Side
- 1
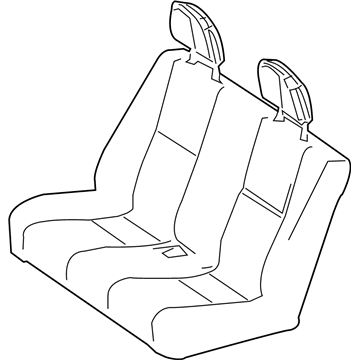 1MY191F7AA
Seat - FrontSeat Assembly- Part Notes: Passenger Side Dual Seat, Vinyl & Cloth Seat (F7)
- Location: Passenger Side
MSRP: $2730.00 Your Price: $475.371
- 2
- 2
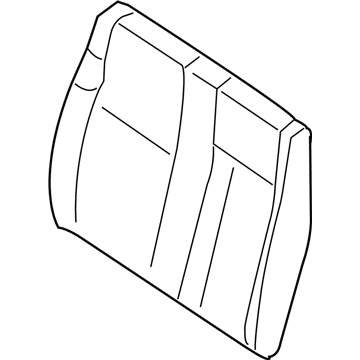 1HG911A6AA
Cover-FrontSeat Back- Part Notes: Passenger Side Dual Seat, Vinyl Seat (A6)
- Location: Passenger Side
- 2
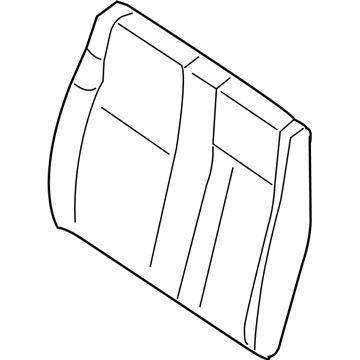 1HG911E7AA
Cover-FrontSeat Back- Part Notes: Passenger Side Dual Seat, Cloth Seat (E7)
- Location: Passenger Side
- 2
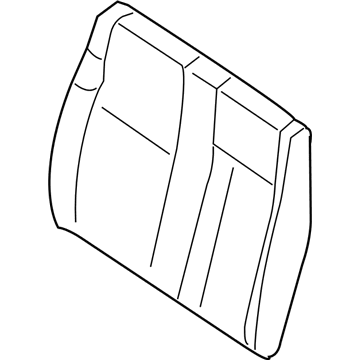 1HG911F7AA
Cover-FrontSeat Back- Part Notes: Passenger Side Dual Seat, Vinyl & Cloth Seat (F7)
- Location: Passenger Side
- 2
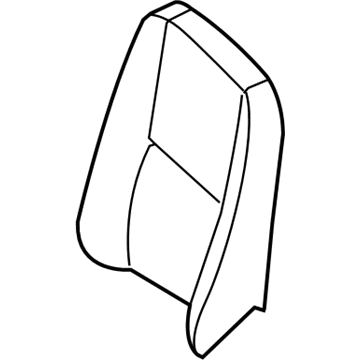 1HG831A6AA
Cover-Front Seat BackSeat Back Cover- Part Notes: Vinyl Seat (A6), Without Side Air Bag
- Location: Driver Side;Passenger Side
- 2
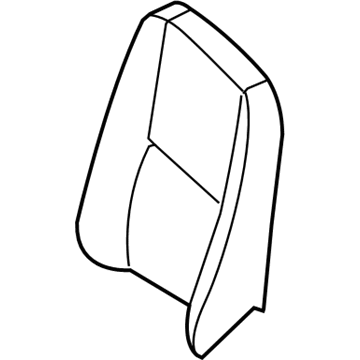 1HG831E7AA
Cover-Front Seat BackSeat Back Cover- Part Notes: Cloth Seat (E7), Without Side Air Bag
- Location: Driver Side;Passenger Side
- 2
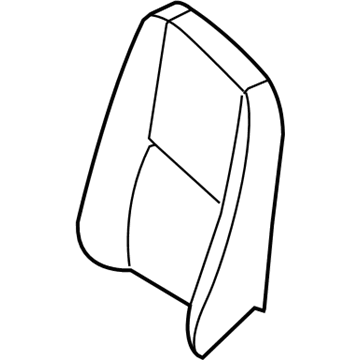 1HG831F7AA
Cover-Front Seat BackSeat Back Cover- Part Notes: Vinyl & Cloth Seat (F7), Without Side Air Bag
- Location: Driver Side;Passenger Side
MSRP: $74.68 Your Price: $58.911 - 21HG881A6AA
Cover-Front Seat BackSeat Back Cover- Part Notes: Vinyl Seat (A6), With Side Air Bag
- Location: Driver Side
- 21HG881E7AA
Cover-Front Seat BackSeat Back Cover- Part Notes: Cloth Seat (E7), With Side Air Bag
- Location: Driver Side
- 21HG881F7AA
Cover-Front Seat BackSeat Back Cover- Part Notes: Vinyl & Cloth Seat (F7), With Side Air Bag
- Location: Driver Side
- 21HG891A6AA
Cover-Front Seat BackSeat Back Cover- Part Notes: Vinyl Seat (A6), With Side Air Bag
- Location: Passenger Side
- 21HG891E7AA
Cover-Front Seat BackSeat Back Cover- Part Notes: Cloth Seat (E7), With Side Air Bag
- Location: Passenger Side
- 21HG891F7AA
Cover-Front Seat BackSeat Back Cover- Part Notes: Vinyl & Cloth Seat (F7), With Side Air Bag
- Location: Passenger Side
MSRP: $311.00 Your Price: $54.181
- 3
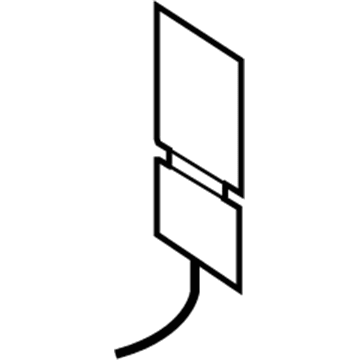 68010845AA
Pad - HeaterSeat Back Heater- Part Notes: Cloth Seat (E7);Vinyl & Cloth Seat (F7);Vinyl Seat (A6)
- Location: Driver Side;Passenger Side
- 3
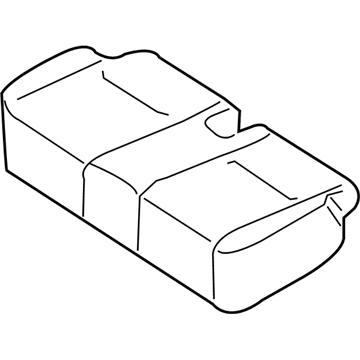 1HG921A6AA
Cover - Front Seat CushionSeat Cushion- Part Notes: Passenger Side Dual Seat, Vinyl Seat (A6)
- Location: Passenger Side
- 3
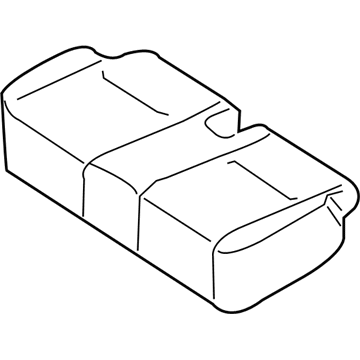 1HG921E7AA
Cover - Front Seat CushionSeat Cushion- Part Notes: Passenger Side Dual Seat, Cloth Seat (E7)
- Location: Passenger Side
- 3
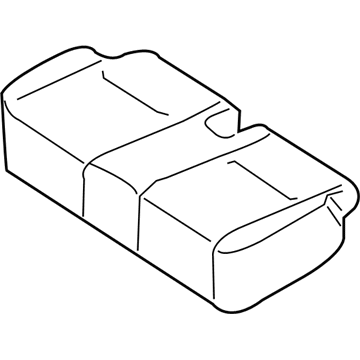 1HG921F7AA
Cover - Front Seat CushionSeat Cushion- Part Notes: Passenger Side Dual Seat, Vinyl & Cloth Seat (F7)
- Location: Passenger Side
- 4
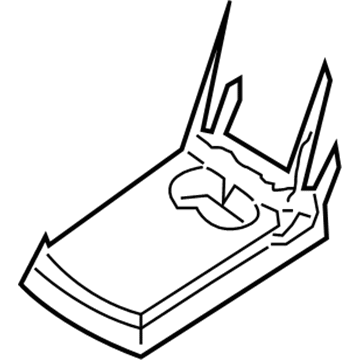 1HQ491E7AA
Armrest - SeatArmrest- Part Notes: Passenger Side Dual Seat, Cloth Seat (E7)
- Location: Passenger Side
- 4
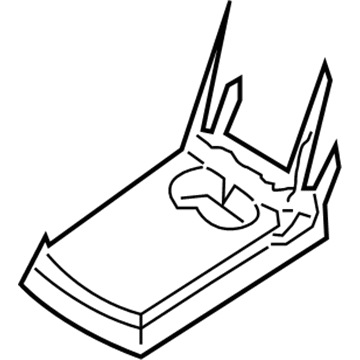 1HQ491A6AA
Armrest - SeatArmrest- Part Notes: Passenger Side Dual Seat, Vinyl Seat (A6)
- Location: Passenger Side
- 4
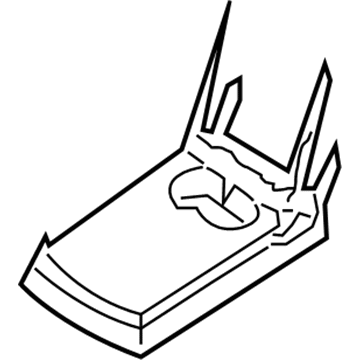 1HQ491F7AA
Armrest - SeatArmrest- Part Notes: Passenger Side Dual Seat, Vinyl & Cloth Seat (F7)
- Location: Passenger Side
- 4
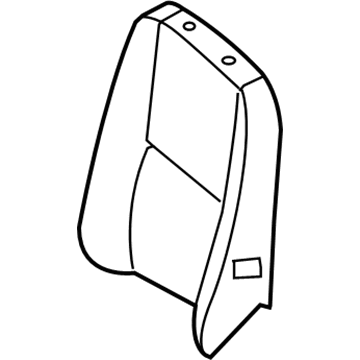 68010842AA
Seat BackSeat Back Pad- Part Notes: Cloth Seat (E7), Without Side Air Bag;Vinyl & Cloth Seat (F7), Without Side Air Bag;Vinyl Seat (A6), Without Side Air Bag
- Location: Driver Side
- 4
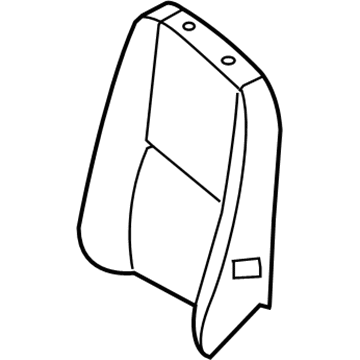 68010843AA
Pad - Seat BackSeat Back Pad- Part Notes: Cloth Seat (E7), With Side Air Bag;Vinyl & Cloth Seat (F7), With Side Air Bag;Vinyl Seat (A6), With Side Air Bag
- Location: Driver Side
- 468010924AA
Pad - Seat BackSeat Back Pad- Part Notes: Cloth Seat (E7), With Side Air Bag;Cloth Seat (E7), Without Side Air Bag;Vinyl & Cloth Seat (F7), With Side Air Bag;Vinyl & Cloth Seat (F7), Without Side Air Bag;Vinyl Seat (A6), With Side Air Bag;Vinyl Seat (A6), Without Side Air Bag
- Location: Passenger Side
MSRP: $105.00 Your Price: $72.191
- 5
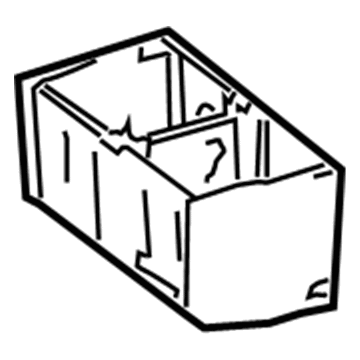 68010980AA
Riser - SeatBox- Part Notes: Passenger Side Dual Seat, Cloth Seat (E7);Passenger Side Dual Seat, Vinyl & Cloth Seat (F7);Passenger Side Dual Seat, Vinyl Seat (A6)
- Location: Passenger Side
MSRP: $438.00 Your Price: $76.271
- 5
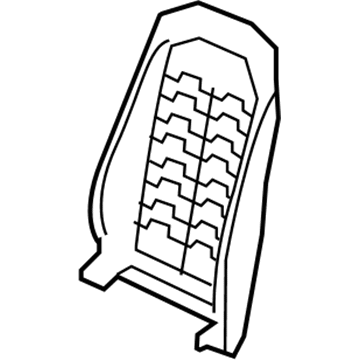
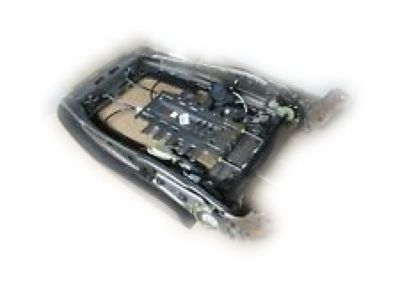 68010844AA
Frame Seat - Front Seat BackSeat Back Frame- Part Notes: Cloth Seat (E7);Vinyl & Cloth Seat (F7);Vinyl Seat (A6)
- Location: Driver Side
- 568010927AA
Frame Seat - Front Seat BackSeat Back Frame- Part Notes: Cloth Seat (E7);Vinyl & Cloth Seat (F7);Vinyl Seat (A6)
- Location: Passenger Side
- 6
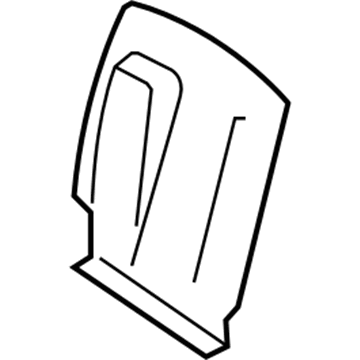 1WA68DX9AA
Cover-Seat BackSeat Back Panel- Part Notes: Cloth Seat (E7);Vinyl & Cloth Seat (F7);Vinyl Seat (A6)
- Location: Driver Side;Passenger Side
MSRP: $84.70 Your Price: $14.771
- 7
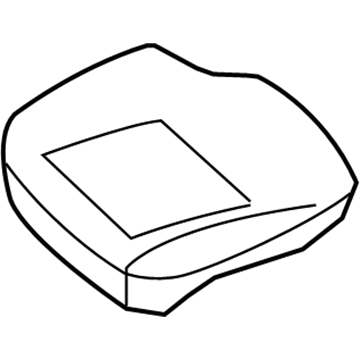 1HG901A6AA
Cover - Front Seat CushionCushion Cover- Part Notes: Vinyl Seat (A6)
- Location: Driver Side;Passenger Side
MSRP: $302.00 Your Price: $65.681 - 7
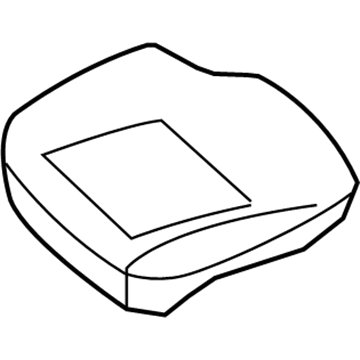 1HG901E7AA
Cover - Front Seat CushionCushion Cover- Part Notes: Cloth Seat (E7)
- Location: Driver Side;Passenger Side
- 7
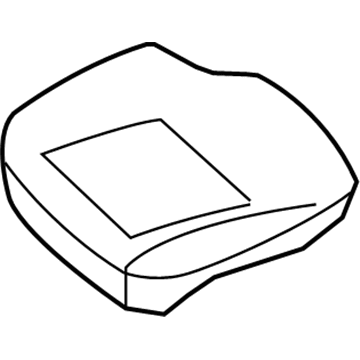 1HG901F7AA
Cover - Front Seat CushionCushion Cover- Part Notes: Vinyl & Cloth Seat (F7)
- Location: Driver Side;Passenger Side
- 8
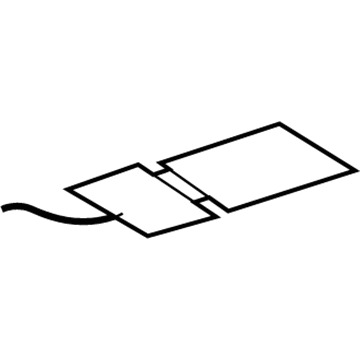 68010846AA
Pad - HeaterSeat Cushion Heater- Part Notes: Cloth Seat (E7);Vinyl & Cloth Seat (F7);Vinyl Seat (A6)
- Location: Driver Side;Passenger Side
- 9
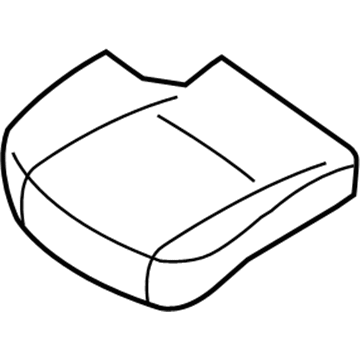 68010848AB
Pad - Seat CushionSeat Cushion Pad- Part Notes: Cloth Seat (E7);Vinyl & Cloth Seat (F7);Vinyl Seat (A6)
- Location: Driver Side;Passenger Side
MSRP: $164.00 Your Price: $111.841
- 10
 68010849AA
Frame Seat - Seat CushionSeat Frame- Part Notes: Cloth Seat (E7);Vinyl & Cloth Seat (F7);Vinyl Seat (A6)
- Location: Driver Side;Passenger Side
- 11
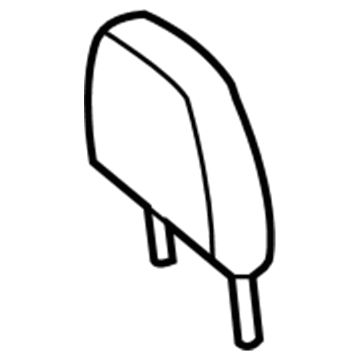 1HE59DX9AA
Headrest- Part Notes: Cloth Seat (E7), Without Comfort;Vinyl & Cloth Seat (F7), Without Comfort;Vinyl Seat (A6), Without Comfort
- Location: Driver Side;Passenger Side
- 111HF681F7AA
Headrest- Part Notes: Cloth Seat (E7), With Comfort;Vinyl & Cloth Seat (F7), With Comfort;Vinyl Seat (A6), With Comfort
- Location: Driver Side;Passenger Side
- 12
 68010824AA
Slide - HeadrestHeadrest Guide- Part Notes: Cloth Seat (E7);Vinyl & Cloth Seat (F7);Vinyl Seat (A6)
- Location: Driver Side;Passenger Side
MSRP: $41.40 Your Price: $21.661
- 13
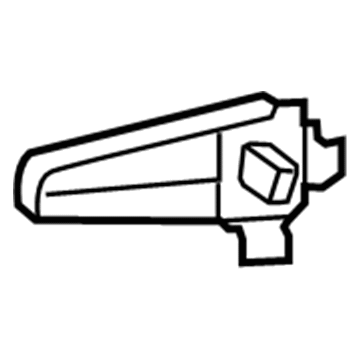 1QQ62R5YAA
Armrest - SeatArmrest- Part Notes: Cloth Seat (E7);Vinyl & Cloth Seat (F7);Vinyl Seat (A6)
- Location: Passenger Side
- 14
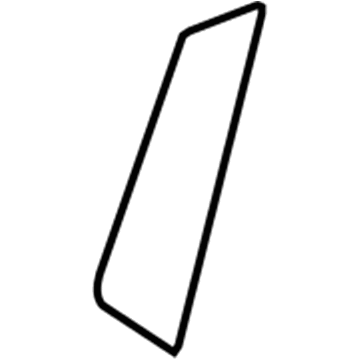 1HE53DX9AA
Airbag ModuleCover Panel- Part Notes: Cloth Seat (E7);Vinyl & Cloth Seat (F7);Vinyl Seat (A6)
- Location: Driver Side
MSRP: $356.00 Your Price: $62.031 - 14
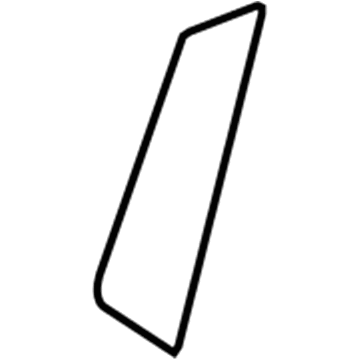 1HF66DX9AA
Airbag ModuleCover Panel- Part Notes: Cloth Seat (E7);Vinyl & Cloth Seat (F7);Vinyl Seat (A6)
- Location: Passenger Side
MSRP: $356.00 Your Price: $62.031
- 15
 1HE57DX9AA
Bezel - Seat Belt AnchorAnchor Cover- Part Notes: Cloth Seat (E7);Vinyl & Cloth Seat (F7);Vinyl Seat (A6)
- 16
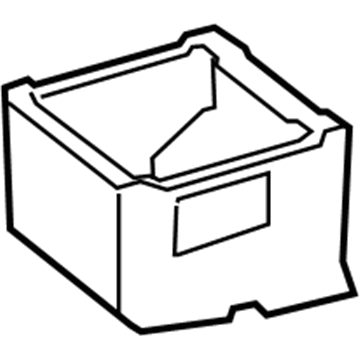 68010863AA
Riser - SeatBox- Part Notes: Cloth Seat (E7);Vinyl & Cloth Seat (F7);Vinyl Seat (A6)
- Location: Driver Side
MSRP: $237.00 Your Price: $143.271 - 16
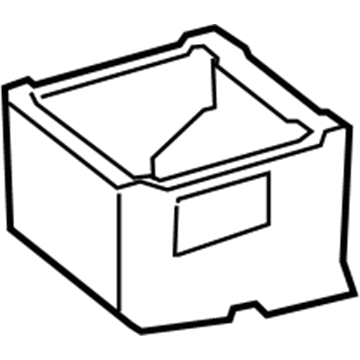 68010942AA
Riser - SeatBox- Part Notes: Cloth Seat (E7);Vinyl & Cloth Seat (F7);Vinyl Seat (A6)
- Location: Passenger Side
- 17
- 18

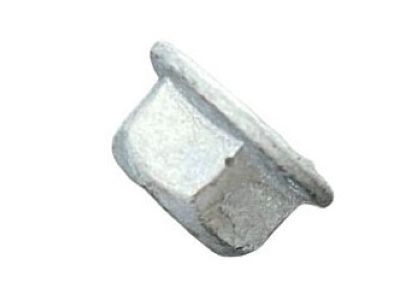
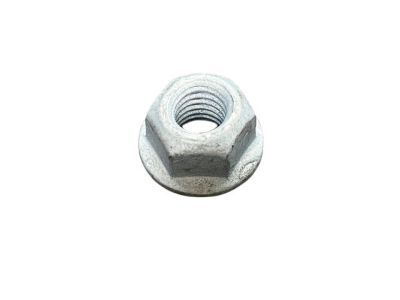
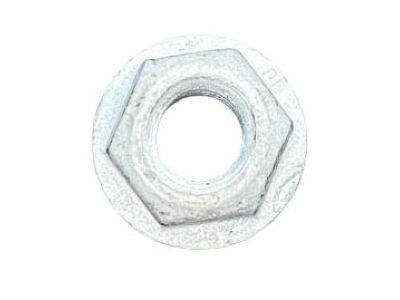
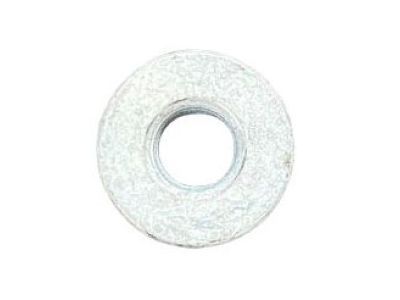
 5133526AA
WASHER- Fitting Vehicle Options: 13 - 119 WB, 15 - VAN WHEEL BASE, 17 - VAN WHEEL BASE, 2 - Med. Duty DODGE 2WD, 53 - 119 WB, 55 - WAGON WHEEL BASE 5, 6 - Lt. Duty DODGE 4WD, EG2 - 6 Cyl 3.5L, EXM - 6 Cyl 3.0L Turbo Diesel, L - LOWLINE
- Require Quantity: 4
- Package Quantity: 1
MSRP: $2.35 Your Price: $1.60
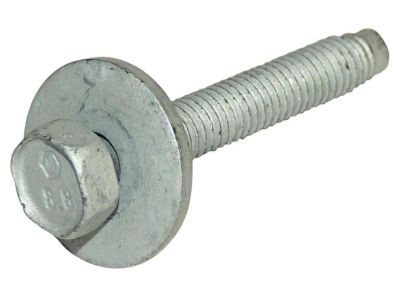 6104049AA
BOLT- Fitting Vehicle Options: 13 - 119 WB, 15 - VAN WHEEL BASE, 17 - VAN WHEEL BASE, 2 - Med. Duty DODGE 2WD, 53 - 119 WB, 55 - WAGON WHEEL BASE 5, 6 - Lt. Duty DODGE 4WD, EG2 - 6 Cyl 3.5L, EXM - 6 Cyl 3.0L Turbo Diesel, L - LOWLINE
- Require Quantity: 2
- Package Quantity: 1
MSRP: $2.70 Your Price: $1.86
 6104025AA
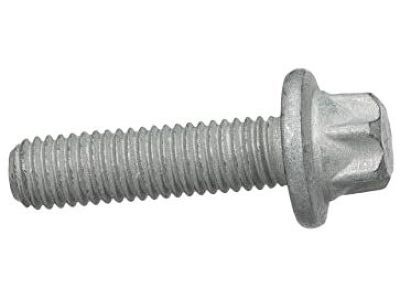
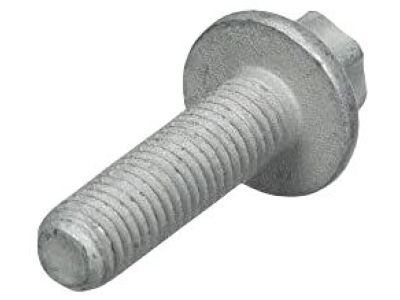
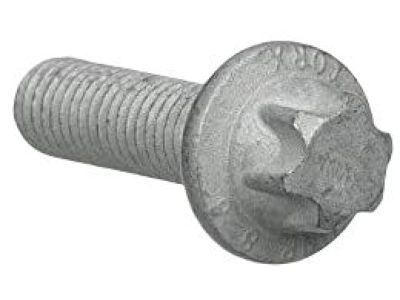
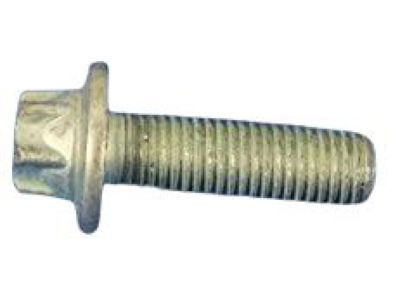
BOLT Hex Flange Head M8x1.25x30- Fitting Vehicle Options: 13 - 119 WB, 15 - VAN WHEEL BASE, 17 - VAN WHEEL BASE, 2 - Med. Duty DODGE 2WD, 53 - 119 WB, 55 - WAGON WHEEL BASE 5, 6 - Lt. Duty DODGE 4WD, EG2 - 6 Cyl 3.5L, EXM - 6 Cyl 3.0L Turbo Diesel, L - LOWLINE
- Replaced By: 6104198AA
MSRP: $1.85 Your Price: $1.28
OEM 2008 Dodge Sprinter 2500 Parts for Front Seat Components
Authentic OEM Dodge components offer both excellent performance and a long service life. These genuine 2008 Dodge Sprinter 2500 parts are made of high quality materials to ensure they are as durable and strong as possible. The suitable option for vehicle maintenance, they are easy to install as per the instructions of the factory. To get new OE Front Seat Components parts, select JeepPartsDeal.com. We offer authentic OEM 2008 Dodge Sprinter 2500 Seat Covers, Armrest, Seat Heater with manufacturer warranties, fair prices, a simple return policy and fast shipping.
Armrest, Seat Covers, Seat Heater Installation and Repair Tips for 2008 Dodge Sprinter 2500
- Q:How to Detach the Armrest on Both Driver and Passenger Sides on 2008 Dodge Sprinter 2500?A:To detach the driver side armrest, use a trim stick C-4755 to remove the cover, then unscrew the bolt and detach it from the bearing. For the passenger side, first remove the front seat back, then unscrew the nuts, and finally take off the armrest and shim.
- Q:How to Remove a Seat Covers and Seat Cushion for Service and Repair on 2008 Dodge Sprinter 2500?A:To detach the seat cushion and cover, start by removing the seat. Then, take off the seat back shield and, if needed, the lower seat belt anchors and buckles. Partially de-trim the lower seat back, and finally, separate the j-straps to remove the cushion and cover from the frame.
- Q:How to Install a Seat Heater on 2008 Dodge Sprinter 2500?A:In order to install the heated seat element, remove the adhesive backing, and attach it to the factory heating element. Get the new electrical connectors and reconnect the battery negative cable and ensure the system works. Lastly, put the seat cushion or back trim cover in and make sure you install the wires correctly.