JeepParts
My Garage
My Account
Cart
OEM Chrysler 300M Radius Arm
Front Suspension Radius Arm- Select Vehicle by Model
- Select Vehicle by VIN
Select Vehicle by Model
orMake
Model
Year
Select Vehicle by VIN
For the most accurate results, select vehicle by your VIN (Vehicle Identification Number).
2 Radius Arms found
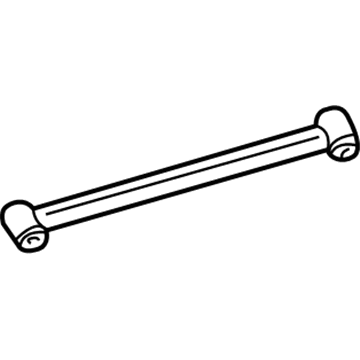

Chrysler 300M Trailing Arm, Rear Part Number: 4782275AB
Chrysler 300M Trailing Arm, Rear Part Number: 4782274AB
Chrysler 300M Radius Arm
Choose OEM Radius Arm that meet Chrysler factory standards. Chrysler designs and tests every component for precision and durability. Each Radius Arm follows strict manufacturing steps to lock in quality and fit. If your Chrysler 300M matters to you, OEM parts make the smart choice. You'll get the exact look, feel, and performance you expect. Shop genuine 300M parts at the highly competitive prices online. Enjoy a manufacturer's warranty, a hassle-free return policy, and rapid delivery. No more guesswork with off brands. Get genuine parts with exact fit and true factory performance. Shop with confidence today at JeepPartsDeal.com.
Chrysler 300M Radius Arm Parts and Q&A
- Q:How to replace the Radius Arm (tension strut) on Chrysler 300M?A:To replace the tension strut, first remove the tension strut and lower control arm as an assembly from the vehicle. Begin by raising the vehicle using a frame contact type hoist or jack stands. Remove the wheel and tire, then detach the lower control arm and tension strut as an assembly. Separate the tension strut from the lower control arm assembly and inspect the tension strut bushing in the lower control arm for excessive wear or deterioration; if defective, replace the lower control tension strut bushing. Position the tension strut in the lower control arm with the word front stamped on the tension strut facing away from the control arm, using an open-end wrench on the flat of the tension strut to prevent it from turning. Tighten the new tension strut to lower control retaining nut to a torque of 130 Nm (95 ft. lbs.). Reinstall the lower control arm and tension strut assembly back onto the vehicle. Install a washer on the end of the tension strut and a new tension strut to cradle bracket nut, tightening it to a torque of 130 Nm (95 ft. lbs.) while holding the tension strut at the flat with a large open-end wrench. Reinstall the wheel and tire assembly, then tighten the wheel mounting stud nuts in the proper sequence to half specification before repeating the sequence to the full specified torque of 129 Nm (95 ft. lbs.). Finally, lower the vehicle to the ground so the suspension supports the full weight, and tighten the lower control arm pivot bushing to cradle bracket attaching bolt to a torque of 142 Nm (105 ft. lbs.).
Related Chrysler 300M Parts
 Chrysler 300M Axle Beam Mount
 Chrysler 300M Axle Support Bushings
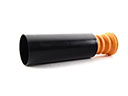 Chrysler 300M Bump Stop
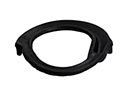 Chrysler 300M Coil Spring Insulator
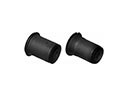 Chrysler 300M Control Arm Bushing
 Chrysler 300M Lateral Link
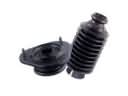 Chrysler 300M Shock and Strut Boot
 Chrysler 300M Steering Knuckle
 Chrysler 300M Strut Housing
 Chrysler 300M Suspension Strut Rod
 Chrysler 300M Sway Bars
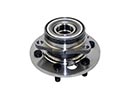 Chrysler 300M Wheel Hub