JeepParts
My Garage
My Account
Cart
OEM Dodge Dakota Clutch Disc
Friction Disc- Select Vehicle by Model
- Select Vehicle by VIN
Select Vehicle by Model
orMake
Model
Year
Select Vehicle by VIN
For the most accurate results, select vehicle by your VIN (Vehicle Identification Number).
8 Clutch Discs found
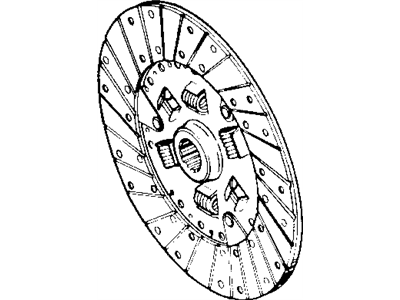
Dodge Dakota Pressure Plate Part Number: 5013024AC
$46.38 MSRP: $266.00You Save: $219.62 (83%)Ships in 1-2 Business Days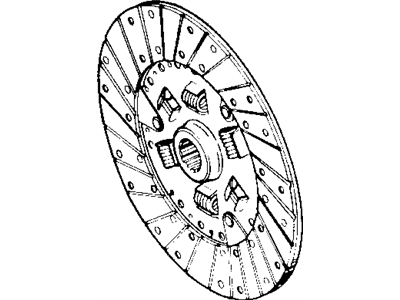
Dodge Dakota Disc Part Number: 52107829AB
$203.42 MSRP: $458.00You Save: $254.58 (56%)Ships in 1-2 Business DaysDodge Dakota Pressure Plate Part Number: 53008259
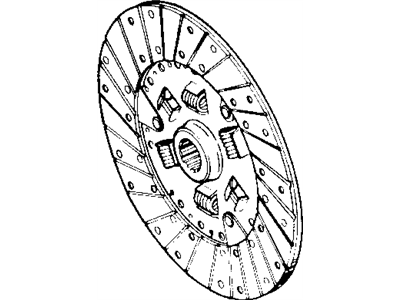
Dodge Dakota Disc Part Number: 52107707AD
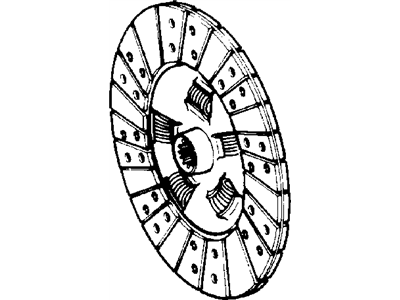
Dodge Dakota Disc Part Number: 53008259AD
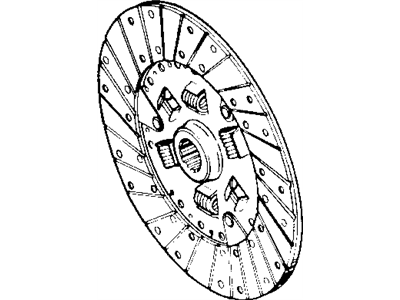
Dodge Dakota Disc Part Number: 52107688
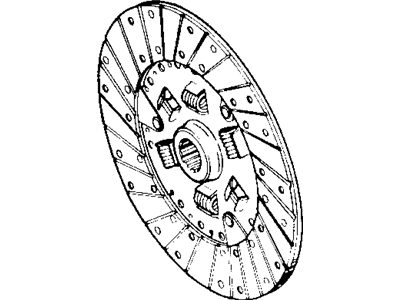
Dodge Dakota Disc Part Number: 52104438AA
Dodge Dakota Disc Part Number: 52107834AB
Dodge Dakota Clutch Disc
Choose OEM Clutch Disc that meet Dodge factory standards. Dodge designs and tests every component for precision and durability. Each Clutch Disc follows strict manufacturing steps to lock in quality and fit. If your Dodge Dakota matters to you, OEM parts make the smart choice. You'll get the exact look, feel, and performance you expect. Shop genuine Dakota parts at the highly competitive prices online. Enjoy a manufacturer's warranty, a hassle-free return policy, and rapid delivery. No more guesswork with off brands. Get genuine parts with exact fit and true factory performance. Shop with confidence today at JeepPartsDeal.com.
Dodge Dakota Clutch Disc Parts and Q&A
- Q:How to install the Clutch Disc on Dodge Dakota?A:To begin the installation of the clutch disc, clean the flywheel surface with a solvent. Then, scuff sand the surface with 120/180 grit emery cloth. This cleaning process will eliminate minor scratches and the glazed finish. Verify the new clutch disc for runout; check that it operates freely on the input shaft splines. Use NLGI - 2 grease for lubricating the crankshaft pilot bearing. To ensure proper installation, make sure the centre of the disc is fitted with the raised portion away from the flywheel. Arrange the clutch disc along with the pressure plate on the flywheel. Put an alignment tool or spare input shaft through the clutch disc and into the pilot bearing to align it. Put the cover bolts in by finger tight and then tighten them all at an equal amount in rotation a few threads at a time to prevent distortion of the cover. Use 23 Nm (17 ft. lbs.) to tighten the cover bolts of 5/16 in. 3/8 inch bolt sizes require 41 Nm (30 ft lbs). fasteners Mopar high temperature bearing grease should be applied lightly to the splines of the transmission input shaft and to the release bearing slide surface on the front bearing retainer. Take care not to over-lubricate the shaft splines which can lead to grease contamination of the disc. In conclusion, fit the transmission as one unit.
- Q:How to service and repair the Clutch Disc on Dodge Dakota?A:To service and repair the clutch disc first lift the vehicle and take out the transmission and clutch housing as an assembly. If you are removing the pressure plate to get access to another component, mark the position of pressure plate cover on the flywheel with small punch marks. Remove the pressure plate cover bolts in an even manner and in rotation to relieve spring load tension. Also, remember to loosen the bolts a few threads at a time so that it does not get warped. Take out the cover bolts, pressure plate, and clutch disc. Clean the land of the flywheel with the help of some solvent and scuff sand it with 120/180 grit emery cloth to remove any minor scratches and glazing. The new clutch disc should be checked for runout and for free operation on the input shaft splines. The crankshaft pilot bearing should be lubricated with grease meeting the NLGI - 2 rating. Place the clutch disc on the flywheel. Insert an alignment tool into the clutch disc and into the pilot bearing. Or insert a spare input shaft through the clutch disc and into the pilot bearing. Check that the hub of the disc is correctly positioned. In other words, check that the raised portion of the disc is facing away from the flywheel. Position the pressure plate cover over the disc and on the flywheel. Install the cover bolts finger tight. Then, tighten the bolts evenly, in rotation, a few threads at a time to the torque specs. 2.5L bolts tighten to 28 Nm (21 ft. lbs.) 5/16 inch bolts tighten to 23 Nm (17 ft. lbs.) 3/8 inch bolts tighten to 41 Nm (30 ft. lbs.). Mopar high temperature bearing grease must be applied lightly to the transmission input shaft splines and to the release bearing slide surface of the front bearing retainer. Do not over-lubricate the shaft splines, as excessive grease can contaminate the disc. Ultimately, the transmission must be installed as an entire assembly.
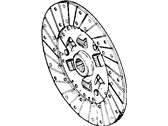
Related Dodge Dakota Parts
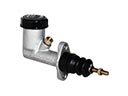 Dodge Dakota Clutch Master Cylinder
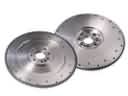 Dodge Dakota Flywheel
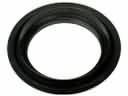 Dodge Dakota Automatic Transmission Seal
 Dodge Dakota Automatic Transmission Shift Levers
 Dodge Dakota Clutch Fork
 Dodge Dakota Clutch Release Bearing
 Dodge Dakota Flywheel Ring Gear
 Dodge Dakota Manual Transmission Extension Housing Seal
 Dodge Dakota Needle Bearing
 Dodge Dakota Pilot Bearing
 Dodge Dakota Pressure Plate
 Dodge Dakota Transfer Case Bearing