JeepParts
My Garage
My Account
Cart
OEM Dodge Stratus Center Console
Floor Console Assembly- Select Vehicle by Model
- Select Vehicle by VIN
Select Vehicle by Model
orMake
Model
Year
Select Vehicle by VIN
For the most accurate results, select vehicle by your VIN (Vehicle Identification Number).
11 Center Consoles found
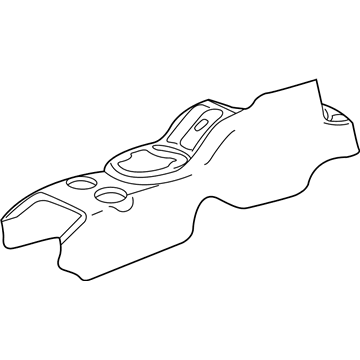
Dodge Stratus Console Assembly, Taupe, Center Part Number: RE911L8AH
$173.35 MSRP: $255.00You Save: $81.65 (33%)Ships in 1-3 Business DaysDodge Stratus Console Assembly, Sandstone, Center Part Number: RE911TMAH
$189.21 MSRP: $279.00You Save: $89.79 (33%)Ships in 1-3 Business DaysDodge Stratus Console Assembly, Dark Gray, Center Part Number: RE911DVAH
$193.74 MSRP: $285.00You Save: $91.26 (33%)Ships in 1-3 Business DaysDodge Stratus Console Base, Sandstone, Center Part Number: YC561TMAA
Dodge Stratus Console, Green Part Number: YC561P7AA
Dodge Stratus Console Base, Taupe, Center Part Number: YC561L8AA
Dodge Stratus Console Base, Dark Gray, Center Part Number: YC561DVAA

Dodge Stratus Rear Console Part Number: PP56RJL
Dodge Stratus Console Base, Green, Center Part Number: 1BB031P7AB
Dodge Stratus Console Base, Taupe, Center Part Number: 1BB031L8AB
Dodge Stratus Console Base, Dark Gray, Center Part Number: 1BB031DVAB
Dodge Stratus Center Console
Choose OEM Center Console that meet Dodge factory standards. Dodge designs and tests every component for precision and durability. Each Center Console follows strict manufacturing steps to lock in quality and fit. If your Dodge Stratus matters to you, OEM parts make the smart choice. You'll get the exact look, feel, and performance you expect. Shop genuine Stratus parts at the highly competitive prices online. Enjoy a manufacturer's warranty, a hassle-free return policy, and rapid delivery. No more guesswork with off brands. Get genuine parts with exact fit and true factory performance. Shop with confidence today at JeepPartsDeal.com.
Dodge Stratus Center Console Parts and Q&A
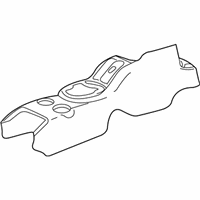
- Q:How to Remove and Install the Center Console on Dodge Stratus?A:To unfasten the floor console, lift the parking brake lever as high as possible and shift the transmission to the neutral position. The set screw, which is located at the front of the shifter knob, should be loosened. The shift lever knob should now be removed. Take precautions not to use a trim stick or any tool to remove the transmission range indicator. To remove the transmission range indicator bezel, squeeze its sides gently. Then, lift up the bezel until the locking tabs are free of the floor console. Finally, disconnect the wire connector on the bezel's underside. After that, you should take out the screws that are near the shifter and in the console storage that attach the console to the brackets on the floor pan and unplug the wire connector for the console accessories at the floor pan before removing console from vehicle. To install the part, the section is placed in position and the wire connector for floor console accessory is connected at floor pan. Be sure that the rear locator pin on the bottom of the storage bin is engaged with the slot in the body bracket and that the front pin is engaged with the shift mechanism. Install screws adjacent to the floor shifter and in the console storage compartment to attach the floor console brackets to the floor pan. Connect the wire connector for the transmission range indicator bezel on the bezel underside. The installation of the transmission range indicator bezel aligns the alignment pins with the holes in the console to snap the locking tabs down with downward pressure. Lastly, install the shift lever knob and make sure you tighten the set screw on the front of the shifter knob.
Related Dodge Stratus Parts
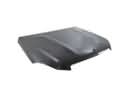 Dodge Stratus Hood
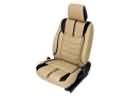 Dodge Stratus Seat Covers
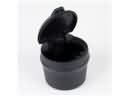 Dodge Stratus Ashtray
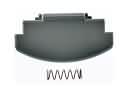 Dodge Stratus Center Console Latch
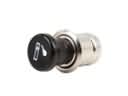 Dodge Stratus Cigarette Lighter
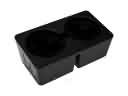 Dodge Stratus Cup Holder
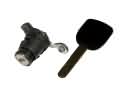 Dodge Stratus Door Lock Cylinder
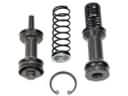 Dodge Stratus Master Cylinder Repair Kit
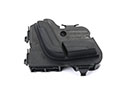 Dodge Stratus Seat Switch
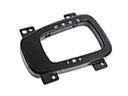 Dodge Stratus Shift Indicator
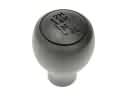 Dodge Stratus Shift Knob
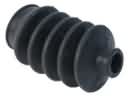 Dodge Stratus Shift Linkage Boot