JeepParts
My Garage
My Account
Cart
OEM 2006 Dodge Durango Windshield
Glass Windshield- Select Vehicle by Model
- Select Vehicle by VIN
Select Vehicle by Model
orMake
Model
Year
Select Vehicle by VIN
For the most accurate results, select vehicle by your VIN (Vehicle Identification Number).
1 Windshield found

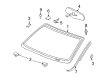
2006 Dodge Durango Windshield, Front Part Number: 5114521AB
Product Specifications- Other Name: Windshield - Shipping Assembly-30 Lite; Windshield Glass, Front; Windshield Shipping Assembly-30 Lite Glass
- Position: Front
- Replaces: 5114521AA
- Item Weight: 39.10 Pounds
- Item Dimensions: 69.5 x 48.3 x 8.1 inches
- Condition: New
- Fitment Type: Direct Replacement
- SKU: 5114521AB
- Warranty: This genuine part is guaranteed by Mopar's factory warranty.
2006 Dodge Durango Windshield Parts and Q&A
- Q: How to Remove and Install a Windshield on 2006 Dodge Durango?A: Before you commence, go through any warnings and safety instructions. Pull out the screws from the side windshield molding and remove it. After that, take out the rear view mirror and cowl grille. Place a windshield cut-out wire between the adhesive and windshield and then carefully pull out the windshield. You should not drive the vehicle until the urethane has cured for more than 24 hours after installation. Take down the side windows of the front doors and, if the vehicle has one, open the recessed rear glass slider, as pressurizing the car might cause water to leak inside. Brush off the mold on the windshield fence, keeping about a millimeter or two of old urethane left behind. Add new spacers where any are lacking or broken around the windshield frame. If the windshield is being installed again, make the old bead of adhesive 1 mm thick and remove or smooth out loose adhesive from the glass. Stick four new spacers on the A-pillars, trying to space them evenly and align the lower spacer assemblies, making sure the flat part is on top and they are locked into place. Install the windshield in the middle of the opening by laying it on the side and lower spacers and modify the lower spacers until the set roof gap tolerance is met. Fasten tape on the windshield to help line up the corners and after the gap appears even, use the tape to cut and pull off the windshield. Clean and dry the area you will glue, inspect the glass primer for problems and re-prime any areas showing damage. Similar to old windshields, you should use spacers, center the windshield and maintain cleanliness. Put primer all around the edge of the glass inside your window frame until it's 15 mm wide and let it air dry for a minimum of 10 minutes. Wash and vacuum the windshield opening, remove the excess adhesive so only 1 mm is left and reapply primer where it is exposed. Whenever you install, use a bead of adhesive with a triangular nozzle right on the windshield seal, aiming for a width of 9.5 - 12.0 mm and height of 12.7 - 14.0 mm. Carefully set the windshield in place using the tape as a reference and work so you don't press the two sides at once which could cause the windshield to crack. After that, install the cowl grille and rear view mirror.
Related 2006 Dodge Durango Parts
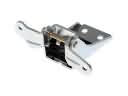 2006 Dodge Durango Door Hinge
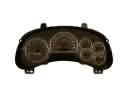 2006 Dodge Durango Instrument Cluster
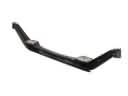 2006 Dodge Durango Axle Beam
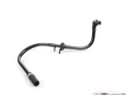 2006 Dodge Durango Brake Booster Vacuum Hose
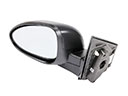 2006 Dodge Durango Car Mirror
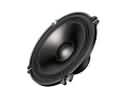 2006 Dodge Durango Car Speakers
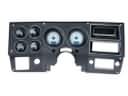 2006 Dodge Durango Dash Panels
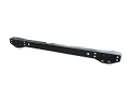 2006 Dodge Durango Rear Crossmember
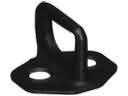 2006 Dodge Durango Rear Door Striker
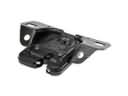 2006 Dodge Durango Trunk Lid Latch
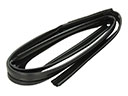 2006 Dodge Durango Window Run
 2006 Dodge Durango Windshield Wiper