JeepParts
My Garage
My Account
Cart
OEM Chrysler Cirrus Brake Shoe Set
Brake Shoe- Select Vehicle by Model
- Select Vehicle by VIN
Select Vehicle by Model
orMake
Model
Year
Select Vehicle by VIN
For the most accurate results, select vehicle by your VIN (Vehicle Identification Number).
2 Brake Shoe Sets found
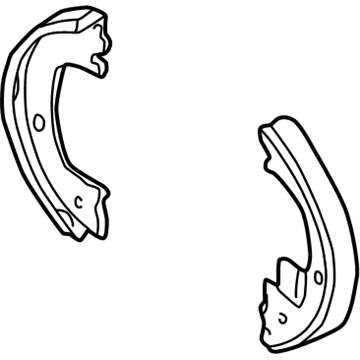
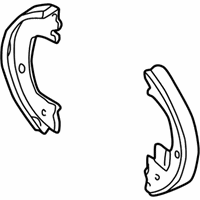
Chrysler Cirrus Brake Shoes, Rear Part Number: 5073647AB
$126.90 MSRP: $159.00You Save: $32.10 (21%)Ships in 1-2 Business Days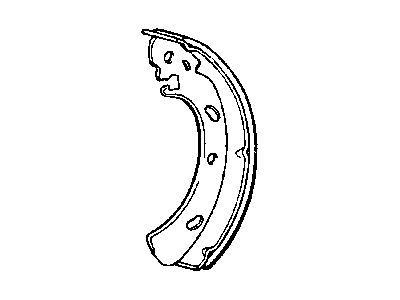
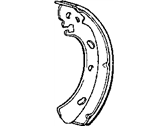
Chrysler Cirrus Brake Shoes Part Number: 4864304
Chrysler Cirrus Brake Shoe Set
Choose OEM Brake Shoe Set that meet Chrysler factory standards. Chrysler designs and tests every component for precision and durability. Each Brake Shoe Set follows strict manufacturing steps to lock in quality and fit. If your Chrysler Cirrus matters to you, OEM parts make the smart choice. You'll get the exact look, feel, and performance you expect. Shop genuine Cirrus parts at the highly competitive prices online. Enjoy a manufacturer's warranty, a hassle-free return policy, and rapid delivery. No more guesswork with off brands. Get genuine parts with exact fit and true factory performance. Shop with confidence today at JeepPartsDeal.com.
Chrysler Cirrus Brake Shoe Set Parts and Q&A
- Q:What steps should be taken to clean and inspect a Brake Shoe Set and its components on Chrysler Cirrus?A:The metal part of the brake shoes must be clean and not bent. If the lining is not contacting fully from heel to toe, replacing it is necessary. The combined thickness of the leading and trailing brake shoe and lining should be measured for which the specifications are different. Both leading brake shoe rim and lining combined thickness must not be less than 3.0 mm and for trailing brake shoe it is 2.8 mm or less. When the toe or heel of the shoes does not touch the ground, the shoe grinding is incorrect. Check and clean the brake support plate and self-adjusting mechanism, if applicable. Confirm that the quadrant can rotate freely through the entire tooth contact range and slide the full distance of its mounting slot. Check the quadrant spring for excessive wear or damage. Confirm that the knurled pin is securely attached and undamaged. Check the adjuster for excessive wear or damage and replace as necessary. If they are reusable, apply a light coat of Mopar Multi-Purpose Lubricant or similar between the quadrant and adjuster mechanism strut. Substitute any old spring that has overheated or become damaged, which shows paint colour discolouration or distorted end coils. When the brake drums were removed, visually inspect the wheel cylinder boots for brake fluid leaks, cuts, tears, or heat cracks. If defective, clean and inspect the wheel cylinders, and install new parts. When a wheel cylinder leaks and the lining is soaked with brake fluid, the brake shoes must be replaced.
- Q:How to service and repair a Brake Shoe Set on Chrysler Cirrus?A:To service and repair the brake shoes raise the vehicle on jackstands or hoist and remove the rear wheel and tire assemblies. If the vehicle has high mileage, a ridge may be formed in the brake drums that makes removal difficult. To allow the drums to clear the ridge, back off the automatic self-adjuster mechanism. First, remove the rubber plug from the brake support plate. Next, insert a screwdriver through the access hole to engage the adjuster mechanism quadrant. Finally, turn the quadrant toward the front of the vehicle until it stops. Take off the retaining nuts before removing the brake drum from the rear. Remove the actuating spring from automatic adjuster mechanism and trailing brake shoe, followed by the upper and lower return springs from both brake shoe assemblies. Remove the retainer and pin from the leading brake shoe assembly and remove the leading brake shoe and adjuster mechanism as assembly from rear brake support plate. Remove the brake shoe retainer and pin from the trailing brake shoe and from the trailing brake shoe assembly. The park brake actuating lever must not be removed or reused as it is permanently attached to the trailing brake shoe assembly. Remove the park brake cable from the actuation lever and install the automatic adjuster mechanism from the original leading brake shoe assembly to the replacement shoe. Make sure the metal parts of the brake shoes are clean, check for bends, and ensure that the lining shows contact across the full width. Examine the brake support plate and the automatic self-adjusting mechanism to confirm the quadrant moves freely and the spring is not excessively worn. If it can be reused, apply a light coat of Mopar Multi-Purpose Lubricant on the quadrant and strut. Substitute springs that have overheated or been damaged. For the installation, apply grease to the eight brake shoe contact areas on the support plate and anchor, and install the park brake cable on the actuating lever of the trailing brake shoe. Make sure the leading and trailing brake shoes are handed for the right and left side for the respective sides. The web reinforcement plate should face the brake support plate. The trailing brake shoe must be installed on the support plate until the trailing brake shoe is square. The brake retainer is positioned. The automatic self-adjuster mechanism should be attached to the leading brake shoe assembly so that the web support plate faces the brake support plate. The leading brake shoe and adjuster mechanism are to be installed as an assembly. Verify that the leading brake shoe assembly is seated squarely; install the brake retainer. Secure the lower return spring to each brake shoe assembly, before placing the upper return spring (blue for the right side, green for the left) on both shoes. Attach the auto adjuster actuation spring to the rear brake shoe and connect it to the adjusting mechanism. Start by reinstalling the rear brake drums on the hubs; the wheel and tire assemblies. Following the correct sequence, tighten the wheel mounting stud nuts to half specification. Then repeat to achieve full specification, which is 129 Nm (95 ft. lbs.). Bring down the vehicle and apply the rear brake shoes by fully depressing the brake pedal 2 to 3 times. Ensure that their adjustment is proper and no manual adjustment takes place finally carry out a road test.
Related Chrysler Cirrus Parts
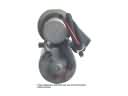 Chrysler Cirrus ABS Pump And Motor Assembly
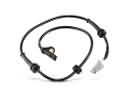 Chrysler Cirrus ABS Sensor
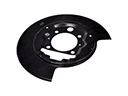 Chrysler Cirrus Backing Plate
 Chrysler Cirrus Brake Caliper
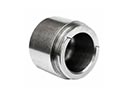 Chrysler Cirrus Brake Caliper Piston
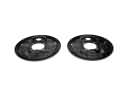 Chrysler Cirrus Brake Dust Shields
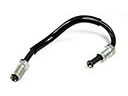 Chrysler Cirrus Brake Line
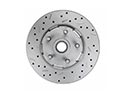 Chrysler Cirrus Brake Rotor
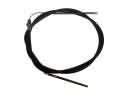 Chrysler Cirrus Parking Brake Cable
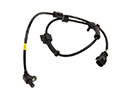 Chrysler Cirrus Speed Sensor
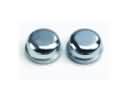 Chrysler Cirrus Wheel Bearing Dust Cap
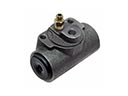 Chrysler Cirrus Wheel Cylinder