JeepParts
My Garage
My Account
Cart
OEM Dodge Caliber Sway Bars
Stabilizer Sway Bar Set- Select Vehicle by Model
- Select Vehicle by VIN
Select Vehicle by Model
orMake
Model
Year
Select Vehicle by VIN
For the most accurate results, select vehicle by your VIN (Vehicle Identification Number).
6 Sway Bars found
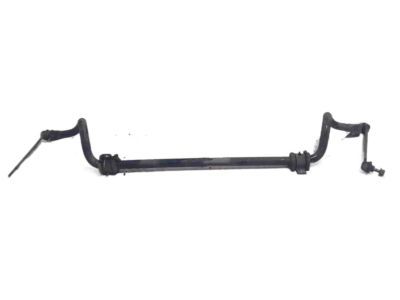
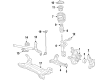
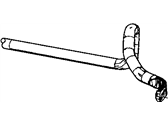
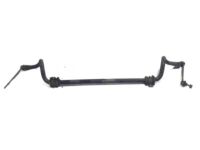
Dodge Caliber Stabilizer Bar, Front Part Number: 5105100AC
$80.35 MSRP: $157.00You Save: $76.65 (49%)Ships in 1-2 Business Days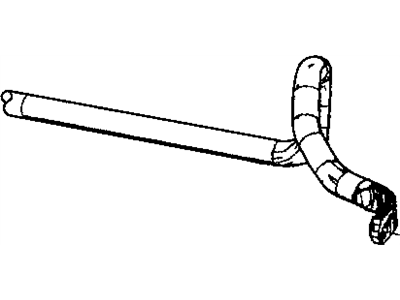
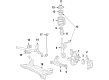
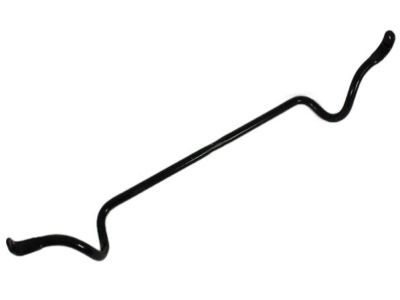
Dodge Caliber Bar - Front Part Number: 5105101AD
$151.64 MSRP: $230.00You Save: $78.36 (35%)Ships in 1-2 Business Days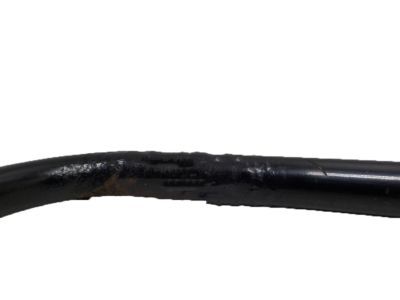
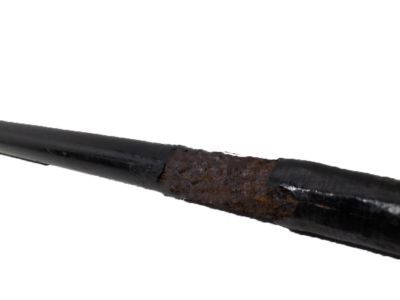
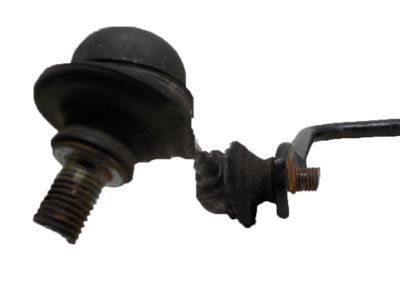
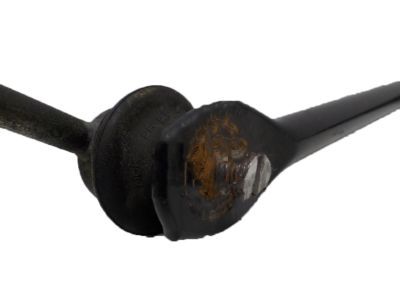
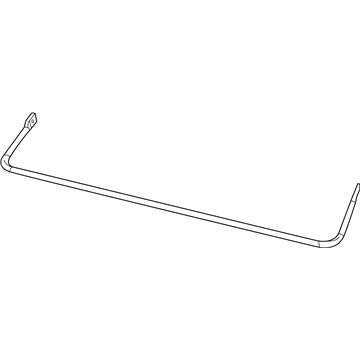
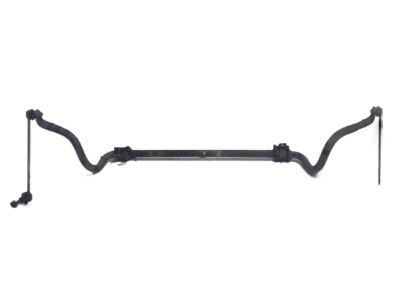
Dodge Caliber Stabilizer Bar, Rear Part Number: 5105887AA
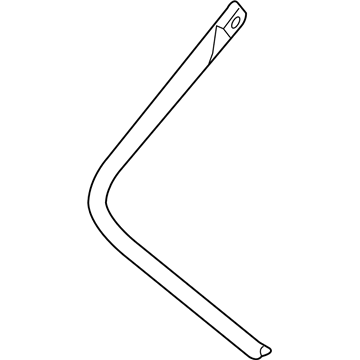
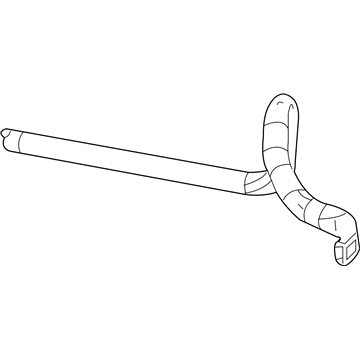
Dodge Caliber Stabilizer Bar, Rear Part Number: 5272709AB
Dodge Caliber Stabilizer Bar, Rear Part Number: 5105107AB
Dodge Caliber Stabilizer Bar, Rear Part Number: 5151810AB
Dodge Caliber Sway Bars
Choose OEM Sway Bars that meet Dodge factory standards. Dodge designs and tests every component for precision and durability. Each Sway Bars follows strict manufacturing steps to lock in quality and fit. If your Dodge Caliber matters to you, OEM parts make the smart choice. You'll get the exact look, feel, and performance you expect. Shop genuine Caliber parts at the highly competitive prices online. Enjoy a manufacturer's warranty, a hassle-free return policy, and rapid delivery. No more guesswork with off brands. Get genuine parts with exact fit and true factory performance. Shop with confidence today at JeepPartsDeal.com.
Dodge Caliber Sway Bars Parts and Q&A
- Q:How to Properly Install a Sway Bars on Dodge Caliber?A:Before setting up the sway bar kit, review the cushions and links for signs of too much use, cracks, damage, and twisting, changing any part that appears broken. Place the ends of the bar so that they go around and over the steering gear link arms before finishing the attachment. As your starting point, install the sway bar kit with the link ends moving from the back over the top of the crossmember and bending them over the steering gear. With the help of a transmission jack, gradually bring the crossmember into position so it overlaps the marked spots left when the crossmember was removed. Fix the front crossmember to the body with four mounting bolts, tighten these to 190 Nm (140 ft. lbs.) and afterwards remove both the transmission jack and the support for the steering gear. Put in the two bolts that hold the steering gear to the crossmember and tighten them to 70 Nm (52 ft. lbs.). Attach both cushions to the sway bar kit, using their slits and then overlay the two sway bar bushing retainers on the cushions. Place the retainers firmly into the crossmember holes and screw them down, tightening all four to 30 Nm (22 ft. lbs.). Clip the sway bar link to the front and rear ends of the bar and tighten the nuts at each end with a torque of 58 Nm (43 ft. lbs.), holding the lower sway bar link stud stationary. Install the positioning clamps for the hose on the crossmember and fasten them with a screw tightened to 8 Nm (71 in. lbs.). If you have one, fit the belly pan to the engine and then bring the car down onto the rollers. If needed, do a wheel alignment, giving attention to the front camber and caster and adjust the crossmember on its mounts if that helps you set it properly.
- Q:How to remove a Sway Bars on Dodge Caliber?A:Before taking off the sway bar kit, first raise and support the vehicle. Take the engine belly pan off if your car has one. Following that, disconnect the rear Engine Mount and remove the front engine mount through-bolt. Use a wrench to get rid of any fasteners that keep the power steering hose clamps on the crossmember. At each end of the sway bar kit, make sure the lower sway bar link is stationary and remove the link's nut connected to the sway bar. Unscrew the holders bolts on the crossmember and take out the two bushing retainers. Lift both cushions from the seat and pull them out by carefully using the slit in the cushions. Place marks on the body of the car near the front crossmember bolt locations where it should be located. Hold the crossmember up with a transmission jack and remove the four bolts fastening the front crossmember to the body. Following this, take out the bolts connecting the steering gear to the crossmember and prop up the steering gear so it doesn't fall. Gently drop the crossmember until the space between the rear of the member and the body is big enough for the sway bar kit to come off, being careful not to go too low. After that, take out and remove the sway bar kit on the rear side of the crossmember.
Related Dodge Caliber Parts
 Dodge Caliber Wheel Bearing
 Dodge Caliber Control Arm
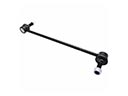 Dodge Caliber Sway Bar Link
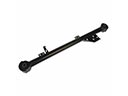 Dodge Caliber Trailing Arm
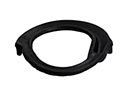 Dodge Caliber Coil Spring Insulator
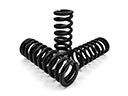 Dodge Caliber Coil Springs
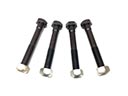 Dodge Caliber Control Arm Bolt
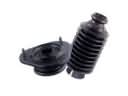 Dodge Caliber Shock and Strut Boot
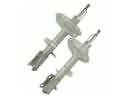 Dodge Caliber Strut Housing
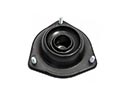 Dodge Caliber Strut Mounts
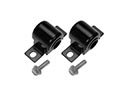 Dodge Caliber Sway Bar Bushing
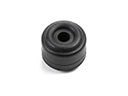 Dodge Caliber Sway Bar Link Bushing