JeepParts
My Garage
My Account
Cart
OEM Dodge Cooling Fan Bracket
Raidator Fan Bracket- Select Vehicle by Model
- Select Vehicle by VIN
Select Vehicle by Model
orMake
Model
Year
Select Vehicle by VIN
For the most accurate results, select vehicle by your VIN (Vehicle Identification Number).
3 Cooling Fan Brackets found
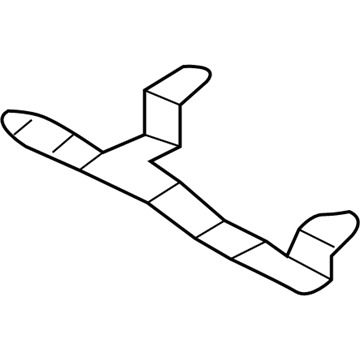
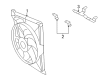
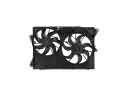
Dodge Electric Cooling Fan Rear Bracket Part Number: 55057132AA
$29.64 MSRP: $43.35You Save: $13.71 (32%)Ships in 1-2 Business DaysProduct Specifications- Other Name: Bracket - Fan; Engine Cooling Fan Shroud Bracket, Rear; Bracket Fan
- Position: Rear
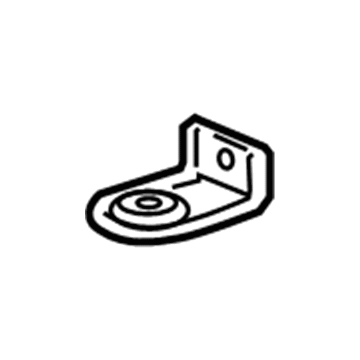
Dodge Mount Bracket Part Number: 5115779AA
Product Specifications- Other Name: Bracket - Cooling Module; Cooling Fan Bracket; Bracket Cooling Module
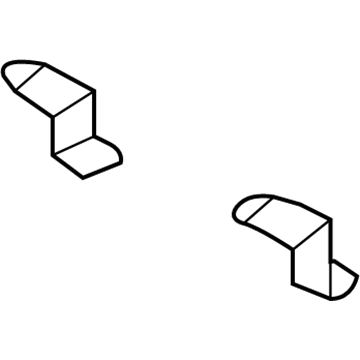
Dodge Electric Cooling Fan Front Bracket Part Number: 55057134AA
Product Specifications- Other Name: Bracket - Fan; Engine Cooling Fan Shroud Bracket, Front; Bracket Fan
- Position: Front
Dodge Cooling Fan Bracket
OEM parts sourced directly from Dodge deliver superior quality, long lasting strength, and a precise fit you can trust. Each item goes through strict quality checks to ensure safety, toughness, and performance that matches your factory equipment. At JeepPartsDeal online shop, you'll get top-quality, budget-friendly OEM Dodge Cooling Fan Bracket for your vehicle. We focus on giving you a high standard without pushing up the price. Our full selection of genuine factory products comes backed by the original manufacturer's warranty. You'll love our fast delivery, seamless shopping experience, and convenient return policy, saving you all the hassle.
The metal component that mounts the engine fan to the bay is referred to as the Dodge Cooling Fan Bracket. This component holds the fan steady so that airflow isn't disrupted. The DNA of Dodge muscle runs deep. From the all-steel body of 1914 to the screaming HEMI mills and outrageous Viper, every single model delivers raw power and toughness. The 600-watt Fratzonic Chambered Exhaust is tuned to the mode you select, Drag, Donut, or Sport. It goes quiet in stealth mode when your neighbors are asleep, which just goes to show that Dodge listens to customers instead of committees. The frames are made of thick gauge steel, the intelligent cooling passages, and a clever electronic package shield the rig from punishment and high amp disruptions. A focus on durability extends to the Cooling Fan Bracket, whose castings are thick enough to dampen vibration and resist corrosion year after year. Replacing the Cooling Fan Bracket is simple. The battery must be disconnected and the engine cooled down first. Then pop off any shrouds that hide the fan. Remove the old bolts, slide the bracket out, and compare it to the new piece to double check that it matches Dodge tolerances. Install the new Cooling Fan Bracket in the reverse order of disassembly, ensuring holes are aligned, bolted up finger-tight, then torque wrench them up to seat firmly. You should reinstall the fan and spin the blades by hand to check clearance. After this, reattach any wire clips and reconnect the battery. Start the motor and listen for a smooth and rattle-free whirr.