JeepParts
My Garage
My Account
Cart
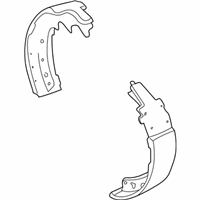
OEM Dodge Ram 2500 Van Brake Shoe Set
Brake Shoe- Select Vehicle by Model
- Select Vehicle by VIN
Select Vehicle by Model
orMake
Model
Year
Select Vehicle by VIN
For the most accurate results, select vehicle by your VIN (Vehicle Identification Number).
2 Brake Shoe Sets found
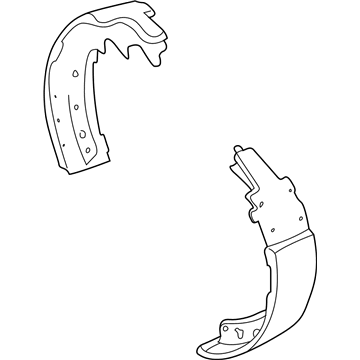
Dodge Ram 2500 Van Brake Shoes, Rear Part Number: 5014126AA
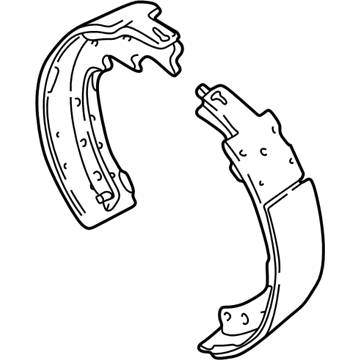
Dodge Ram 2500 Van Brake Shoes, Rear Part Number: 5003999AA
Dodge Ram 2500 Van Brake Shoe Set
Choose OEM Brake Shoe Set that meet Dodge factory standards. Dodge designs and tests every component for precision and durability. Each Brake Shoe Set follows strict manufacturing steps to lock in quality and fit. If your Dodge Ram 2500 Van matters to you, OEM parts make the smart choice. You'll get the exact look, feel, and performance you expect. Shop genuine Ram 2500 Van parts at the highly competitive prices online. Enjoy a manufacturer's warranty, a hassle-free return policy, and rapid delivery. No more guesswork with off brands. Get genuine parts with exact fit and true factory performance. Shop with confidence today at JeepPartsDeal.com.
Dodge Ram 2500 Van Brake Shoe Set Parts and Q&A
- Q:How to service and repair the rear Brake Shoe Set (12 1/8 Inch) on Dodge Ram 2500 Van?A:To service and repair rear brake shoes (12 1/8 Inch) of this vehicle, raise and support the vehicle and remove the wheel and tire assembly. Remove the clip nuts attached to the wheel studs that hold the brake drum in place and take it off. Using a vacuum, clean the brake components to remove dust from the brake lining. Then, unhook the adjusting lever return spring from the lever. Remove the lever along with the return spring from the lever pivot pin. Remove the adjuster lever from the adjuster cable assembly, then the shoe-to-shoe upper spring and the shoe hold-down springs. Detach the parking brake cable from the lever of the parking brake. Remove the shoe-to-shoe lower spring and adjuster assembly and then the brake shoes. For mounting, apply Mopar high temperature grease, multi-mileage grease, or the equivalent to the support plate contact pads. Put together the adjuster, lower spring and both brake shoes. Place them on the support plate with the primary shoe at the front and the secondary shoe at the rear. Install the hold down pins and springs of the brake shoe. Ensure that the hold down pins are properly seated in the support plate and the springs are connected. Run the parking brake cable through the parking brake cable guide spring to the parking brake lever and ensure the cable end is secured in the lever. Position the adjuster lever return spring on the pivot and install the adjuster lever after installing the upper spring. Attach the adjuster cable to the adjuster lever, routing the cable appropriately, and finally adjust the brake shoes to the drum with a brake gauge. It is worth noting that the left side brake has left hand threads for the adjusting nut and pivot screw, while the right side brake has right hand threads. Therefore take care that the adjusting nuts are fitted on the right side of the vehicle.
Related Dodge Ram 2500 Van Parts
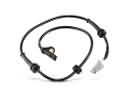 Dodge Ram 2500 Van ABS Sensor
 Dodge Ram 2500 Van Brake Caliper
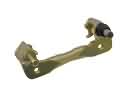 Dodge Ram 2500 Van Brake Caliper Bracket
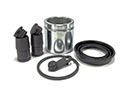 Dodge Ram 2500 Van Brake Caliper Repair Kit
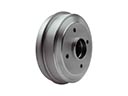 Dodge Ram 2500 Van Brake Drum
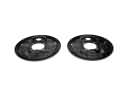 Dodge Ram 2500 Van Brake Dust Shields
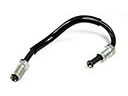 Dodge Ram 2500 Van Brake Line
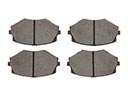 Dodge Ram 2500 Van Brake Pads
 Dodge Ram 2500 Van Hydraulic Hose
 Dodge Ram 2500 Van Wheel Bearing Dust Cap
 Dodge Ram 2500 Van Wheel Cylinder
 Dodge Ram 2500 Van Wheel Stud