JeepParts
My Garage
My Account
Cart
OEM Dodge Viper Engine Oil Cooler
Oil Cooler- Select Vehicle by Model
- Select Vehicle by VIN
Select Vehicle by Model
orMake
Model
Year
Select Vehicle by VIN
For the most accurate results, select vehicle by your VIN (Vehicle Identification Number).
2 Engine Oil Coolers found
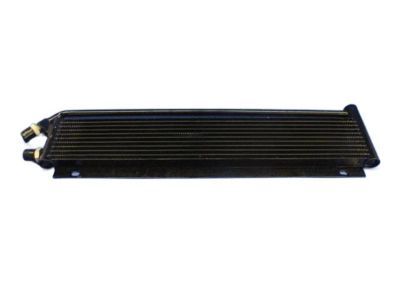
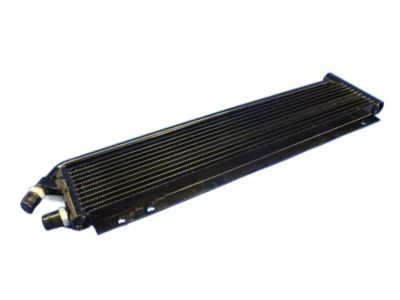
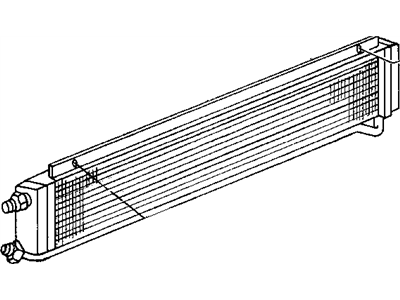
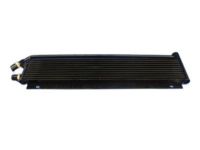
Dodge Viper Oil Cooler Part Number: 4643826AC
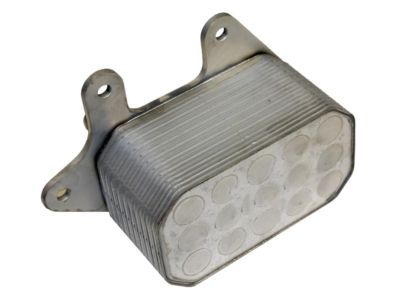
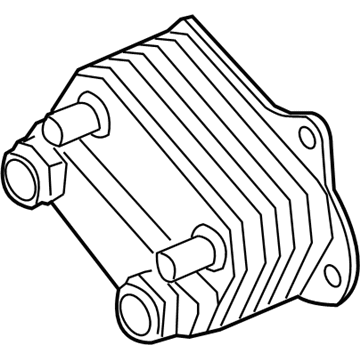
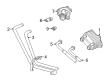
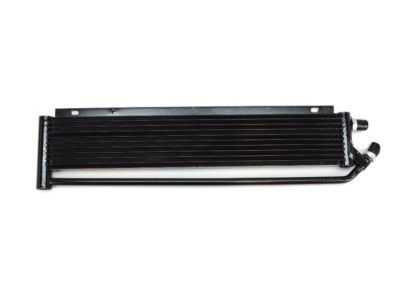
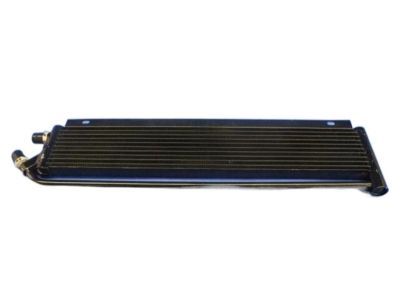
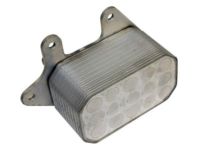
Dodge Viper Oil Cooler Part Number: 5290014AE
$256.06 MSRP: $377.00You Save: $120.94 (33%)
Dodge Viper Engine Oil Cooler
Choose OEM Engine Oil Cooler that meet Dodge factory standards. Dodge designs and tests every component for precision and durability. Each Engine Oil Cooler follows strict manufacturing steps to lock in quality and fit. If your Dodge Viper matters to you, OEM parts make the smart choice. You'll get the exact look, feel, and performance you expect. Shop genuine Viper parts at the highly competitive prices online. Enjoy a manufacturer's warranty, a hassle-free return policy, and rapid delivery. No more guesswork with off brands. Get genuine parts with exact fit and true factory performance. Shop with confidence today at JeepPartsDeal.com.
Dodge Viper Engine Oil Cooler Parts and Q&A
- Q:How to Service and Repair an Engine Oil Cooler on Dodge Viper?A:Raise your vehicle on a hoist and put a cover over its front end to help protect it while the oil cooler is being serviced. Open the fascia and after that, remove the lower oil cooler line to get to the oil cooler. Loose the screw that holds the left oil cooler and remove the screw on the right oil cooler. Loosen and remove the upper oil cooler line using a wrench, follow by removing the left mounting screw and taking out the oil cooler through the hole in the fascia. Put the oil cooler through the hole in the front and just loosely install the screw on the left side mounting bracket. Next step is to set the upper oil cooler line and tighten it until it reaches 34 Nm (25 ft. lbs.). Instal the right oil cooler mounting screw, then tighten it to 23 Nm (200 in. lbs.). Then do the same with the left side oil cooler mounting screw. Secure the bottom oil cooler line, making the torque 34 Nm (25 ft. lbs.). Once the engine is on, turn it off after 3 to 5 minutes to fill the oil cooler, then see if you need more oil before driving away. Also, check the oil cooler connections for leaks and deal with any you find.
- Q:How to Remove an Engine Oil Cooler on Dodge Viper?A:You should check for any major engine damage by using a line flush and changing out the oil cooler if necessary, before attempting to remove the oil cooler. Take the air cleaner housing assembly off first. After that, drain the cooling system. Take the hoses off the oil cooler so that it cannot be flooded with coolant. Using Special Tool 9005, remove the two hoses connecting the engine and the oil cooler. After that, unscrew the fasteners holding the oil cooler to the fender and pull out the oil cooler.
Related Dodge Viper Parts
 Dodge Viper Crankshaft
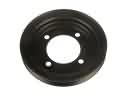 Dodge Viper Crankshaft Pulley
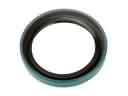 Dodge Viper Crankshaft Seal
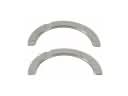 Dodge Viper Crankshaft Thrust Washer
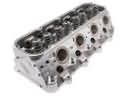 Dodge Viper Cylinder Head
 Dodge Viper Harmonic Balancer
 Dodge Viper Intake Valve
 Dodge Viper Oil Pan Gasket
 Dodge Viper Power Steering Cooler
 Dodge Viper Pushrod
 Dodge Viper Rocker Arm
 Dodge Viper Rod Bearing