JeepParts
My Garage
My Account
Cart
OEM Jeep Cherokee Brake Shoe Set
Brake Shoe- Select Vehicle by Model
- Select Vehicle by VIN
Select Vehicle by Model
orMake
Model
Year
Select Vehicle by VIN
For the most accurate results, select vehicle by your VIN (Vehicle Identification Number).
5 Brake Shoe Sets found

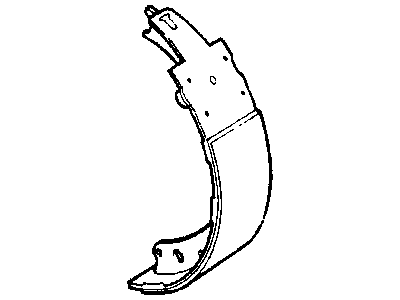
Jeep Cherokee Shoes Part Number: V2020818
Jeep Cherokee Shoes Part Number: 83502385
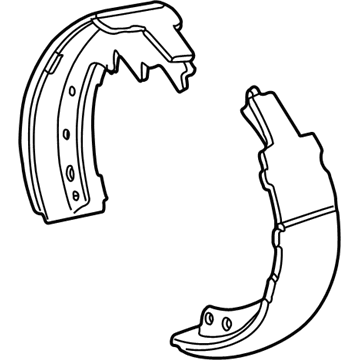

Jeep Cherokee Brake Shoes Part Number: 4796310
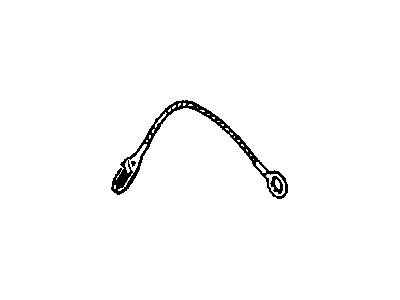
Jeep Cherokee Shoes Part Number: 4713350
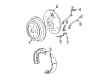
Jeep Cherokee Brake Shoes, Rear Part Number: 4723367AB
Jeep Cherokee Brake Shoe Set
Choose OEM Brake Shoe Set that meet Jeep factory standards. Jeep designs and tests every component for precision and durability. Each Brake Shoe Set follows strict manufacturing steps to lock in quality and fit. If your Jeep Cherokee matters to you, OEM parts make the smart choice. You'll get the exact look, feel, and performance you expect. Shop genuine Cherokee parts at the highly competitive prices online. Enjoy a manufacturer's warranty, a hassle-free return policy, and rapid delivery. No more guesswork with off brands. Get genuine parts with exact fit and true factory performance. Shop with confidence today at JeepPartsDeal.com.
Jeep Cherokee Brake Shoe Set Parts and Q&A
- Q:How to service and repair a brake shoe set on Jeep Cherokee?A:Raise the vehicle and take off the rear wheels to service and repair drum brake shoes. Remove the brake drums after discarding the spring nuts that fix the drums to the wheel studs. If you find it challenging to remove the drums, you can access the rear of the backing plate by removing the access plug and backing off the adjuster screw in the manner shown using a brake tool and screwdriver. Use a fine spray of water to wash all individual components of the brake, such as the support plate and the exterior of the wheel cylinder. Wipe clean with a damp cloth. Detach the U-clip and washer holding the adjuster cable to the parking brake lever, then detach the primary and secondary return springs from the anchor pin using brake spring pliers. To take off the hold-down springs, retainers, and also the pins, use a standard retaining spring tool. Make use of spring clamps on the wheel cylinder to hold the pistons in position. Remove the adjuster lever, adjuster screw and spring, and adjuster cable and cable guide. Take out the parking brake strut and brake shoes, disconnect the cable from the parking brake lever, and remove the lever. Riveted brake shoes must be replaced when worn down to 0.78 mm (1/32 inch) of the rivet heads. Bonded lining must be replaced when worn down to 1.6 mm (1/16 inch) thickness. Evaluate the contact pattern of shoes with the liner to see contact is only on the one side. If so, replace the shoe and check the other end for runout or taper. The adjuster screw assembly should be inspected and replaced if the star wheel or thread is damaged and also if the components are badly rusted or corroded. Remove any brake springs and retainer parts that are worn, distorted or collapsed. If brake drag has occurred, replace these parts as overheating can distort and weaken springs. The brake shoe support plate may need to be replaced if the contact pads on the plate are worn or rusted through. In addition, if the support plate is bent or distorted, it should be replaced. In the event that new drums will be installed, thoroughly clean the support plate with brake cleaner, and then remove the protective coating using carburetor cleaner followed by a rinse with brake cleaner. Oil and grease the anchor pin with a light coat of Mopar multi-mileage grease. Put Mopar multi-mileage grease on the support plate brake shoe contact surfaces. Apply spray lubricant to the adjuster screw threads and pivot. Attach the parking brake lever to the secondary brake shoe using a new washer and U-clip. Detach the wheel cylinder clamps. Attach the parking brake cable to the lever. Put the brake shoes onto the support plate, using new hold-down spring, pin and retainer. Put in place the parking brake strut and spring, followed by the guide plate and the adjuster cable on the anchor pin. First, install the primary then secondary return springs. Finally, install the adjuster cable guide on the secondary shoe. Lubricate and assemble the adjuster screw then install the adjuster screw spring and lever connecting it to the adjuster cable. Make adjustments to the shoes to the drum, add the wheel/tire assemblies, lower the vehicle, and check that the brake pedal is firm before moving the rig.
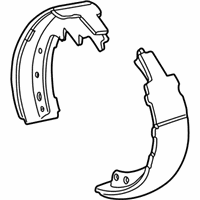
Related Jeep Cherokee Parts
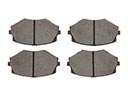 Jeep Cherokee Brake Pads
 Jeep Cherokee Brake Caliper
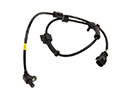 Jeep Cherokee Speed Sensor
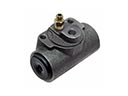 Jeep Cherokee Wheel Cylinder
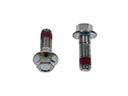 Jeep Cherokee Brake Caliper Bolt
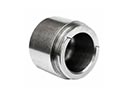 Jeep Cherokee Brake Caliper Piston
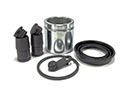 Jeep Cherokee Brake Caliper Repair Kit
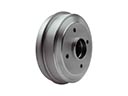 Jeep Cherokee Brake Drum
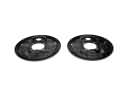 Jeep Cherokee Brake Dust Shields
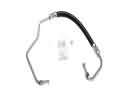 Jeep Cherokee Hydraulic Hose
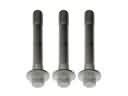 Jeep Cherokee Wheel Hub Bolt
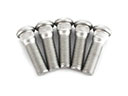 Jeep Cherokee Wheel Stud