JeepParts
My Garage
My Account
Cart
OEM Chrysler Aspen Steering Column
Steering Column Tilt- Select Vehicle by Model
- Select Vehicle by VIN
Select Vehicle by Model
orMake
Model
Year
Select Vehicle by VIN
For the most accurate results, select vehicle by your VIN (Vehicle Identification Number).
2 Steering Columns found
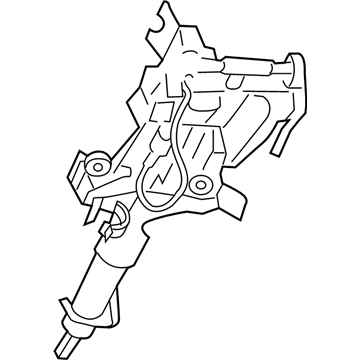
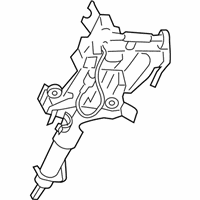
Chrysler Aspen Steering Column Part Number: 5057569AA
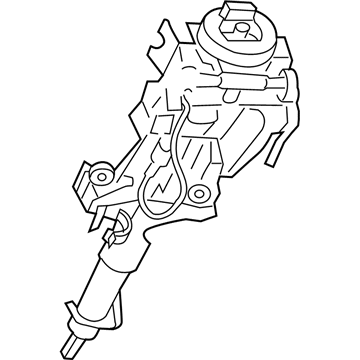
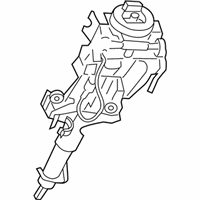
Chrysler Aspen Steering Column Part Number: 5057477AA
Chrysler Aspen Steering Column
Choose OEM Steering Column that meet Chrysler factory standards. Chrysler designs and tests every component for precision and durability. Each Steering Column follows strict manufacturing steps to lock in quality and fit. If your Chrysler Aspen matters to you, OEM parts make the smart choice. You'll get the exact look, feel, and performance you expect. Shop genuine Aspen parts at the highly competitive prices online. Enjoy a manufacturer's warranty, a hassle-free return policy, and rapid delivery. No more guesswork with off brands. Get genuine parts with exact fit and true factory performance. Shop with confidence today at JeepPartsDeal.com.
Steering Column is one of the nominal parts in Chrysler Aspen unit which will depict dependability and efficacy in Chrysler Aspen series. As the connector for the steering wheel and the steering system, this Steering Column provides for accurate passage of steering angles and torques, which has a positive impact on the vehicle's ability to steer as per the driver's wishes. Firstly, it should be noted that the Chrysler Aspen Steering Column is collapsible and this feature entails managing impact energy during accidents, which is quite important when speaking about the brand's recognition in the automotive industry. This design is accompanied by a tolerance ring that enables the Steering Column to be collapsed under certain forces for safety standards set by the federal government. Most of the Chrysler Aspen Steering Column also has secondary responsibilities of housing multi-function switches and height adjustability for the driver's superior experience on the road. Most suitable for use on Chrysler Aspen cars, this Steering Column ensures the better efficiency and safety of the car. Also, the Steering Column that is integrated in Chrysler Aspen has reliable anti-theft features which enhance the quality of its steering systems. As mentioned earlier on, an aspect that will sum up the basically laudable performance of the Chrysler Aspen Steering Column is the fact that it is safe, ergonomic and very much efficient.
Chrysler Aspen Steering Column Parts and Q&A
- Q:How to Ensure Safety and Proper Operation Before Servicing a Steering Column on Chrysler Aspen?A:Before working on the steering column, make certain the air bag system is turned off to avoid accidental firing and hurt yourself. All parts that use fasteners should be torqued as directed by the instructions. Put the front wheels straight ahead, then disconnect the negative cable from your battery. Pull out the air bag so that the puller bolts are tightened into the Steering Wheel and not the Clock Spring. You can use tool CJ98-1 or any handy steering wheel puller to remove the steering wheel. After that, open up the lower side of the dash and take out both the cover and the actual steering column opening reinforcement component. Take the upper and lower columns out and then withdraw the clock spring from under the dash. Separate the wiring harness from the column and take out the Shift Cable from the column shift lever actuator, allowing it to drop from the column bracket. Take out the SKIM unit and as a result, the electrical connector will come loose. Then remove the bolt on top of the steering shaft coupler and pull the shaft down. Take the Brake Light Switch out and throw it away, then unscrew the four bolts on the steering column mounting. When you're done, raise the vehicle into the air with the wheels still on the floor and replace the steering column with the mounting studs.
- Q:How to Safely Service and Operate a Steering Column on a Chrysler Aspen?A:Be sure the air bag system is disarmed prior to servicing the steering column so it cannot deploy by mistake and hurt someone. Proper operation of any fastener depends on torquing it to the correct specification. Support the steering column and place the fasteners on the dash panel so they are there, but are still free to move. Against the studs visible in the dashboard, push the steering column upward and tighten the nuts by hand. Screw on the steering shaft coupler and insert a new bolt loosely into it. The order is to torque the upper left nut first then the lower right nut, after that the lower left nut and finally the upper right nut. Set the steering column in the dash opening and use a strong new bolt to ensure the mounting nuts are tightened to 28 Nm (250 in. lbs.). Tighten the coupler bolt to a force of 38 Nm (28 ft. lbs.). Replace the Brake Light Switch, the shifter cable and attach the wiring harness to the column. Make sure to install both the Skim module and Clock Spring. Installing the shrouds, the opening reinforcement for the steering column and the cover for the steering opening is next. Put the spline in line with the shaft, connect the Steering Wheel and secure it with a new bolt as you tighten it to 61 Nm (45 ft. lbs.). Assemble the air bag, tilt lever handle and install the vehicle's negative battery terminal. In addition, check that the horn, Electronic Prndl Indicator, lights and all other controls on the steering column are working properly.
Related Chrysler Aspen Parts
 Chrysler Aspen Steering Wheel
 Chrysler Aspen Power Steering Cooler
 Chrysler Aspen Power Steering Hose
 Chrysler Aspen Power Steering Pump
 Chrysler Aspen Power Steering Reservoir
 Chrysler Aspen Rack And Pinion
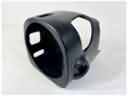 Chrysler Aspen Steering Column Cover
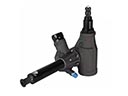 Chrysler Aspen Steering Gear Box
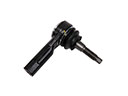 Chrysler Aspen Tie Rod
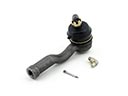 Chrysler Aspen Tie Rod End
Browse Chrysler Aspen Steering Column by Years
2009
2008
2007