JeepParts
My Garage
My Account
Cart
OEM Dodge Ram 1500 Clutch Disc
Friction Disc- Select Vehicle by Model
- Select Vehicle by VIN
Select Vehicle by Model
orMake
Model
Year
Select Vehicle by VIN
For the most accurate results, select vehicle by your VIN (Vehicle Identification Number).
5 Clutch Discs found
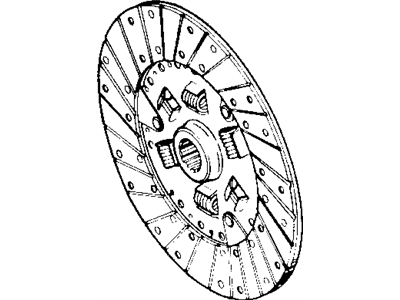
Dodge Ram 1500 Disc Part Number: 52107829AB
$203.42 MSRP: $458.00You Save: $254.58 (56%)Ships in 1-2 Business Days
Dodge Ram 1500 Pressure Plate Part Number: 55197368AA
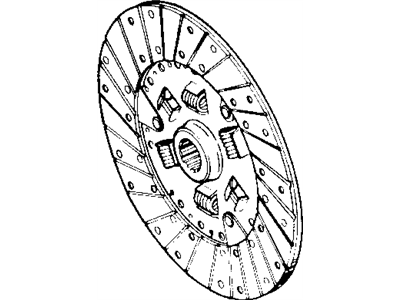
Dodge Ram 1500 Disc Part Number: 52107834AB
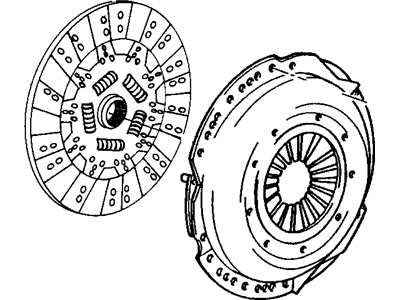
Dodge Ram 1500 Pressure Plate Part Number: 4762858
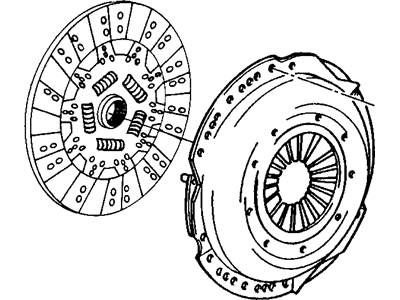
Dodge Ram 1500 Pressure Plate Part Number: 4848708AF
Dodge Ram 1500 Clutch Disc
Choose OEM Clutch Disc that meet Dodge factory standards. Dodge designs and tests every component for precision and durability. Each Clutch Disc follows strict manufacturing steps to lock in quality and fit. If your Dodge Ram 1500 matters to you, OEM parts make the smart choice. You'll get the exact look, feel, and performance you expect. Shop genuine Ram 1500 parts at the highly competitive prices online. Enjoy a manufacturer's warranty, a hassle-free return policy, and rapid delivery. No more guesswork with off brands. Get genuine parts with exact fit and true factory performance. Shop with confidence today at JeepPartsDeal.com.
Dodge Ram 1500 Clutch Disc Parts and Q&A
- Q:How to remove the Clutch Disc on Dodge Ram 1500?A:To remove the clutch disc, first support the engine with a wood block and adjustable jack stand to prevent strain on the engine mounts. Next, remove the transmission and transfer case if equipped. If the pressure plate is to be reused, mark the position on the flywheel with paint or a scriber, and note the location marks on the pressure plate next to the bolt holes, using a L or a circle with an X. Insert the clutch alignment tool through the pressure plate and into the pilot bushing to hold the disc in place while removing the bolts. Loosen the pressure plate bolts evenly, a few threads at a time, in a diagonal pattern to prevent warping. Finally, remove the bolts completely and take out the pressure plate, disc, and alignment tool.
- Q:What steps should be taken before installing a Clutch Disc on a Diesel engine with a Dual Mass Flywheel and self-adjusting pressure plate on Dodge Ram 1500?A:The pressure plate must be reset prior to the installation of the clutch disc on the Diesel engine with Dual Mass Flywheel and self-adjusting pressure plate which can damage the clutch disc. Initially check runout and free play of the new clutch disc. Next, apply NLGI - 2 Grease to the crankshaft pilot bearing. Install the alignment tool for the clutch in the hub of the clutch disc so that its raised side is facing away from the flywheel and flywheel side is imprinted on the disc face. After that, place the aligning tool in the pilot bearing and mount the disc on the flywheel. Place the pressure plate over the disc and onto the flywheel. It is advisable to replace the pressure plate each time a worn clutch is replaced due to its loss of clamp load over time. Position the pressure plate and hold it in position and install the bolts finger tight. Tighten them evenly in a diagonal pattern. To the following torque: V6 & V8 Engines 50 Nm (37 ft. lbs.), Diesel Engines 30 Nm (22 ft. lbs.). Take out the release lever and release bearing from clutch housing. Apply Mopar(TM) high temperature bearing grease to the release bearing's bore, the release lever's contact surfaces and the release lever's pivot stud. Using Mopar™ high temperature bearing grease, apply a thin coat at the splines of the transmission input shaft and release bearing slide surface of the transmission front bearing retainer. Ensure that the shaft splines do not get too much grease to prevent contamination of the disc. First, clean the pilot bearing surface area. Next, fit the release lever and bearing in clutch housing. Ensure that the spring clips that retain the lever on the pivot ball and release bearing are fitted. The bottom side of the transmission should have the release lever part number oriented right side up, while the stamped "I" should face the pivot ball side. To conclude, install the transmission and, if there is one, transfer case. Check the fluid level in the clutch master cylinder. Afterwards, depress the clutch pedal several times.
Related Dodge Ram 1500 Parts
 Dodge Ram 1500 Automatic Transmission Seal
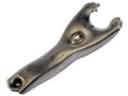 Dodge Ram 1500 Clutch Fork
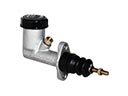 Dodge Ram 1500 Clutch Master Cylinder
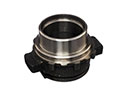 Dodge Ram 1500 Clutch Release Bearing
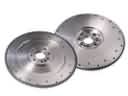 Dodge Ram 1500 Flywheel
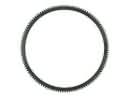 Dodge Ram 1500 Flywheel Ring Gear
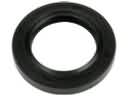 Dodge Ram 1500 Manual Transmission Extension Housing Seal
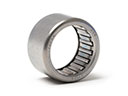 Dodge Ram 1500 Needle Bearing
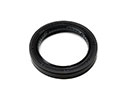 Dodge Ram 1500 Output Shaft Seal
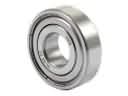 Dodge Ram 1500 Pilot Bearing
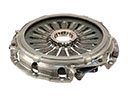 Dodge Ram 1500 Pressure Plate
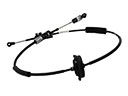 Dodge Ram 1500 Shift Cable