JeepParts
My Garage
My Account
Cart
OEM Dodge Ram 1500 Torsion Bar
Suspension Torsion Bar- Select Vehicle by Model
- Select Vehicle by VIN
Select Vehicle by Model
orMake
Model
Year
Select Vehicle by VIN
For the most accurate results, select vehicle by your VIN (Vehicle Identification Number).
23 Torsion Bars found
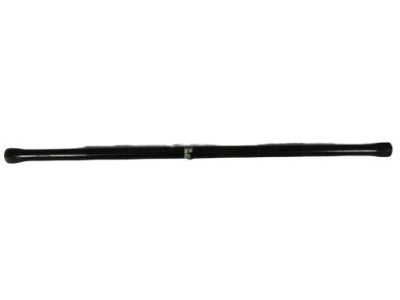
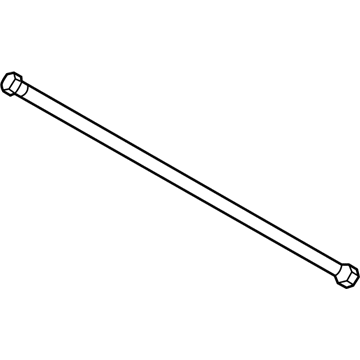
Dodge Ram 1500 Torsion Bar, Front Driver Side Part Number: 52106691AA
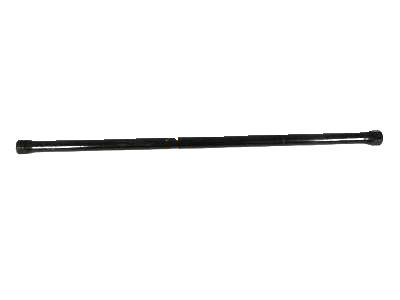
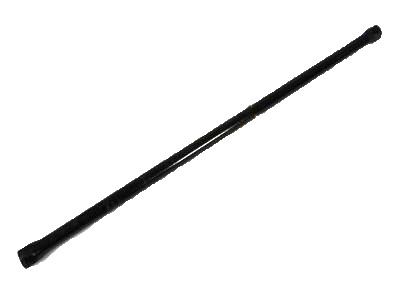
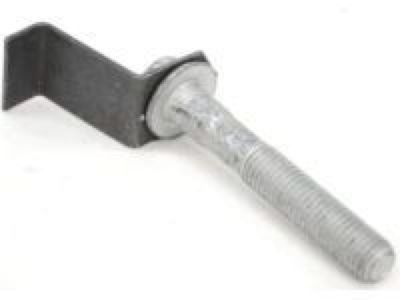
Dodge Ram 1500 Torsion Bar, Front Driver Side Part Number: 52110119AA
Dodge Ram 1500 Torsion Bar, Front Driver Side Part Number: 52110113AA
Dodge Ram 1500 Torsion Bar, Front Driver Side Part Number: 52110111AA
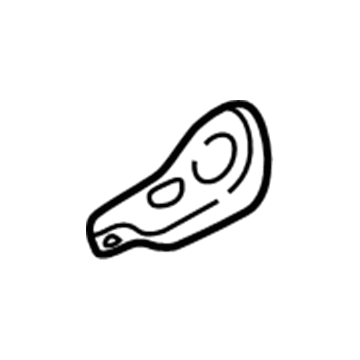
Dodge Ram 1500 Torsion Bar Anchor Plate Part Number: 52106701AB
Dodge Ram 1500 Torsion Bar, Front Driver Side Part Number: 52106697AA
Dodge Ram 1500 Torsion Bar, Front Driver Side Part Number: 52106695AA
Dodge Ram 1500 Torsion Bar, Front Driver Side Part Number: 52106689AA
Dodge Ram 1500 Torsion Bar, Front Driver Side Part Number: 52106687AA
Dodge Ram 1500 Torsion Bar, Front Driver Side Part Number: 52106685AA
Dodge Ram 1500 Torsion Bar, Front Driver Side Part Number: 52106673AA
| Page 1 of 2 |Next >
1-20 of 23 Results
Dodge Ram 1500 Torsion Bar
Choose OEM Torsion Bar that meet Dodge factory standards. Dodge designs and tests every component for precision and durability. Each Torsion Bar follows strict manufacturing steps to lock in quality and fit. If your Dodge Ram 1500 matters to you, OEM parts make the smart choice. You'll get the exact look, feel, and performance you expect. Shop genuine Ram 1500 parts at the highly competitive prices online. Enjoy a manufacturer's warranty, a hassle-free return policy, and rapid delivery. No more guesswork with off brands. Get genuine parts with exact fit and true factory performance. Shop with confidence today at JeepPartsDeal.com.
Dodge Ram 1500 Torsion Bar Parts and Q&A
- Q:How are the left and right Torsion Bars identified, and how to remove and install it on Dodge Ram 1500?A:The left and right side torsion bars are not interchangeable, identified and stamped R or L for right or left, and can be installed with either end facing forward. To remove the torsion bar, raise and support the vehicle with the front suspension hanging, then remove the transfer case skid plate, counting and recording the number of turns for installation reference. Mark the adjustment bolt setting, install Special Tool - 8686 to the anchor arm and the crossmember, and increase the tension on the anchor arm tool until the load is removed from the adjustment bolt and the adjuster nut. Turn the adjustment bolt counterclockwise to remove it along with the adjuster nut, then remove Special Tool - 8686 to allow the torsion bar to unload. Remove the torsion bar and anchor, taking care to remove the anchor from the torsion bar, and clean all foreign material from the torsion bar mounting in the anchor and suspension arm. Inspect the adjustment bolt, bearing, and swivel for damage. For installation, insert the torsion bar ends into the anchor and suspension arm, position the anchor in the frame crossmember, and install Special Tool - 8686 to the anchor and the crossmember. Increase the tension on the anchor to load the torsion bar, then install the adjustment bolt and the adjuster nut, turning the adjustment bolt clockwise the recorded amount of turns. Remove tool - 8686 from the torsion bar crossmember, install the transfer case skid plate, lower the vehicle, adjust the front suspension height, and perform a wheel alignment.
Related Dodge Ram 1500 Parts
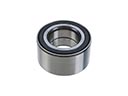 Dodge Ram 1500 Wheel Bearing
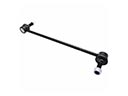 Dodge Ram 1500 Sway Bar Link
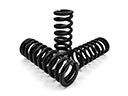 Dodge Ram 1500 Coil Springs
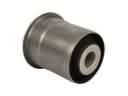 Dodge Ram 1500 Axle Support Bushings
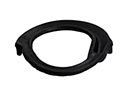 Dodge Ram 1500 Coil Spring Insulator
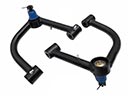 Dodge Ram 1500 Control Arm
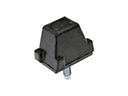 Dodge Ram 1500 Control Arm Bumper
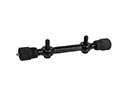 Dodge Ram 1500 Control Arm Shaft Kit
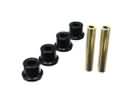 Dodge Ram 1500 Crossmember Bushing
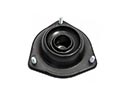 Dodge Ram 1500 Strut Mounts
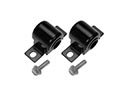 Dodge Ram 1500 Sway Bar Bushing
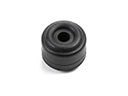 Dodge Ram 1500 Sway Bar Link Bushing