JeepParts
My Garage
My Account
Cart
OEM Dodge Sprinter 3500 Airbag
Air Bag Module- Select Vehicle by Model
- Select Vehicle by VIN
Select Vehicle by Model
orMake
Model
Year
Select Vehicle by VIN
For the most accurate results, select vehicle by your VIN (Vehicle Identification Number).
9 Airbags found
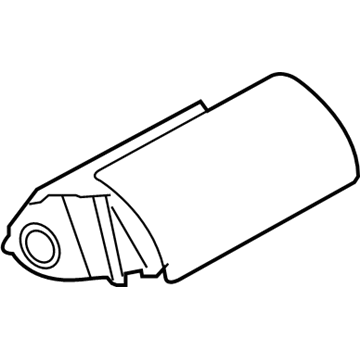
Dodge Sprinter 3500 Passenger Air Bag, Upper Passenger Side Part Number: 5124931AA
$310.31 MSRP: $1970.00You Save: $1659.69 (85%)Ships in 1-2 Business Days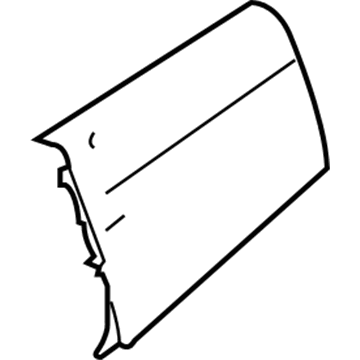
Dodge Sprinter 3500 Passenger Air Bag, Upper Passenger Side Part Number: 1YB06DX9AA
$1256.65 MSRP: $2262.00You Save: $1005.35 (45%)Ships in 1-2 Business Days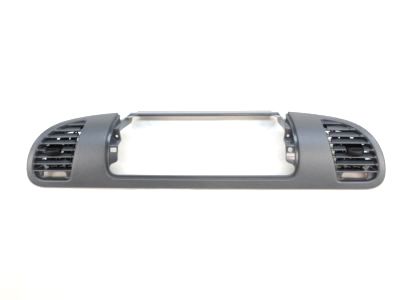
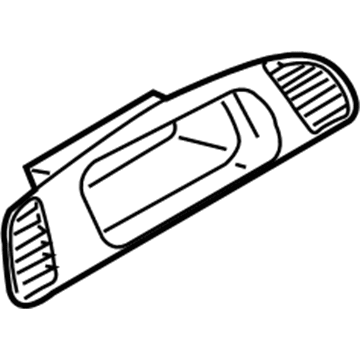
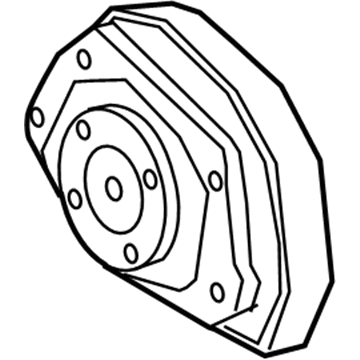
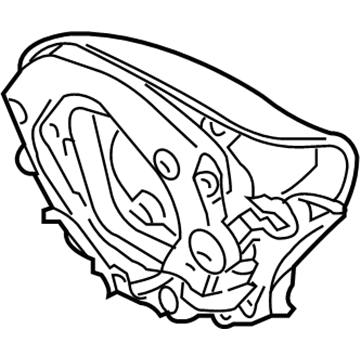
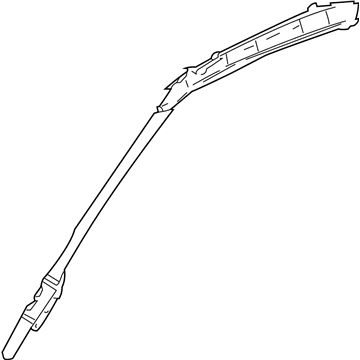
Dodge Sprinter 3500 Airbag
Choose OEM Airbag that meet Dodge factory standards. Dodge designs and tests every component for precision and durability. Each Airbag follows strict manufacturing steps to lock in quality and fit. If your Dodge Sprinter 3500 matters to you, OEM parts make the smart choice. You'll get the exact look, feel, and performance you expect. Shop genuine Sprinter 3500 parts at the highly competitive prices online. Enjoy a manufacturer's warranty, a hassle-free return policy, and rapid delivery. No more guesswork with off brands. Get genuine parts with exact fit and true factory performance. Shop with confidence today at JeepPartsDeal.com.
Dodge Sprinter 3500 Airbag Parts and Q&A
- Q:How to Safely Remove an Airbag from a Side Curtain on Dodge Sprinter 3500?A:Disable the supplemental restraint system by disconnecting the negative Battery Cable, wait two minutes for the capacitor to discharge and then remove the side curtain air bag. Be sure to put on rubber gloves, safety glasses and a shirt that covers your arms when working on the air bag to avoid touching irritants in the unit. Eliminate the trim on the inside of the A-pillar to get started. Then, take out the screw holding the tether onto the piece on the back of the A-pillar and keep the piece you removed ready. Slide the orange lock up to the top, hold the latch tab down and gently pull the connector to remove the wire harness connector from the inflator initiator. Release both screws keeping the curtain air bag inflator attached to the dashboard, along with the screw that fastens the bracket for the curtain air bag and garnishes to the top of the A-pillar. Unattach the end cap of the B-pillar trim from the upper B-pillar and poke the screwdriver underneath the B-pillar trim to loosen the rear screw in the rear bracket. Pull both ends of the garnish molding down to separate it from the headliner and the roof rail. Raise the curtain air bag inflator out of the A-pillar, away from the instrument panel, then separate the inflator from the rest of the air bag and remove the unit together.
- Q:How to Install an Airbag in Your Seat on Dodge Sprinter 3500?A:Before installing a seat air bag, disconnect the negative Battery Cable and wait two minutes so the system capacitor has time to discharge. Set the seat air bag housing to the outer part of the seat back frame. Connect the wire harness connector on the seat to the air bag inflator connector receptacle, then clip the latch and the lock into place firmly. Hook the air bag housing's two front catch hook clips into the slots on the forward edge of the seat back frame. Make sure the two stamped metal brackets at the back of the air bag housing are up against the seat back frame while the rear part of the air bag unit is rotated inward and backward. Secure the air bag to the back of the seat back frame with the two screws, since this way the wire ground eyelet can go under the lower screw. Next, tighten both screws to 2.5 Nm (22 in. lbs.). Insert the cover for the trim into place at the rear of the front seat back. It is important not to reconnect the battery negative cable now, since verification tests for the supplemental restraint system must be done after servicing its any component.
Related Dodge Sprinter 3500 Parts
 Dodge Sprinter 3500 Air Bag Control Module
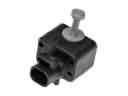 Dodge Sprinter 3500 Air Bag Sensor
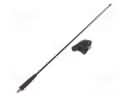 Dodge Sprinter 3500 Antenna
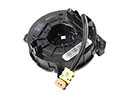 Dodge Sprinter 3500 Clock Spring
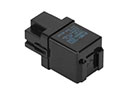 Dodge Sprinter 3500 Flasher Relay
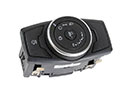 Dodge Sprinter 3500 Headlight Switch
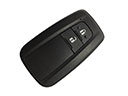 Dodge Sprinter 3500 Key Fob
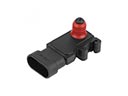 Dodge Sprinter 3500 MAP Sensor
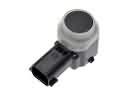 Dodge Sprinter 3500 Parking Assist Sensor
 Dodge Sprinter 3500 Starter Relay
 Dodge Sprinter 3500 TPMS Sensor
 Dodge Sprinter 3500 Turn Signal Flasher