JeepParts
My Garage
My Account
Cart
OEM Jeep Wrangler Brake Shoe Set
Brake Shoe- Select Vehicle by Model
- Select Vehicle by VIN
Select Vehicle by Model
orMake
Model
Year
Select Vehicle by VIN
For the most accurate results, select vehicle by your VIN (Vehicle Identification Number).
6 Brake Shoe Sets found
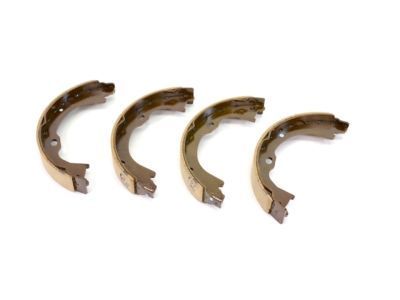
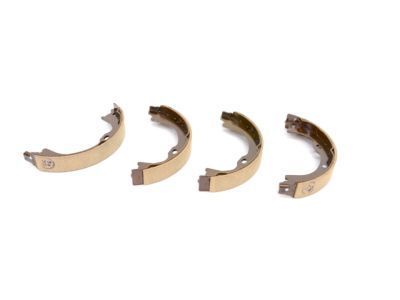
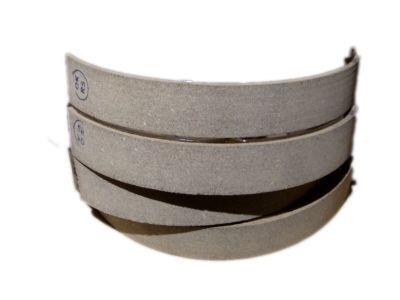
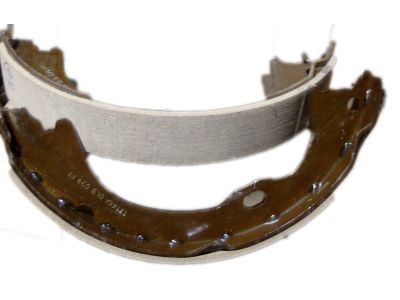
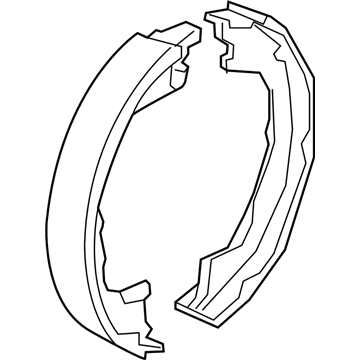
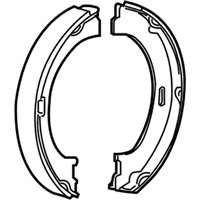
Jeep Wrangler Parking Brake Shoes, Rear Part Number: 68003589AA
$47.95 MSRP: $72.20You Save: $24.25 (34%)Ships in 1-2 Business Days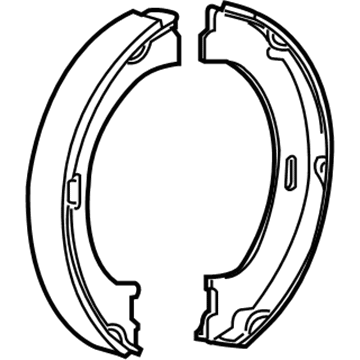
Jeep Wrangler Parking Brake Shoes, Rear Part Number: 5093390AC
$61.21 MSRP: $153.00You Save: $91.79 (60%)Ships in 1-2 Business Days
Jeep Wrangler Shoes Part Number: V2020818
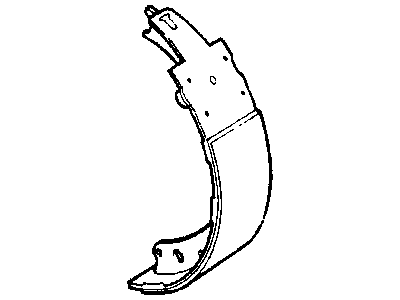
Jeep Wrangler Shoes Part Number: 83502385
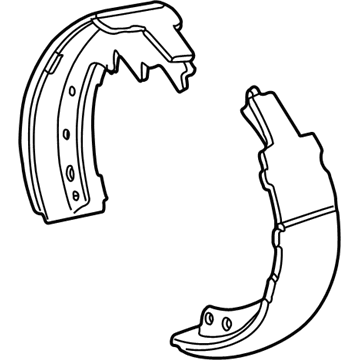
Jeep Wrangler Brake Shoes, Rear Part Number: 5019536AA
Jeep Wrangler Brake Shoes, Rear Part Number: 4723367AB
Jeep Wrangler Brake Shoe Set
Choose OEM Brake Shoe Set that meet Jeep factory standards. Jeep designs and tests every component for precision and durability. Each Brake Shoe Set follows strict manufacturing steps to lock in quality and fit. If your Jeep Wrangler matters to you, OEM parts make the smart choice. You'll get the exact look, feel, and performance you expect. Shop genuine Wrangler parts at the highly competitive prices online. Enjoy a manufacturer's warranty, a hassle-free return policy, and rapid delivery. No more guesswork with off brands. Get genuine parts with exact fit and true factory performance. Shop with confidence today at JeepPartsDeal.com.
Jeep Wrangler Brake Shoe Set Parts and Q&A
- Q:How to service and repair a brake shoe set on Jeep Wrangler?A:To service and repair drum brake shoes, you need to raise the vehicle and remove the rear wheels. Get rid of the spring nuts that secure the drums to the wheel studs and remove the brake drums. In case the drums refuse to budge, release the adjuster via a hole in the support plate and make use of a brake tool and screwdriver. Following the specified procedure, next unclip the U-clip and washer that secures the adjuster cable to the parking brake lever. Unclip the primary and secondary return springs from the anchor pin using brake spring pliers. Use a standard retaining spring tool to detach the hold-down springs, retainers, and pins. Employ spring clamps on the wheel cylinders to prevent the pistons from moving. Then take out the adjuster lever, adjuster screw, adjuster spring, adjuster cable and cable guide. Lastly, remove the brake shoes and parking brake strut. Disconnect the cable from the parking brake lever before removing the lever. To install, clean the support plate with brake cleaner. If new drums are being installed, remove the protective coating with carburetor cleaner or brake cleaner. Apply multipurpose grease to the brake shoe contact areas of the backing plate. Spray lube the adjuster screw threads and pivots. Using a new washer and U-clip, attach the parking brake lever to the secondary brake shoe. Remove the wheel cylinder clamps and connect the parking brake cable to the lever. First, fit the brake shoes to the support plate and secure them with new hold-down springs, pins and retainers. Next, fit the parking brake strut and spring. Begin the installation of the guide plate and adjuster cable to the anchor pin. Next, fit the primary and secondary return springs. Position the adjuster cable guide on the secondary shoe. Lubricate and assemble the adjuster screw. Install the adjuster screw, spring, and lever, which connects to the adjuster cable. After adjusting the shoes to the drum, put the wheel/tire assemblies on and lower. Check that you have a firm brake pedal before moving.
- Q:What are the recommended steps for conditioning the parking brake system after replacing the Brake Shoe Set (parking brake lining) on Jeep Wrangler?A:Once the parking brake lining is replaced, the first step in conditioning the brake system is making one stop from 25 mph, applying light to moderate force on the parking brake lever on dry pavement or concrete. Start off by refitting the rear park brake shoes and install the support plate on the axle shaft. Following that, install the axle shaft into the axle housing and reconnect the brake cable to the park brake shoe lever behind the support plate. To install the rear wheel speed sensor, followed by the adjustment of the rear brake shoes. Then, we install the disc brake rotor and disc brake caliper adapter. After that, you need to install the tire and wheel assembly, lower the vehicle, and attach the rear park brake cables to the equalizer. Release the lockout on the front park brake lever and check the operation of the park brake system before installing the centre floor console.
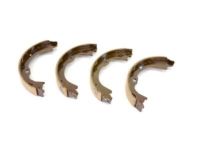
Related Jeep Wrangler Parts
 Jeep Wrangler Brake Pads
 Jeep Wrangler ABS Sensor
 Jeep Wrangler Speed Sensor
 Jeep Wrangler Brake Caliper
 Jeep Wrangler Brake Line
 Jeep Wrangler ABS Control Module
 Jeep Wrangler Backing Plate
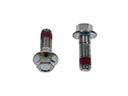 Jeep Wrangler Brake Caliper Bolt
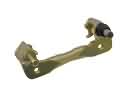 Jeep Wrangler Brake Caliper Bracket
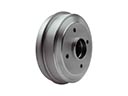 Jeep Wrangler Brake Drum
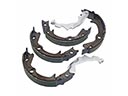 Jeep Wrangler Parking Brake Shoes
 Jeep Wrangler Wheel Hub Bolt