JeepParts
My Garage
My Account
Cart
OEM 2000 Dodge Ram 2500 Air Bag Control Module
SRS Airbag Module- Select Vehicle by Model
- Select Vehicle by VIN
Select Vehicle by Model
orMake
Model
Year
Select Vehicle by VIN
For the most accurate results, select vehicle by your VIN (Vehicle Identification Number).
1 Air Bag Control Module found


2000 Dodge Ram 2500 Diagnostic Module Part Number: 56043128AE
Product Specifications- Other Name: Module - Air Bag Control; Diagnostic Unit; Module Air Bag Control
- Replaces: 56043128AC, 56043128AD
- Item Weight: 2.90 Pounds
- Condition: New
- Fitment Type: Direct Replacement
- SKU: 56043128AE
- Warranty: This genuine part is guaranteed by Mopar's factory warranty.
2000 Dodge Ram 2500 Air Bag Control Module Parts and Q&A
- Q: How to Safely Diagnose or Service the Air Bag Control Module on 2000 Dodge Ram 2500?A: Before starting any work on an air bag system, separate and remove the battery's negative cable and wait until it has discharged for at least two minutes. The air bag Control Module is vulnerable: never strike, kick or drop it since that could damage or calibrate the sensors improperly and no minor fix is allowed for a dropped module. Before detaching the module, start by removing the battery's negative cable and, if you have a manual transmission, remove the center console. Loosen the two screws holding the trim cover to the air bag Control Module's (ACM) mounting bracket for automatic transmissions. With just the screws holding the sides loosened but still in place, remove the two nuts keeping the instrument panel center support bracket to the lower instrument panel structural support. Loosen the retainer next to the ACM on the wiring for the instrument panel and then pull the instrument panel center support bracket forward so it folds over the ACM. Slide the red lock toward yourself, hold down the tab on the connector latch and pull the harness connector off the ACM. Be sure to replace the mounting bracket and the air bag control module as a unit, not separately. Removing the four screws under the dash allows you to take out the entire ACM, mounting bracket and instrument panel center support bracket set as a complete unit. While installing, fit the ACM, mounting bracket and instrument panel center support bracket to the floor panel transmission tunnel. Use the arrow on the ACM label to ensure it's pointing ahead. Fit the mounting bracket under the floor panel transmission tunnel and tighten its four screws to 14 Nm (125 in. lbs.). Link the end from the wire harness to the ACM and confirm the red CPA lock clicks, then fold the bracket up and forward over the studs on the lower panel and tighten the nuts to the required pressure. Push on the retainer clamping the instrument panel wire's center side, then tighten both sides of the instrument panel center bracket to the ACM bracket to 14 Nm (125 in. lbs.). With a manual transmission, the center console is installed; for an automatic transmission, put on the trim cover in front of the ACM and add and tighten the two screws to 2.2 Nm (20 in. lbs.). At this step, do not link the negative side of the battery back up yet.
Related 2000 Dodge Ram 2500 Parts
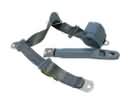 2000 Dodge Ram 2500 Seat Belt
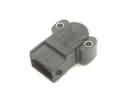 2000 Dodge Ram 2500 Throttle Position Sensor
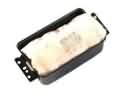 2000 Dodge Ram 2500 Air Bag
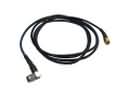 2000 Dodge Ram 2500 Antenna Cable
 2000 Dodge Ram 2500 Antenna Mast
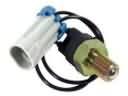 2000 Dodge Ram 2500 Back Up Light Switch
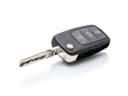 2000 Dodge Ram 2500 Car Key
 2000 Dodge Ram 2500 Clock Spring
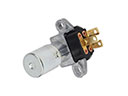 2000 Dodge Ram 2500 Dimmer Switch
 2000 Dodge Ram 2500 Headlight Switch
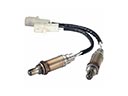 2000 Dodge Ram 2500 Oxygen Sensor
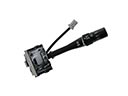 2000 Dodge Ram 2500 Wiper Switch