JeepParts
My Garage
My Account
Cart
OEM Chrysler Pacifica A/C Compressor Clutch
Air Conditioning Clutch- Select Vehicle by Model
- Select Vehicle by VIN
Select Vehicle by Model
orMake
Model
Year
Select Vehicle by VIN
For the most accurate results, select vehicle by your VIN (Vehicle Identification Number).
4 A/C Compressor Clutches found
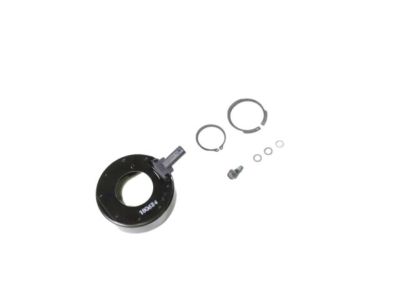
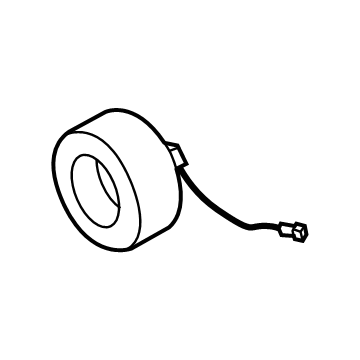
Chrysler Pacifica Clutch Coil Part Number: 68257494AA
$255.26 MSRP: $387.00You Save: $131.74 (35%)Ships in 1-2 Business Days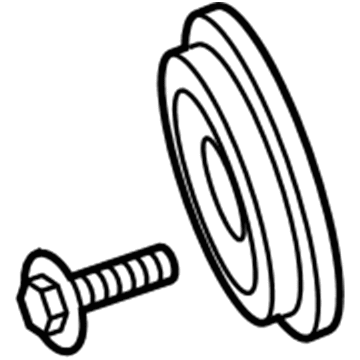
Chrysler Pacifica Clutch Kit Part Number: 68257493AA
$213.77 MSRP: $442.00You Save: $228.23 (52%)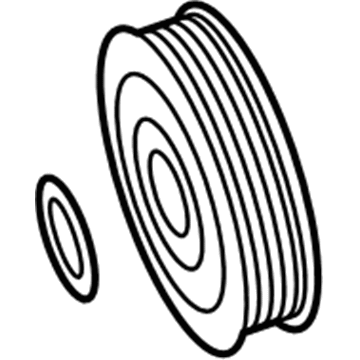
Chrysler Pacifica Pulley Part Number: 68257495AA
$327.08 MSRP: $499.00You Save: $171.92 (35%)Ships in 1-2 Business Days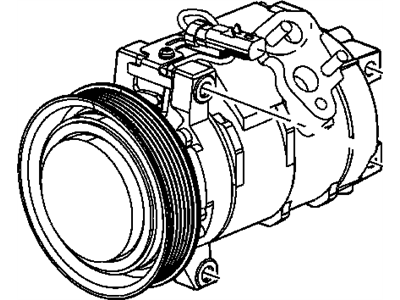
Chrysler Pacifica Pulley Part Number: 5140469AA
Chrysler Pacifica A/C Compressor Clutch
Choose OEM A/C Compressor Clutch that meet Chrysler factory standards. Chrysler designs and tests every component for precision and durability. Each A/C Compressor Clutch follows strict manufacturing steps to lock in quality and fit. If your Chrysler Pacifica matters to you, OEM parts make the smart choice. You'll get the exact look, feel, and performance you expect. Shop genuine Pacifica parts at the highly competitive prices online. Enjoy a manufacturer's warranty, a hassle-free return policy, and rapid delivery. No more guesswork with off brands. Get genuine parts with exact fit and true factory performance. Shop with confidence today at JeepPartsDeal.com.
Chrysler Pacifica A/C Compressor Clutch Parts and Q&A
- Q:How to Install an A/C Compressor Clutch on Chrysler Pacifica?A:Put the dowel pin on the reverse side of the field coil into the hole at the leading edge of the A/C compressor, then place the field coil onto the compressor without crushing the wire lead. With the bevel to the outside and the eyelets toward the right or left, a new snap ring must hold the compressor clutch field coil in place. Attach the snap ring 9764 or an equivalent, just under the field coil, checking that it is flush in its groove. Be careful not to harm the friction surfaces while fitting the pulley and bearing so you don't cause the clutch to fail too soon. If it seems necessary, use a block of wood to tap the pulley. A new snap ring goes on to fix the pulley and bearing assembly, with its bevel pointing outward. Should you reuse the clutch plate and pulley and bearing set, fit the original shim(s) onto the shaft; using new parts, attach two 2.54 mm shims in a trial stack. Slide the clutch plate over the front of the A/C compressor and connect it using the compressor shaft bolt, but don't tighten it yet. Don't forget to see the gap at various points on the engine pulley prior to turning the final screw; re-check it after spinning the pulley. For clutch plates or blades set in a recess, apply a 90° wire gap gauge, but use a blade type feeler gauge for all others, so the air gap measures 0.35 - 0.60 mm and shims are added where necessary. Guide the compressor clutch field coil wire lead behind the connector bracket and put on the connector. Mount the compressor on the engine and tighten the retaining bolts, connect the wire harness from the engine to the compressor clutch field coil, put on the accessory Drive Belt and link the negative Battery Cable again.
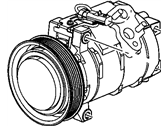
Related Chrysler Pacifica Parts
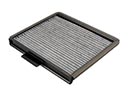 Chrysler Pacifica Cabin Air Filter
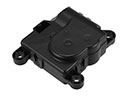 Chrysler Pacifica Blend Door Actuator
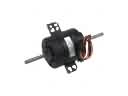 Chrysler Pacifica Blower Motor
 Chrysler Pacifica A/C Accumulator
 Chrysler Pacifica A/C Compressor
 Chrysler Pacifica A/C Compressor Cut-Out Switches
 Chrysler Pacifica A/C Condenser
 Chrysler Pacifica A/C Hose
 Chrysler Pacifica A/C System Valve Core
 Chrysler Pacifica Evaporator
 Chrysler Pacifica Heater Core
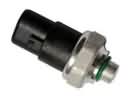 Chrysler Pacifica HVAC Pressure Switch