JeepParts
My Garage
My Account
Cart
OEM Dodge Charger Rear Crossmember
Rear Suspension Crossmember- Select Vehicle by Model
- Select Vehicle by VIN
Select Vehicle by Model
orMake
Model
Year
Select Vehicle by VIN
For the most accurate results, select vehicle by your VIN (Vehicle Identification Number).
5 Rear Crossmembers found
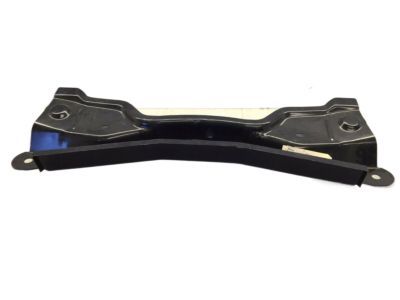
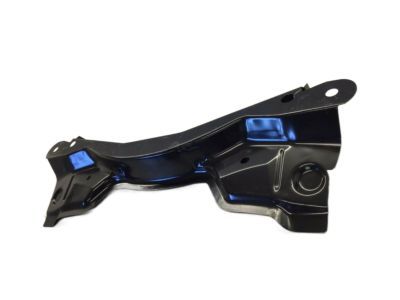
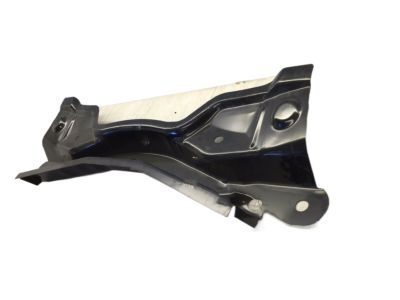
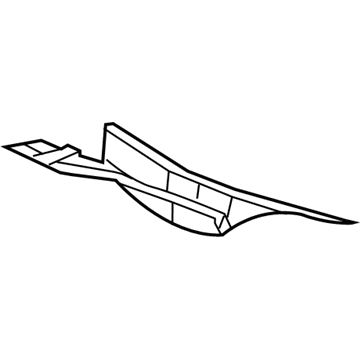
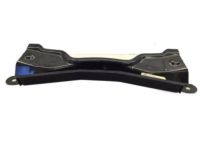
Dodge Charger Rear Crossmember Part Number: 4780812AD
$324.95 MSRP: $580.00You Save: $255.05 (44%)Ships in 1-3 Business Days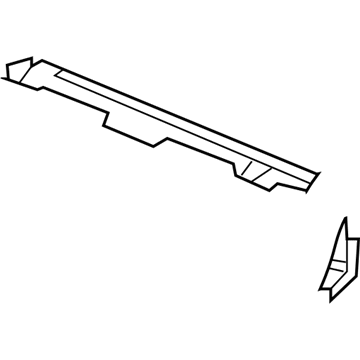
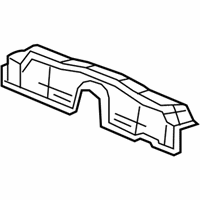
Dodge Charger Upper Crossmember, Rear Part Number: 4780806AF
$46.03 MSRP: $264.00You Save: $217.97 (83%)Ships in 1-2 Business Days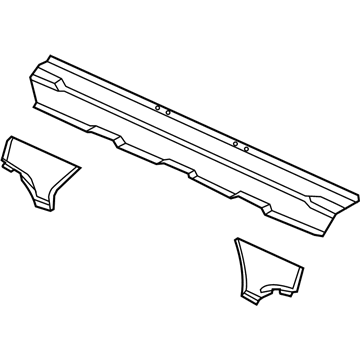
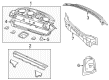
Dodge Charger Package Tray Lower Reinforcement, Rear Part Number: 68045533AD
$82.48 MSRP: $123.00You Save: $40.52 (33%)Ships in 1-3 Business Days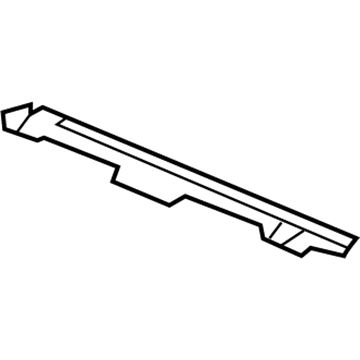
Dodge Charger Front Crossmember, Rear Upper Part Number: 68030677AG
$140.49 MSRP: $208.00You Save: $67.51 (33%)Ships in 1-3 Business Days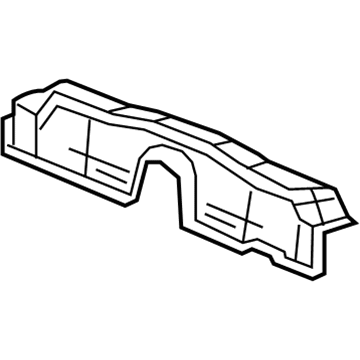
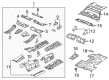
Dodge Charger Rear Crossmember Part Number: 4780800AA
$338.77 MSRP: $499.00You Save: $160.23 (33%)Ships in 1-3 Business Days
Dodge Charger Rear Crossmember
Choose OEM Rear Crossmember that meet Dodge factory standards. Dodge designs and tests every component for precision and durability. Each Rear Crossmember follows strict manufacturing steps to lock in quality and fit. If your Dodge Charger matters to you, OEM parts make the smart choice. You'll get the exact look, feel, and performance you expect. Shop genuine Charger parts at the highly competitive prices online. Enjoy a manufacturer's warranty, a hassle-free return policy, and rapid delivery. No more guesswork with off brands. Get genuine parts with exact fit and true factory performance. Shop with confidence today at JeepPartsDeal.com.
The Dodge Charger Rear Crossmember stands as an essential component known for performance and reliability due to its important role for Dodge Charger vehicle stability. The structural Rear Crossmember executes the necessary role of supporting engine and transmission weight to preserve the Charger's chassis frame alignment. Any damage to the Rear Crossmember creates essential safety threats which reduce the vehicle performance making it dangerous to operate. Different Dodge Charger vehicle generations support this Rear Crossmember design through design and material upgrades which retain its fundamental operational purpose. The Charger benefits from exceptional handling while offering better ride quality because of its sturdy design approach in the automotive industry today. The Rear Crossmember helps the automobile respond to regulatory changes and consumer needs hence maintaining its preferred position among drivers who want a balance between power and comfort features. As an integral part of the Dodge car external structure the rear crossmember exemplifies engineering excellence by offering durability and crucial support functions to the car. The Rear Crossmember provides enhanced driving experience for city travel and highway cruising which makes the Dodge model a landmark vehicle in the automotive sector.
Dodge Charger Rear Crossmember Parts and Q&A
- Q:How to Service a Rear Crossmember on Dodge Charger?A:The first thing to do when replacing the rear cross-member is to cut off the connection to the battery's negative cable. Lift the vehicle and then disconnect the nuts and assemble the wheels from the rear wheels. Someone should press the brakes so that hub rotation is stopped and then remove the two hub nuts from the half shafts. After that, take off the rear exhaust system and the rear differential. Take out the right side axle half shaft from the hub and bearing, then part the right rear Parking Brake Cable at its connection to the front parking brake cable. Disconnect the left rear parking brake cable by removing the equalizer, leaving the other cable still attached. Separate the screw between the front parking brake cable routing bracket and the front side of the rear crossmember. Take out the J-nut at the same place. Should your car have standard or premium disc brakes, keep the guide pins from rotating and get rid of the Brake Caliper guide pin bolts, then lift the caliper and pads off the brake adapter, pulling the caliper through the suspension and hanging it above the rear suspension with a bungee cord. To insert pistons into the caliper, only use a trim stick or a similar tool that won't damage the metal. If you have SRT8 disc brakes, wedge the trim stick between the brake pad and the rotor's outside edge to press the pads against each piston until the caliper half of the disc is completely housed. With the transmission jack under the spring link, access the bolt on the brake caliper lower mount, then remove both mounting bolts and the brakes with pads and suspend the assembly. Take the wheel speed sensor connectors out of the wiring harness connector in the luggage pan under the floor and remove the left wheel speed sensor from the clips along the rear of the crossmember. Loosen the lower mounting bolt and nut on both sides of the vehicle, removing the shock absorbers and then mark the positions of the rear crossmember in the sheet metal near each mount hole. Brace the engine cradle with jack stands at its front and then raise a utility jack from under the center of the rear crossmember to secure everything. Disconnect the fuel filler tube and, if there is AWD, keep track of the spacers on either side of the crossmember when removing those bolts. Loosen both sets of bolts that hold the crossmember in place, then slowly lift the vehicle with a jack until the crossmember is at a comfortable height for working. Come off with the bolts holding the stabilizer bar to the stabilizer link and then unscrew the bolts connecting each stabilizer bar cushion retainer to the crossmember, taking out the bar and its attachments. Tackle the retainer fingers by putting a 13mm 12-point box wrench on the cable strand and press down, releasing each folded retainer stage of the parking brake cable, reaching for the Coil Springs & isolators from the corresponding spring links, with one item on your right and another on your left. Take out the screws holding the parking brake cable routing guide to the crossmember and also remove the J-nuts. When putting on the bolts during installation, check the direction in which you unscrew the fasteners from any rear suspension link when removing them. Remove the bolts holding the spring link to the crossmember and, while blocking the toe adjustment cam bolt, remove the toe link's nut at the crossmember. Move the cam bolt on the toe link backward out of the crossmember and the link, then remove all the bolts and nuts attaching them to the crossmember. In the end, take care to lift up the knuckle with the links and parking brake cable still attached from the rear suspension crossmember and take the crossmember off the jack.
- Q:How to Install a Rear Crossmember on Dodge Charger?A:Put the rear crossmember under the vehicle and on the jack head so it's in the same place and secure it. Make sure one side knuckle with links and Parking Brake Cable has connections and secure it with a nut and bolt to the rear suspension crossmember. Do the same thing for the other side knuckle. On every side of the crossmember, attach tension links and compression links, plus their nuts and bolts, without tightening them. Put the toe link's cam bolt through the crossmember and rear link and collar it with the washer and nut, making sure to not tighten the nut as you push the cam bolt in. Put bolts and nuts into the spring link holders and guide the parking brake cable beneath the crossmember brackets, using the retainer to hold it in place. Set up the guide for the parking brake cable with the J-nuts and screws and screw the stabilizer bar back in with cushions and retainers, leaving the cushion retainer mounting bolts a bit loose. Bolt on the ends of the stabilizer bar to the stabilizer links using bolts and nuts, but check that they are not tight, for now. Put the differential mount bolts into the bushings after mounting them, then raise the crossmember and move them to the replacement crossmember by installing them from the back. Join the crossmember with the body at the right spots, watch that the shocks fit inside the pockets of the spring links and fit the left side bolts, but not too tight. Reduce the height of the jack as you go to help the Coil Springs fit and so the isolators can be added. Install the top end of the coil spring into its spring pocket, aligning it with the body mount as you go. Then slowly raise the jack and lower down the coil spring and Shock Absorber onto the ends, stopping at the spot where the shock absorber's lower hole matches the spring link. Secure the lower shock mounting bolt and nut, but don't tighten them yet. If your car has AWD, insert spacer bushings on top of the right crossmember mount bushes prior to lifting the crossmember. Lift the left part of the crossmember and place the right install bolts, only tightening them slightly. Pull out the left side bolts and lower the jack enough to replace the left coil spring, keeping the isolators put. After you're done on the right side, repeat the steps for the left side, then line up the crossmember with the marks and check the distance between the tension link and weld flange is at least 12 mm. Secure all four mounting bolts to 180 Nm (133 ft. lbs.) and move the jack aside. Place the fuel filler tube and attach the left rear wheel speed sensor cables to their proper clips. Attach both left and right rear parking brake cables to the equalizer and front parking brake cable and fit the parking brake cable routing bracket J-nut to the rear crossmember so you can secure it in place. Feed an axle half shaft through the hub and bearing, then thread the hub nut on and do not tighten it yet. Attach the rear axle differential and make sure to tighten the nut to 213 Nm (157 ft. lbs.) as someone else works the brakes. After installing the rear exhaust, bring the vehicle down until the front tires rest on the floor, then place jack stands beneath the rear suspension spring links. Camber, tension, compression and spring link bolts should match their required torque values, while lower shock absorber mounting nut and both stabilizer link bolts do as well. Lift the vehicle up, take away the jack stands, fit the new wheels, tightening the wheel-to-car rivets to 150 Nm (110 ft. lbs.) and then bring the car down. Link the battery's negative cable and stomp on the brake pedal a few times to guarantee it feels firm before moving the car. After that, you should align the wheels and once finished, tighten the toe link cam bolt nut to 108 Nm (80 ft. lbs.) torque.
Related Dodge Charger Parts
 Dodge Charger Spoiler
 Dodge Charger Shift Knob
 Dodge Charger Axle Beam
 Dodge Charger Car Speakers
 Dodge Charger Floor Pan
 Dodge Charger Front Cross-Member
 Dodge Charger Lift Support
 Dodge Charger Rear Passenger Door Handle Latch
 Dodge Charger Seat Heater
 Dodge Charger Wheelhouse
 Dodge Charger Windshield Washer Fluid Reservoir
 Dodge Charger Wiper Motor