JeepParts
My Garage
My Account
Cart
OEM Jeep Commander A/C Compressor Clutch
Air Conditioning Clutch- Select Vehicle by Model
- Select Vehicle by VIN
Select Vehicle by Model
orMake
Model
Year
Select Vehicle by VIN
For the most accurate results, select vehicle by your VIN (Vehicle Identification Number).
7 A/C Compressor Clutches found
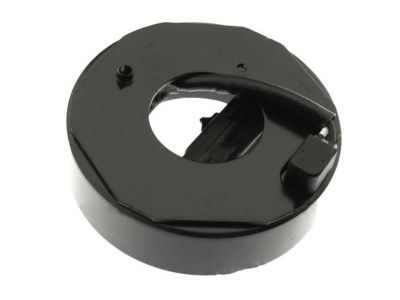
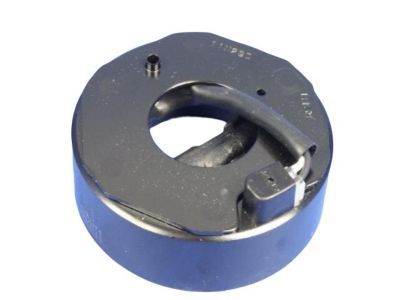
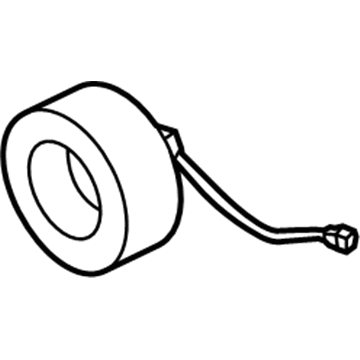
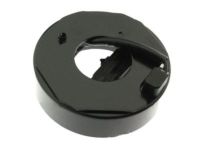
Jeep Commander Clutch Coil Part Number: 5003681AA
$186.95 MSRP: $279.00You Save: $92.05 (33%)Ships in 1-2 Business Days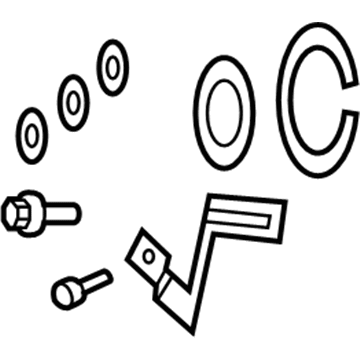
Jeep Commander Clutch Kit Part Number: 5140428AA
$6.58 MSRP: $36.75You Save: $30.17 (83%)Ships in 1-2 Business Days
Jeep Commander Clutch Kit Part Number: 68032119AA
$44.25 MSRP: $63.90You Save: $19.65 (31%)Ships in 1-2 Business Days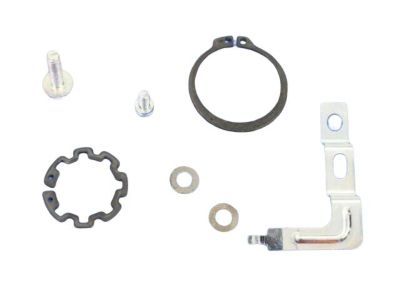
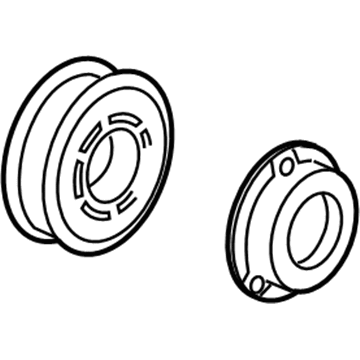
Jeep Commander Clutch Kit Part Number: 5066225AA
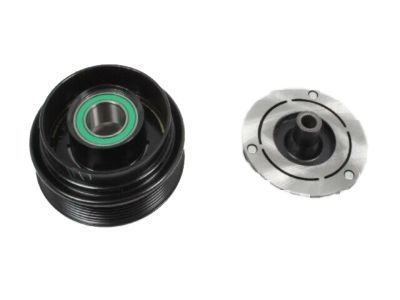
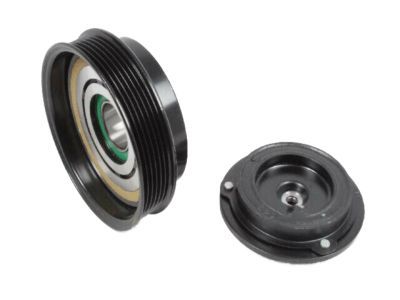
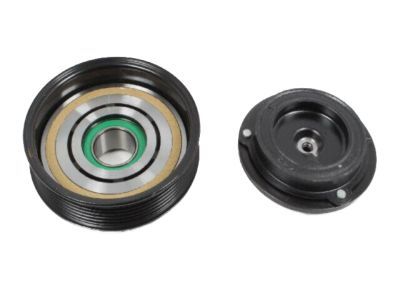
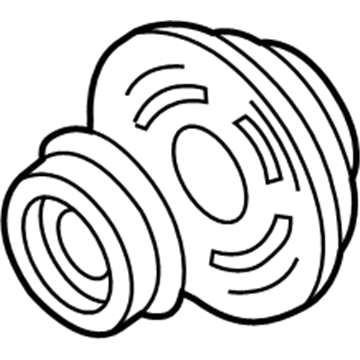
Jeep Commander Hub Assembly Part Number: 5140426AA
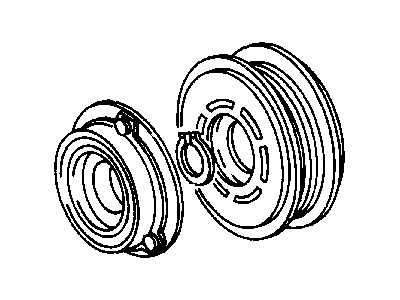
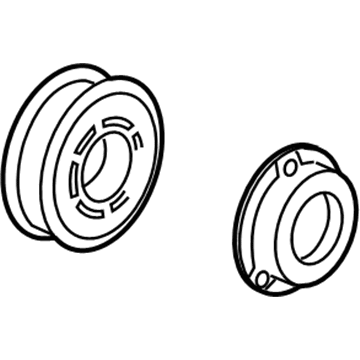
Jeep Commander Pulley Part Number: 5161810AA
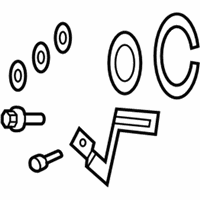
Jeep Commander Hardware Kit Part Number: 68035234AA
Jeep Commander A/C Compressor Clutch
Choose OEM A/C Compressor Clutch that meet Jeep factory standards. Jeep designs and tests every component for precision and durability. Each A/C Compressor Clutch follows strict manufacturing steps to lock in quality and fit. If your Jeep Commander matters to you, OEM parts make the smart choice. You'll get the exact look, feel, and performance you expect. Shop genuine Commander parts at the highly competitive prices online. Enjoy a manufacturer's warranty, a hassle-free return policy, and rapid delivery. No more guesswork with off brands. Get genuine parts with exact fit and true factory performance. Shop with confidence today at JeepPartsDeal.com.
Jeep Commander A/C Compressor Clutch Parts and Q&A
- Q:How to Install an A/C Compressor Clutch on Jeep Commander?A:Take the field coil and slide it onto the compressor, with the wire lead avoid being caught. The compressor clutch field coil should be worn with a new snap ring, with the bevel facing outward and the two eyelets opposite the dowel pin location. With the use of Snap Ring Pliers 9764 or a similar tool, insert the snap ring at the end of the clutch field coil, making it fully settle into the associated groove. Avoid hurting the clutch friction surfaces while installing so the clutch won't fail too early. Installing the pulley and bearing assembly in front of the A/C compressor, you can loosely place them and tap gently with a block of wood. Afterward, keep everything properly seated by locking the new snap ring into place. When using the old parts, apply the same shim(s) on the compressor shaft; if new components are in use, place a set of 2.54 mm shims on the shaft. Place the clutch plate in front of the A/C compressor and tighten its shaft bolt to 19 Nm. After you are done tightening, inspect the air gap in different areas of the pulley by having it spin first. Use a 90° wire gauge on those with a recessed clutch plate and a blade type feeler gauge on all others. The air gap here should fall between 0.35 to 0.60 mm; if it's different, adjust with shims to obtain the correct value. Put the wire lead of the clutch field coil behind the connector bracket, then connect the bracket to the compressor clutch wire. Locate the A/C compressor by the engine and attach the retaining bolts. Then, join the engine wire harness to the compressor clutch field coil connector, put the accessory Drive Belt on and reattach the negative Battery Cable.
- Q:How to Remove and Replace an A/C Compressor Clutch on Jeep Commander?A:Before changing the compressor clutch, unhook and separate the negative Battery Cable. After that, take out the accessory Drive Belt. Unplug the engine wire harness from the compressor clutch field coil connector that is found atop the A/C compressor. Bolt off the securing bolts on the A/C compressor from the engine and help the compressor remain stable. Separate the compressor clutch field coil connector from the wire lead attached to the connector bracket. To keep the clutch plate from rotating, position a band or strap wrench around it and screw in the bolt to remove the compressor shaft. Do not separate the clutch plate and the pulley and bearing parts so you do not damage the clutch plate and try not to lose the clutch shim(s)-they can be reused during the next installation. Very gently hit the clutch plate with a mallet to free it from the compressor shaft, then take out the plate and any shim(s). Replace tool 9764 or an equal alternative, then use them to remove the snap ring holding the pulley and bearing assembly at the front of the A/C compressor and take it out. Remove the snap ring from beneath the clutch field coil with Snap Ring Pliers 9764 or equivalent after which the field coil should just drop away when it is freed.
Related Jeep Commander Parts
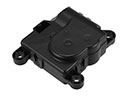 Jeep Commander Blend Door Actuator
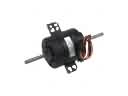 Jeep Commander Blower Motor
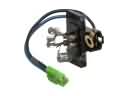 Jeep Commander Blower Motor Resistor
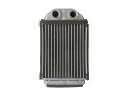 Jeep Commander Heater Core
 Jeep Commander A/C Accumulator
 Jeep Commander A/C Compressor
 Jeep Commander A/C Condenser
 Jeep Commander A/C Expansion Valve
 Jeep Commander A/C Hose
 Jeep Commander A/C System Valve Core
 Jeep Commander Evaporator
 Jeep Commander HVAC Pressure Switch